
The first question I asked when I took my neutral density filters out into the field was ‘how do I clean these things?’ Keeping these clean is a nightmare — the coatings are sensitive, and yet seem to pick up every small piece of dust and oil that get anywhere near it.
So let’s go over how to clean a neutral density filter, polarizing filters, or UV filters without ruining them?
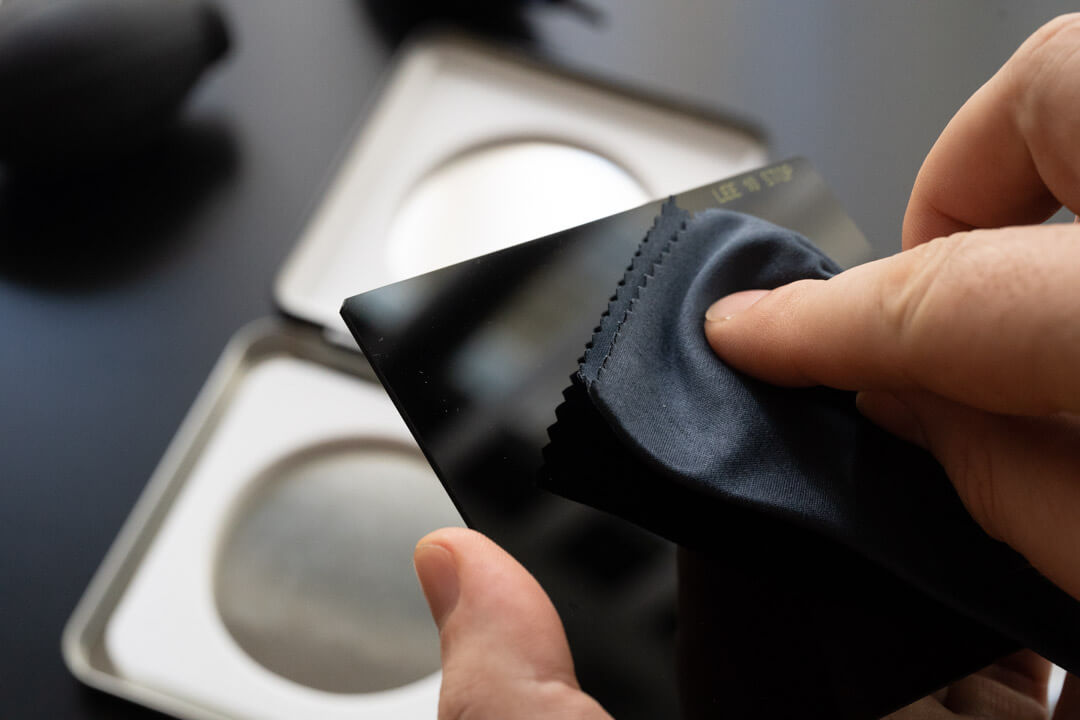
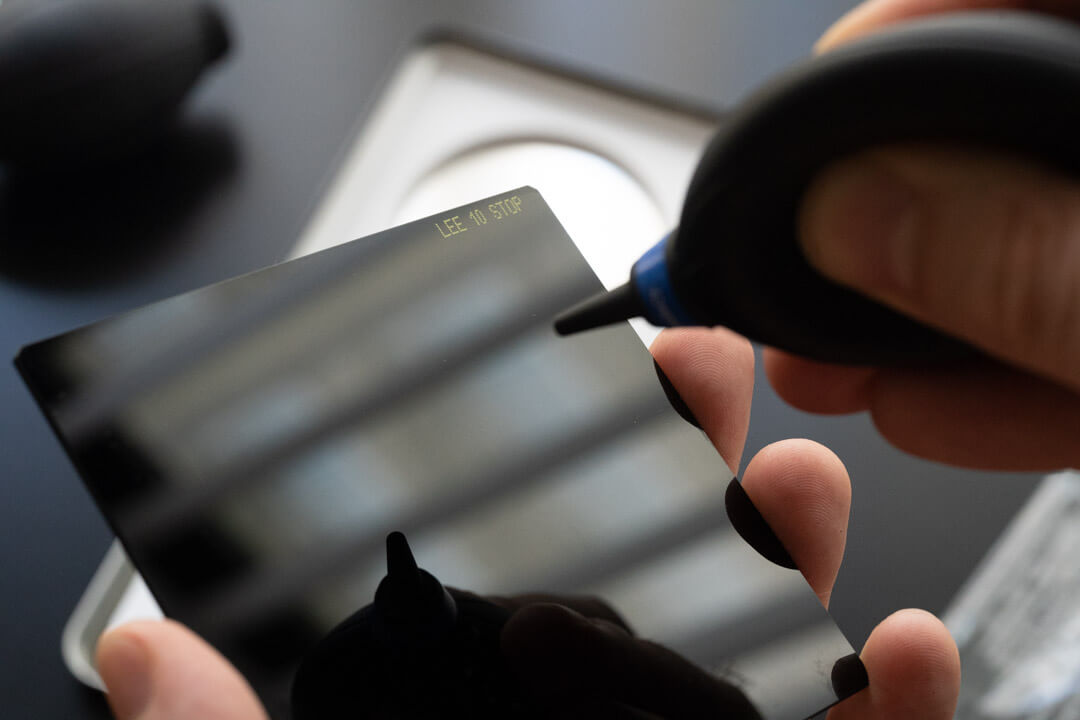
Clean a lens filter by first blowing the dust off the filter’s surface with an air blower and lens brush. Then, if there are any fingerprint smudges or watermarks, spray a lens cleaning fluid onto a microfiber cloth and gently wipe the filter using a circular motion starting from the middle and working your way to the outside.
Be careful to avoid putting pressure on the filter as much as possible. If there is any dirt or coarse sand grains on the filter, they can easily scratch the filter coatings.

Will dust and fingerprints on a filter ruin my photos?
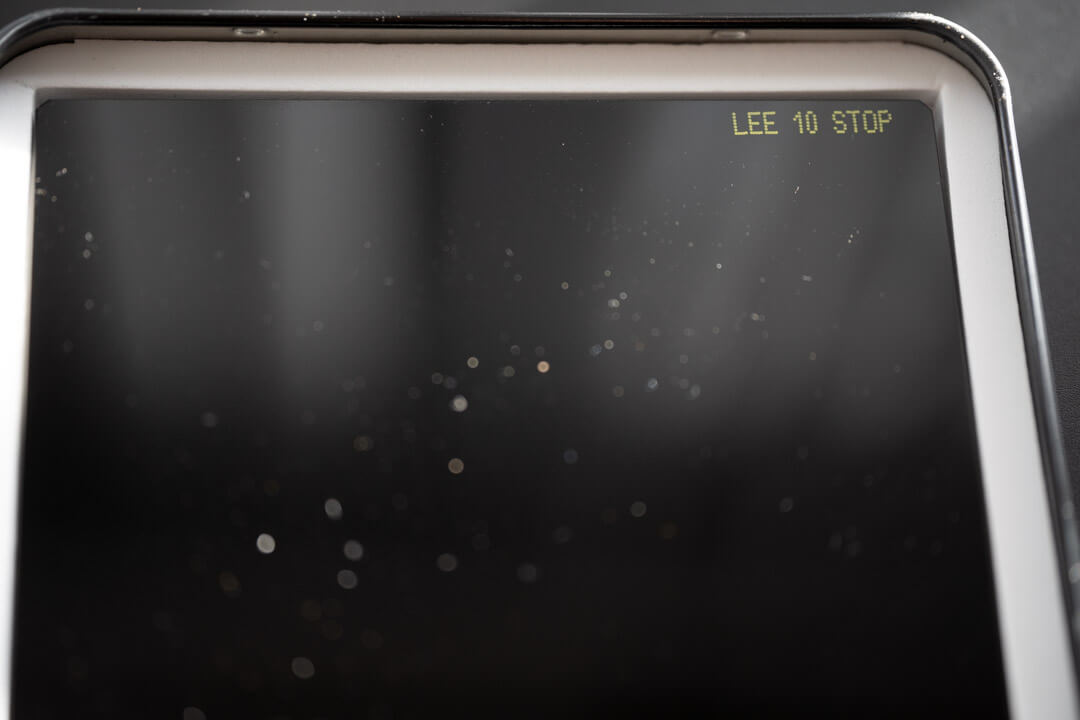
fingerprint smudges and dust don’t show up on the image when they’re on the front element of a lens. But since ND, Polarizing, and UV filters sit further in front, they can sometimes show up in an image.
They will be the most noticeable when using a large depth of field with a small aperture like f/16 or greater. But they will also show if your images when you capture photographs of close-up objects, like insects and flowers with a macro lens.
If you’re using filters for these subjects, it will be important to keep them clean to avoid extra work during the editing process.
One way to avoid this problem is to keep the filters as close to the front element of your lens as possible. Using a series of step-down rings with a large filter (say you’re adapting an 82mm filter to a 49mm lens), will inevitably make dust and smudges on the filter more visible in the resulting photograph.
What if I don’t have a microfiber cloth?
If you don’t have a microfiber cleaning cloth handy, a cotton shirt can sometimes work in a pinch. But cotton is not very good for cleaning, and can sometimes leave streaks or lint on the filter surface.
In my experience, the cotton shirt trick usually leaves the filters looking worse than they did before cleaning. So I usually go by the rule of always cleaning them at home before a shoot. That way I know that I’ve cleaned the filter properly and that there shouldn’t be any fingerprints or smudges on the filters before I take my photos.
Sometimes you will get a small smudge on the lens when putting it on or taking it off. But small smudges and dust affect the image less than a scratched, or improperly cleaned ND filter. So I usually will wait to clean it until I come back home.
However, I will use a cotton shirt to clean a UV filter. Since UV filters don’t have sensitive coatings, they are much safer to clean with a cotton shirt than ND and Polarizing filters.
Can I use lens cleaning fluid to clean my nd filter?
Yes. Glasses and lens cleaning liquid are perfect for cleaning filters and even the front element on your lens. These fluids are designed to get rid of oil stains from your fingertips, as well as water spots that make their way onto the filter.
Always clean your lens with a rocket blower or lens pen first to remove debris. Then spray the solution onto the cleaning cloth instead of directly on the lens filter or lens element. That way it will not leave streaks and is less likely to remove any of the sensitive coatings.
Cleaning Glass versus Resin ND filters
Most filters are made out of two different types of materials: resin and glass. Resin filters are cheaper, but they are easier to scratch than glass. Most amateur photographers use resin because they are more accessible and less breakable than glass.
Glass filters, like this set of professional LEE Filters that I regularly use are less likely to scratch even with repeated cleaning. But it is important to be more careful and use a few drops of lens cleaner and a clean, soft lens cloth to remove any spots and dust from resin filters. Use soft, circular movements on the filter to completely clean the entire surface.
Always keep extra microfiber cloths on hand and in your camera bag in case of emergencies. But in general, the more you clean, the more likely they are to scratch.
How to handle lens filters
The best way to clean filters is to avoid getting them dirty in the first place. Since they get dirty easily, be sure to keep them in a well-sealed case.
Some photographers buy pouches for their lens filters. But if these are not well sealed, they can provide new opportunities to collect dust and scratch your expensive ND and Polarizing filters over time.
I have scratched so many of my photography filter coatings just by pulling them in and out of a soft case, that I now prefer to travel with the cases they come in to keep them lasting as long as possible. It adds extra weight to my kit, but it is well worth it — even if I’m hiking long distances to take photos
My next tip is to always carry a microfiber cloth to handle the filter when you are placing it on the camera lens. The best way to avoid damaging the filter coating is to avoid getting it dirty in the first place. And no matter how careful I am, I will always end up getting a fingerprint on the filter if I don’t make the effort to handle them with the cloth.
Want to take your photography to the next level?
 Photography Academy is all about giving photographers the tools they need to find success. Aside from these blog posts, that are free for everyone, we offer a series of courses that are designed to teach you the easy way to become a landscape photographer.
The best class I have ever offered is the Photography Transformation Masterclass. This is the most complete set of lessons for any photographer. It is my best-selling bundle of all time because it offers absolutely everything you need to accelerate your progress.
The Photography Transformation Masterclass comes with lifetime access and a 30-day money-back guarantee that you will improve your photography. See the student reviews of this course here, or on Google!