
Photography accessories
Sometimes the devices that help the most with your photography come in small packages. After you’ve bought your camera and lens, there are always so many more little devices that can make your life so much easier.
Here is a list of the top 25 camera accessories that I use all the time in my photography. Some of these are small, versatile gadgets, like the $10 friction arm (which has saved my butt in the field countless times), to larger items like Pelican cases that keep my gear safe everywhere from airplanes to boat rides.
Let’s get started.
Tripod — my most used accessory
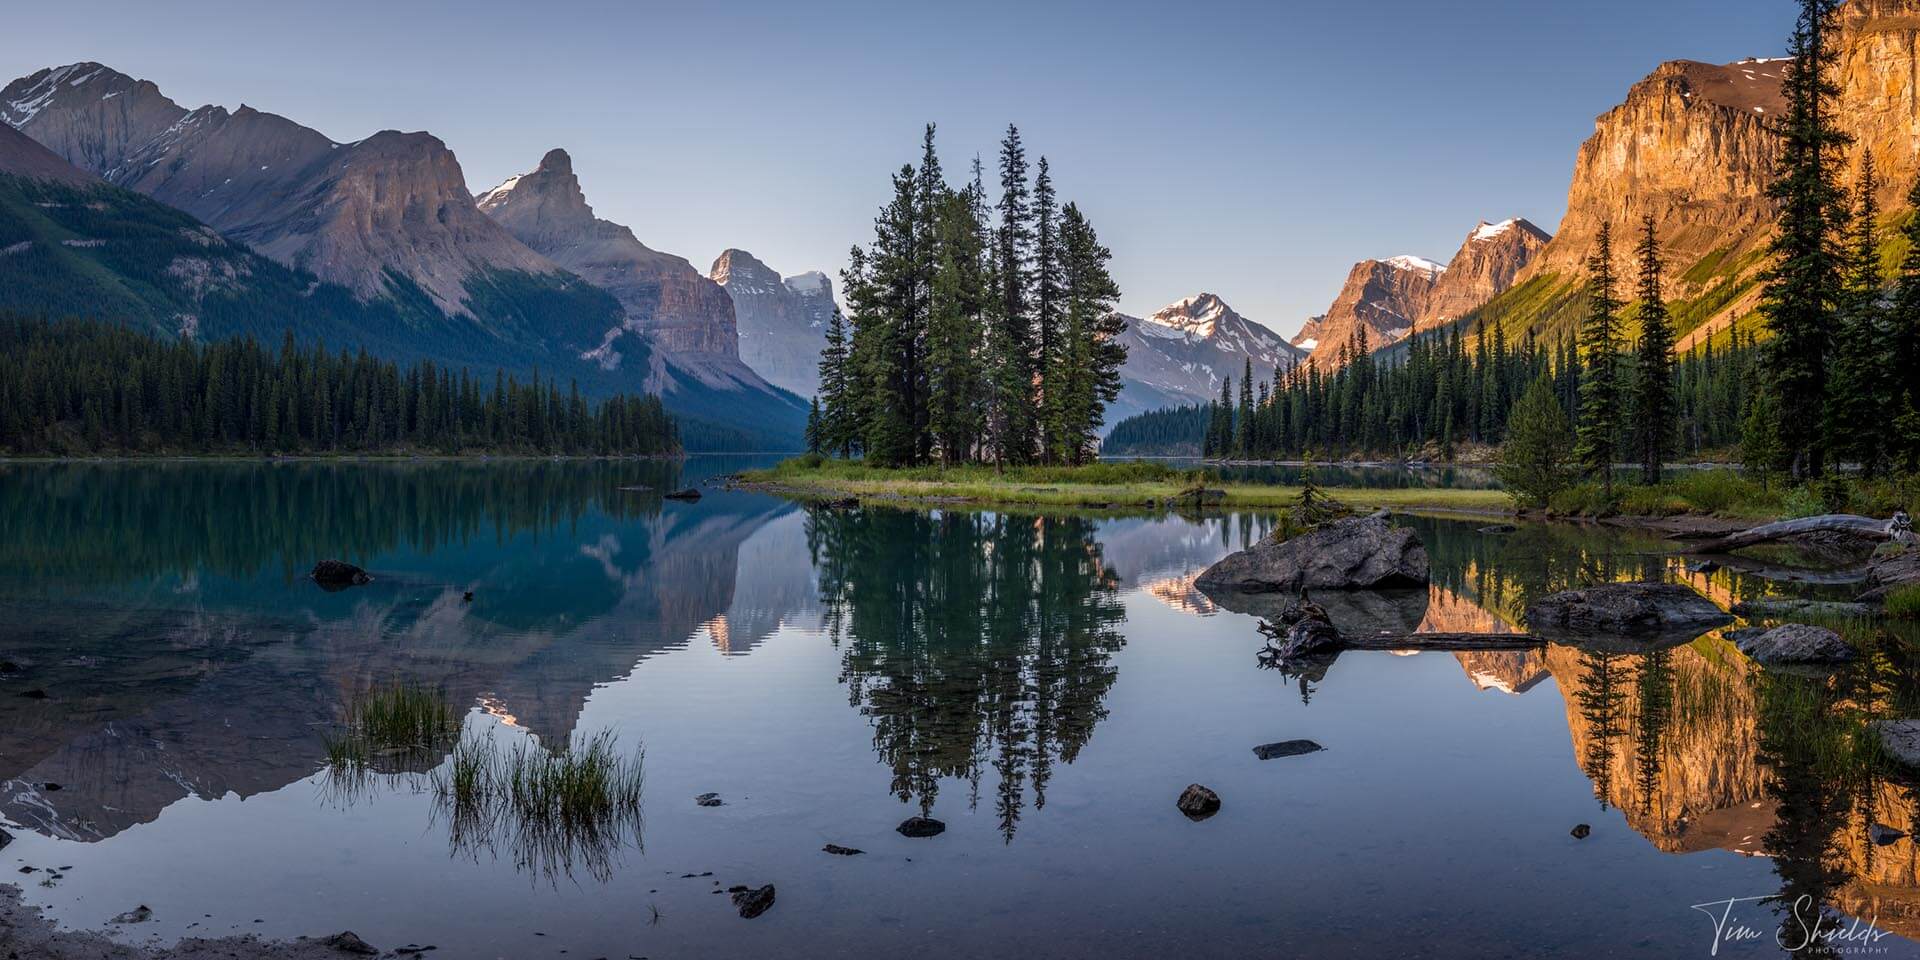
If there is one accessory that every photographer needs, it is a tripod. Having a tripod will unlock so many potential images and compositions that you can never take handheld.
I take almost every landscape image on my tripod because it allows me to create perfectly sharp and noise-free landscape photos with low ISOs and small aperture settings. The tripod also allows me to use neutral density filters to create long-exposure images to smooth out the movement of water or clouds in my compositions.
Tripods are the most essential camera accessory for increasing your image quality. If you want to do any kind of professional photography other than sports or wildlife, you will need a tripod.
Tripods also reduce sharpness-ruining camera shake when taking exposures that are less than 1/200th of a second on modern camera sensors. The higher-megapixel cameras that are coming on the market capture a lot more detail, but they also capture more image issues. That means if you have a high-end camera, you will need a tripod to take tack sharp images.
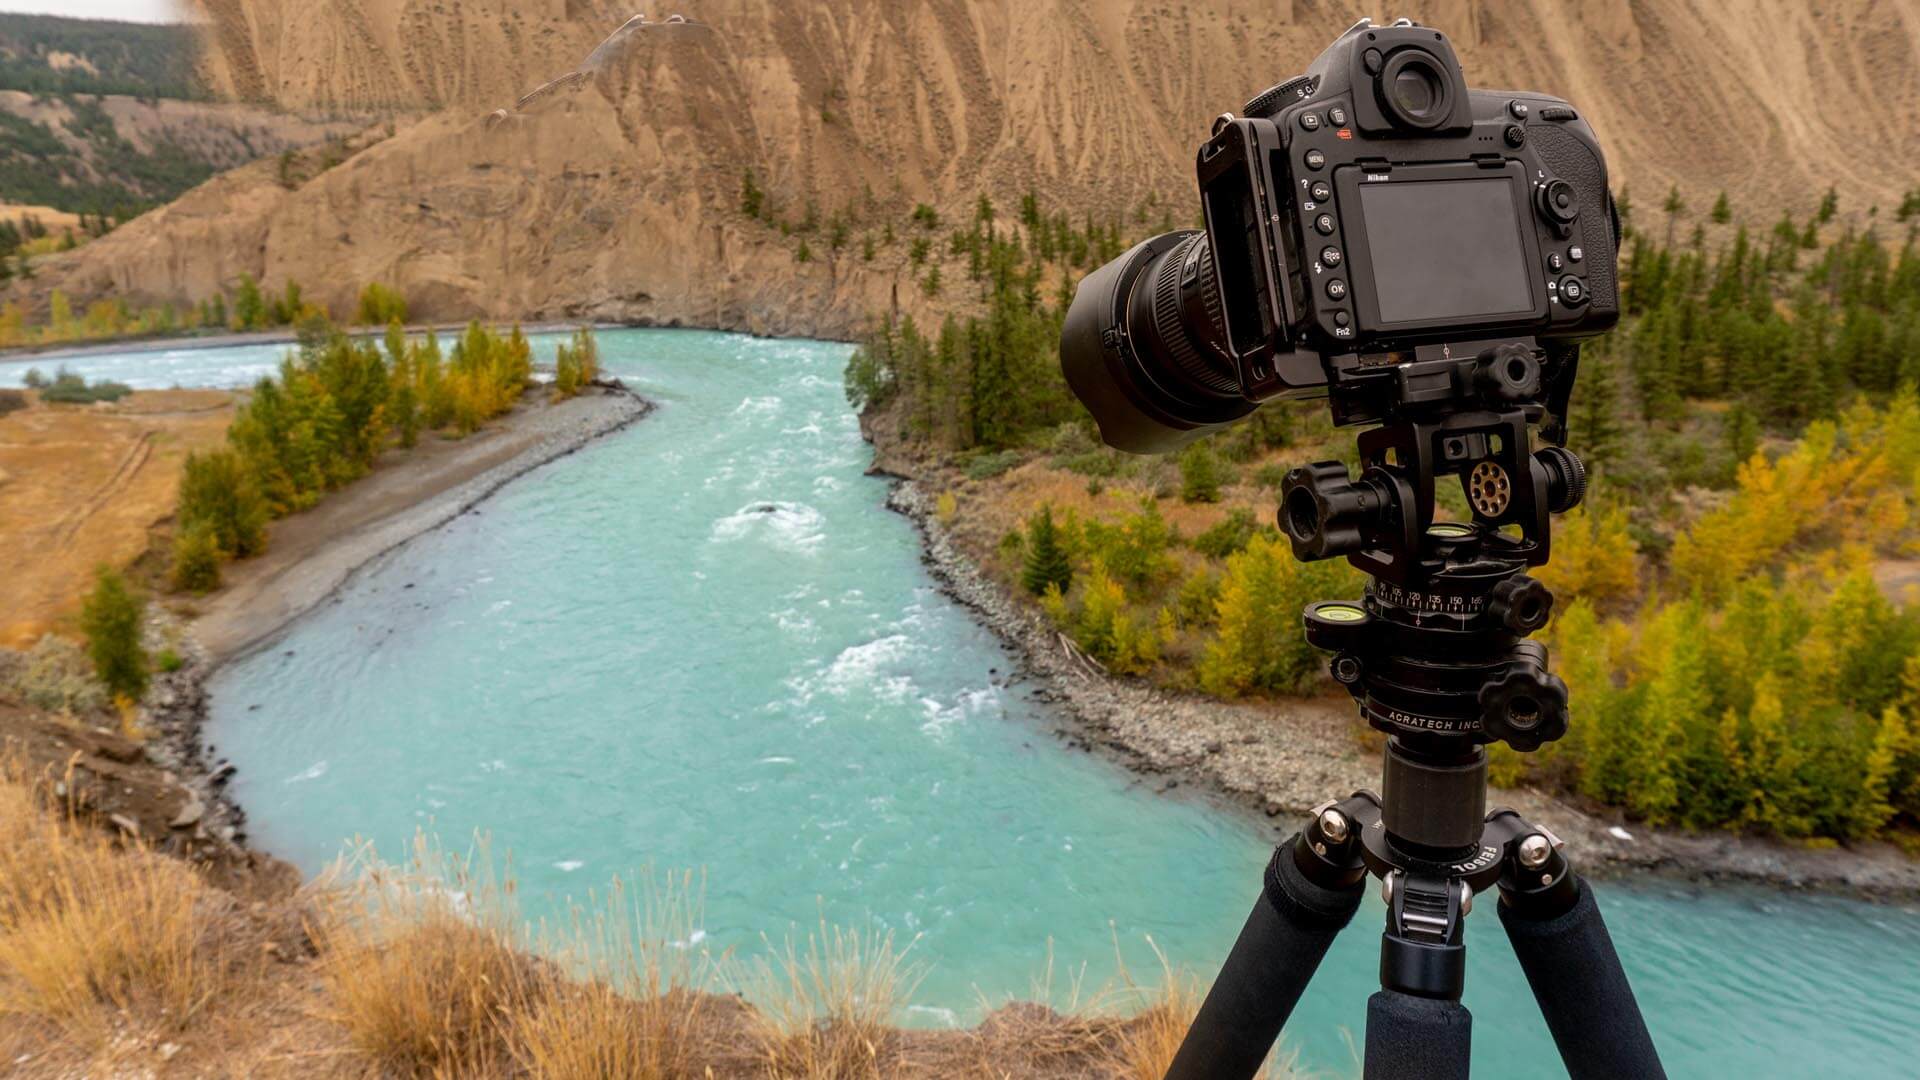
I personally use the Feisol Traveller Rapid Carbon Fiber tripod with the Acratech Panoramic Head and Leveling Base combination kit. This camera combination is lightweight, quick to use, and makes it easy to take high-quality panorama photos, which has been an essential part of my professional photography career.
This is a sturdy travel tripod, which are two descriptors that don’t usually belong in the same sentence.
Learn more in this guide to choosing the perfect tripod for you.
Tripod head
Having the right tripod head will make your photography so much easier. Most entry-level tripods come with a ball head. But the ball heads aren’t that useful for taking panoramas because it is nearly impossible to line up the images.
Even though the bulk of the image will be okay, there are often little spaces around the edges of your image that will require you to crop your image in tighter. And when you travel or go on an adventure because you found the perfect conditions for a photograph, you do not want to lose an image because of not having the right tripod for the job.
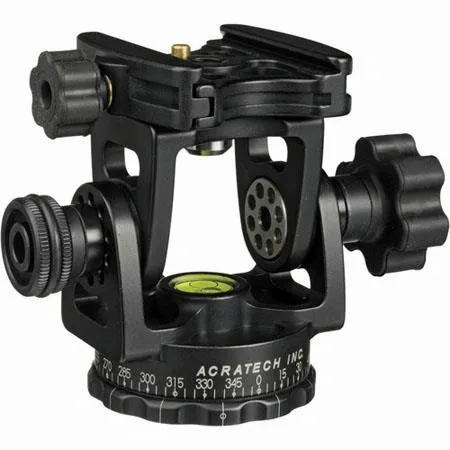
If you are a landscape or interior photographer who wants to create panoramas, you will need a tripod head that doesn’t get in the way. That is why I recommend the Acratech Panoramic Head and Leveling Base (find it here on B&H).
This tripod head is perfectly designed to make taking panoramas easy with any lens that’s on the camera. The designers thought of everything, from height, to the gearing that makes aligning your images effortless.
Read my full review of this tripod head combination here.
Bubble level that fits in the hot shoe
Sometimes it’s the simplest things that quickly become the most essential camera accessories. This simple bubble level sits on the hot shoe of your camera so that you always have a real indication of whether your camera is level or not.
Many tripods do come with a bubble level on the base, but often they are obscured as soon as you put the camera on the tripod. That means if you have to make any changes to your composition, you won’t be able to make it without upsetting how level your camera was in the first place.
That’s why every photographer needs a bubble level that has a hot shoe mount. This essential piece of camera gear is always in my camera bag so that no matter what tripod or other equipment I’m using, the level will always be visible on top of your camera. Here’s one that I recommend on B&H.
Mini Tripod
Have you ever been in a situation where you want to take photos, but there is a big sign saying ‘No Tripods Allowed’? They have these signs at major attractions, like at the top of the Empire State Building in New York, art galleries, and many large events.
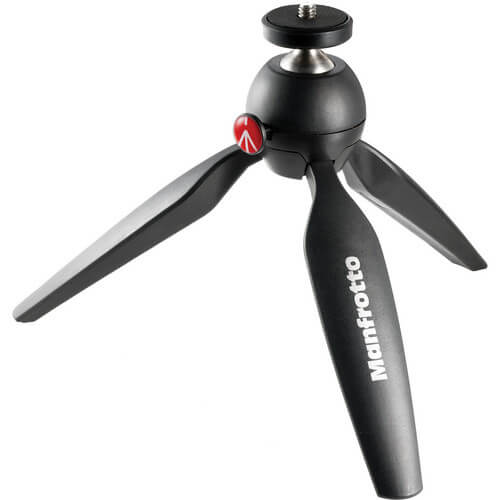
But one thing that they will allow is the use of a small, pocket-sized tabletop tripod (like this Manfrotto one that I personally love using).
The Pixi Mini tripods are keeping your camera stable when taking images close to the ground.
I use these for taking photos in the middle of the road, where I need to get the photo as quickly as possible. I can set up this mini tripod inside my car, and then run out into the middle of the road, and capture the image in seconds.
For this reason and so many more, I never leave the house without my Manfrotto Pixi Mini tripod.
Remote shutter release
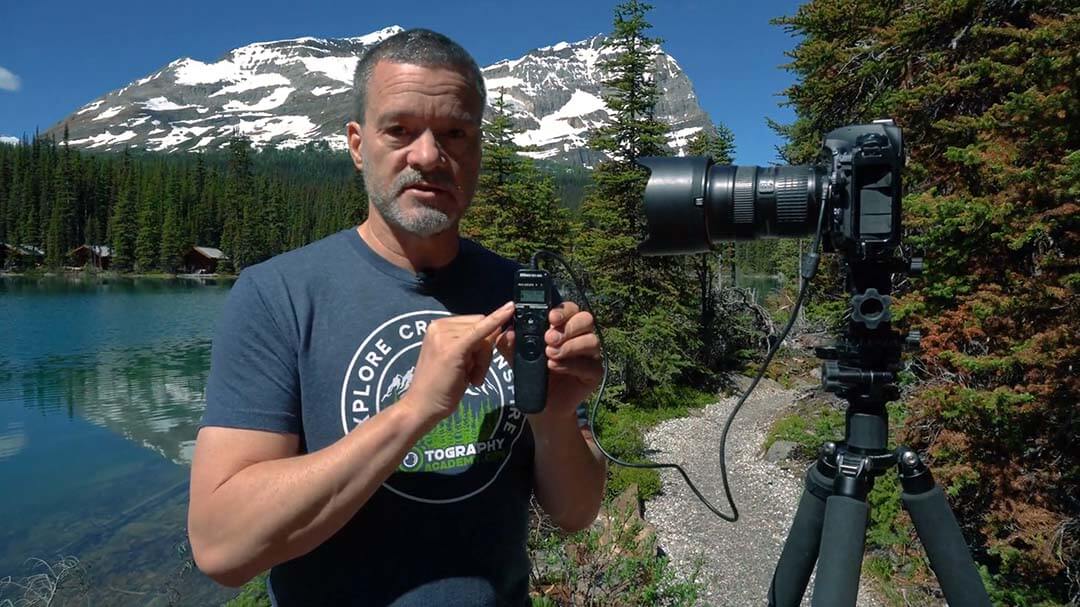
If you’ve ever taken long exposures, you’ll know that even having your camera on a tripod isn’t always enough to remove the camera shake. Even just pressing the camera shutter button can be enough to shake the camera and ruin image sharpness when using a slow shutter speed.
Most cameras come with a built-in 2-second timer, which is enough to reduce the camera shake when taking a long exposure. but it’s never as convenient as using a remote shutter release.
Remote shutter releases are one of the must-have camera accessories for any photographer who wants to take long exposures. This is because they make it so much easier to time your photos, and also come with a number of different modes for making time-lapses.
The remote shutter releases can either be wireless or have the remote control connect directly to the camera with a wire. I personally prefer wired shutter releases because there is less that can go wrong with them. There are fewer batteries, which means there is less that can go wrong in the cold.
I’ve used remote shutter for everything from making videos of clouds forming along the horizon to capturing stunning star trail images after leaving my camera out all night while the remote shutter release does the hard work of keeping the shutter going.
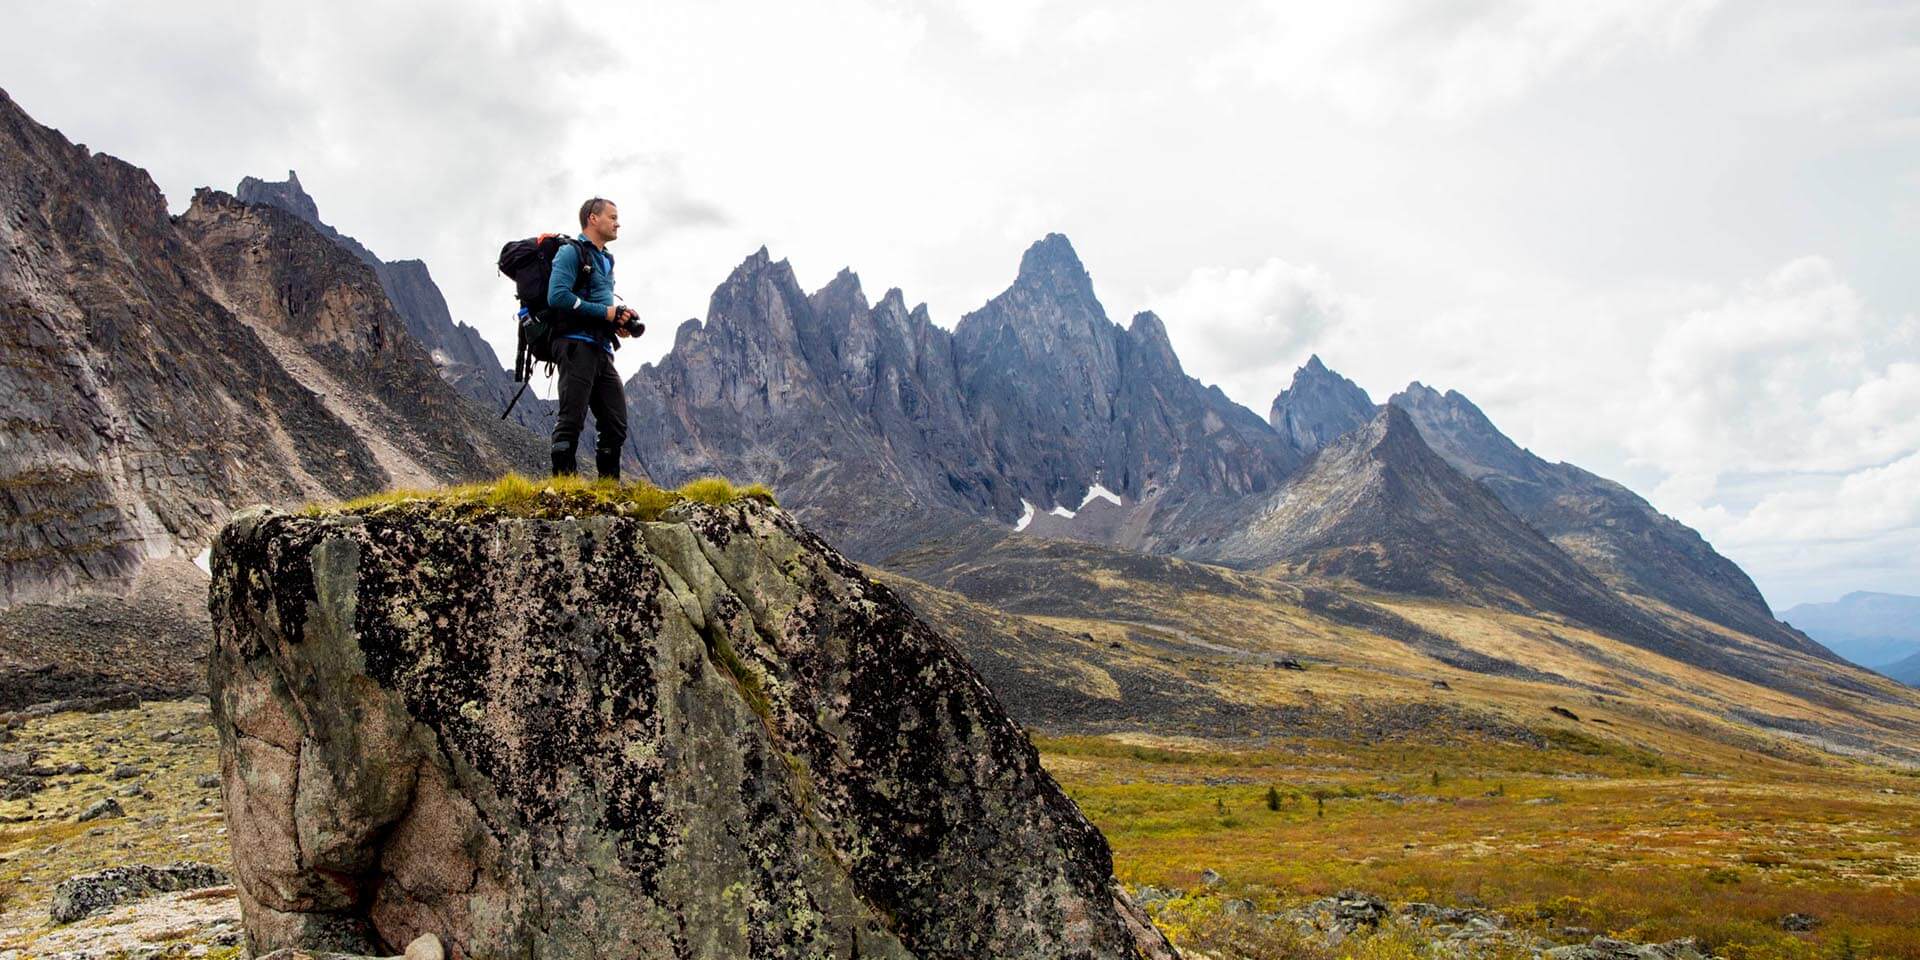
Backpack
Camera bags are among the most important camera accessories. Once you start building up a collection of gear, you’ll need to upgrade your bag to keep all of your expensive gear safe.
A good camera bag will have space for multiple digital cameras and lenses. You want to be sure that the spaces are adjustable so that you can fit in various camera lenses, a camera body, flashes, and all the other accessories that you need on your photoshoot.
The adjustable compartments also make it possible to tighten the space when you upgrade from a DSLR to a smaller mirrorless camera. That way your gear doesn’t fly around all over, bumping into each other and creating scratches that affect the resale value of your gear.
Every camera backpack needs to have these features:
- Adjustable interior padding (to protect the camera, lenses, and accessories
- A back opening design (keeps the dirt off your clothes)
- A tripod strap on the outside
- A pouch for extra clothing or accessories
- Pockets for batteries and SD cards
- A laptop sleeve
These are the basic features of every camera bag that I personally use. Other features that I enjoy having are water bottle pouches on the outside, a top pouch for clothing and snacks, as well as hip straps to take the weight off of my shoulders on long hikes.
This is the camera bag I use that meets all of these criteria. I’ve used it for the past 5 years, and have hiked around the world with it without any problems.
See this article for a full list of all the must-have features in every camera bag, including some more of my personal recommendations from the bags that I have used in the past.
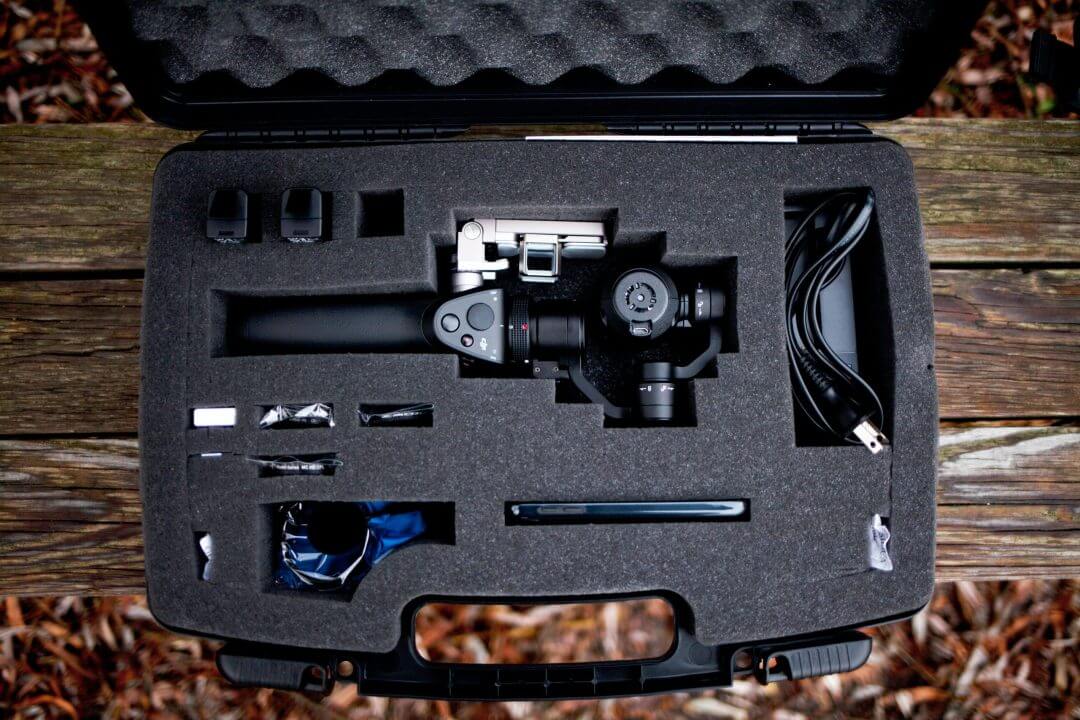
Pelican-style hard case
There are some times when a regular camera bag just isn’t enough. When I’m traveling on a boat or in an airplane with sensitive equipment, I love using a hard Pelican-style case with customizable foam inserts that keeps all of my gear perfectly safe.
If they get bumped around in turbulence, or if some water splashes onto my kit, I won’t have to be worried about the gear getting damaged.
And also nothing will make you look more serious about photography than showing up with a hardshell case filled with professional digital camera gear in pristine condition.
The Pelican-style case is one of the best camera accessories for this reason. They increase the resale value of your camera gear and guarantee that it’s always going to make it to the next job in perfect condition.
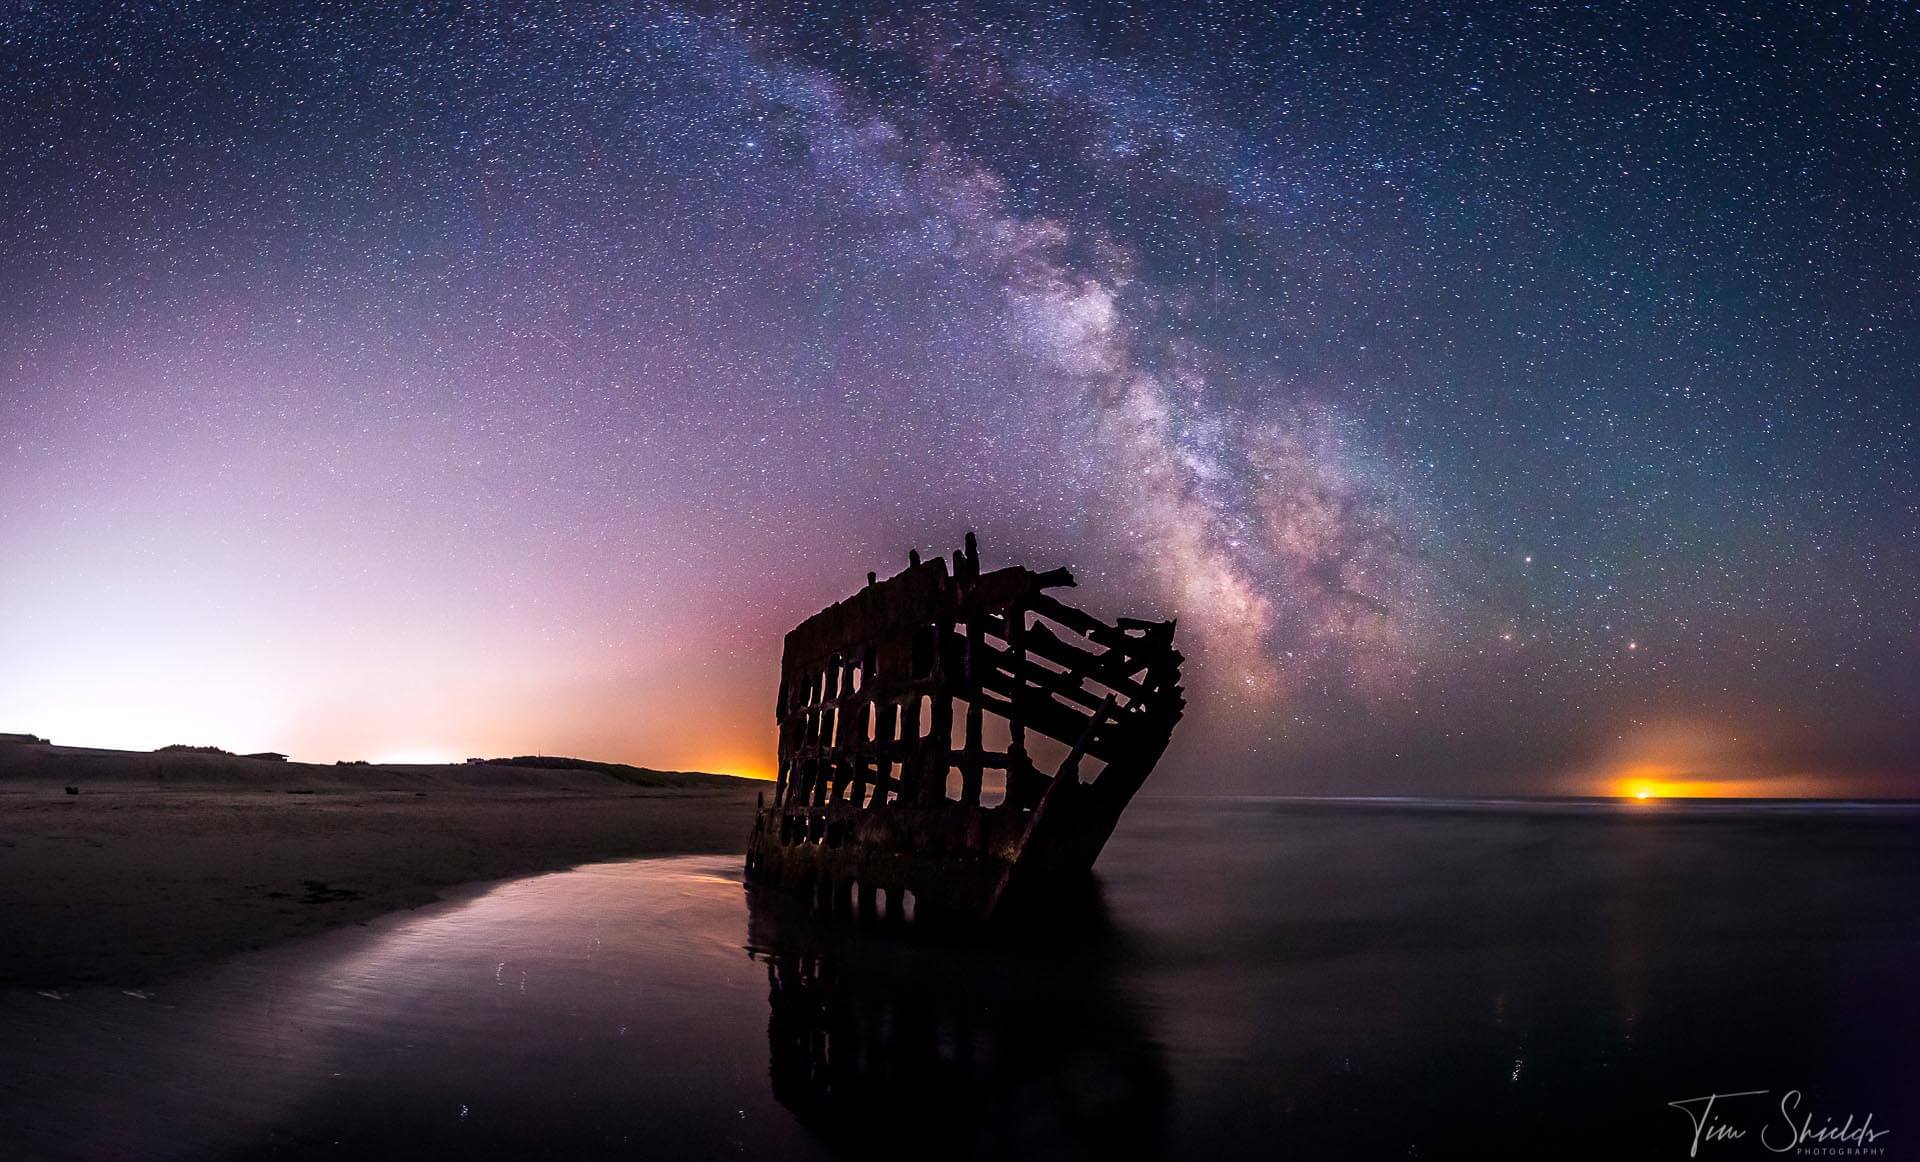
Fast prime lenses for night sky photos
When you’re out photographing the stars or the Milky Way, you need to have a fast prime lens. Prime lenses are sharper and have a faster maximum aperture than zoom lenses, allowing more light to hit the sensor.
These are essential for night sky photos because if you want to have a tack sharp image of the Milky Way or other stars, you’ll need to capture as much light as possible in a short amount of time. You’ll need to follow the 500 rule of photography, which is where you find the maximum length of your exposure by dividing 500 by the focal length of your lens.
With a 24mm lens, the maximum length of time you can expose the camera is 20 seconds before the stars begin to blur in the sky. With a professional f/2.8 lens, you will have to either use a really high ISO to capture enough light, or you will capture fewer stars.
So the best lens for night sky photography is a 20mm f/1.8 or f/1.4 lens. At 20mm, using the 500 rule for astrophotography, you can have a maximum exposure time of 25 seconds, and capture almost 2 stops more light.
Plus, the prime lenses are sharper and make a brighter image in the viewfinder for easier focusing at night.
Here’s the 20mm f/1.8 Nikkor lens that I have used for the past 5 years. It’s half the weight of a 14-24mm f/2.8 lens in a smaller form factor, which has been a blessing when hiking through the mountains.
Canon and Sony users have the option of the Sigma Art 20mm f/1.4 lens, which is an incredible, tack sharp option designed for night sky photographers.
Extra batteries
The last thing you want on a trip is for your camera batteries to run out of juice. You can’t create digital images without batteries, so if they run out, you’ll be carrying just a pile of bricks on your back.
So to make sure that never happens, the absolute most essential camera accessory for landscape photography is a set of spare batteries.
You can also purchase a battery grip for your camera to double the battery life. Some battery grips even unlock new features in your camera — such as allowing you to take more frames per second with the Nikon D850.
Mirrorless cameras have a shorter battery life than DSLR cameras, so it is always advisable to bring more batteries along with you. If you haven’t tested the longevity of your camera yet, the last place you want to put it through its paces is on a once-in-a-lifetime trip.
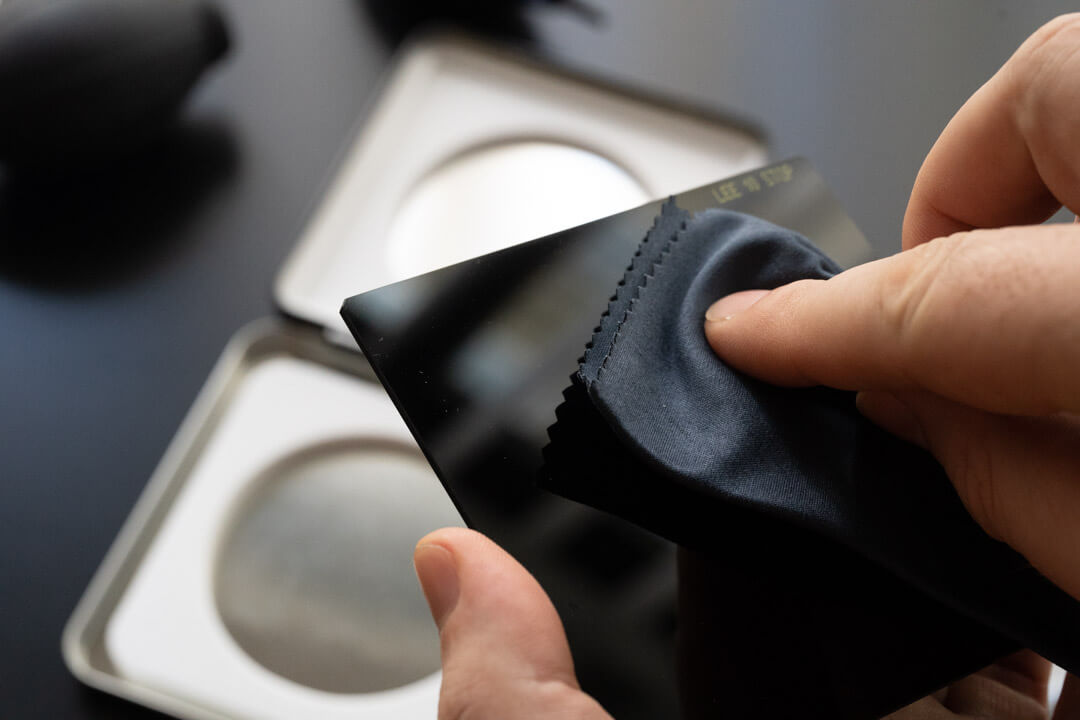
Neutral Density filters
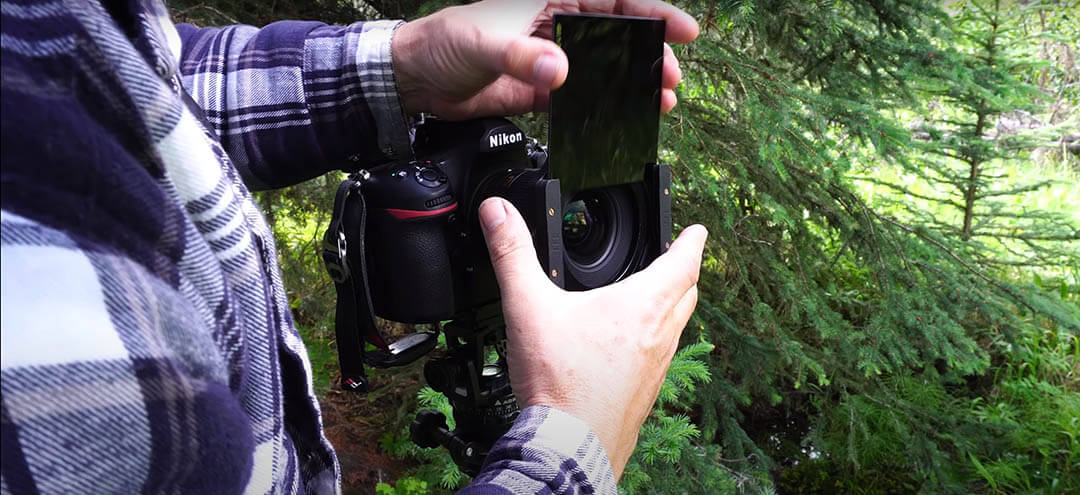
If there is one camera accessory that I never leave the house without, it’s my pack of neutral density filters. These are a small piece of glass that work like sunglasses on my camera. And they are the single piece of equipment that allows me to take all of my favorite landscape photographs.
A neutral density filter blocks out much of the light, allowing you to take long exposures even in the middle of the day. That means you can blur water and capture motion in the clouds without having to wait until it’s dark out.
I personally use the Lee Filter System, because it’s one of the highest-quality neutral density filter systems available. Filter systems like these allow you to quickly stack filters to get longer exposures, while also allowing you to conveniently take the filter off to check focus and composition.
But the biggest benefit of using a filter holder system is that you can use graduated neutral density filters. These allow you to block out the light from part of the image to even out your exposures across the image.
The Lee Long Exposure kit comes with everything you need to get started taking better landscape photographs. But you will need to buy an adapter ring for the filter thread of your lens. If it’s a wide angle, be sure to purchase a wide-angle adaptor.
Polarizing filter
Polarizing filters are one of the best photography accessories that you can have in your bag. They help to cut out reflections and glares that become distractions in your images.
A polarizing filter blocks out the light that has become polarized by reflecting on a non-metallic surface like water. They’re very useful on bright sunny days, or when you want to capture the true color of water without all the shiny reflections.
The Lee Filter system can also use a polarizing filter for maximum convenience, which you can find for the best price on BHPhotoVideo here.
Extension tubes
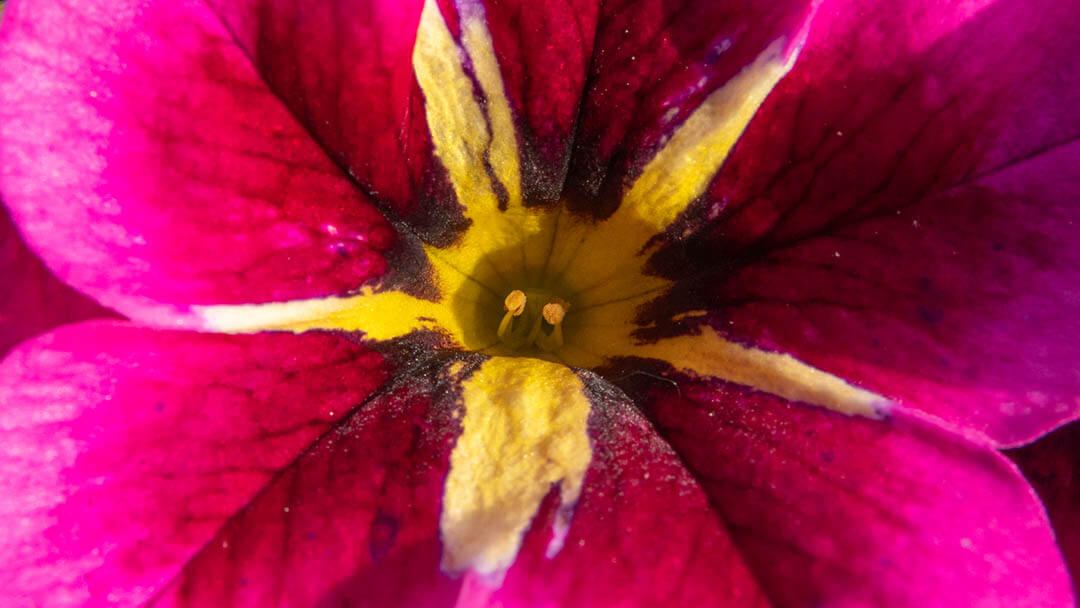
If there is one cheap photography accessory that opens the most doors, it’s likely the extension tube. These are metal rings that sit between your camera and the lens that allow you to take macro photographs on non-macro lenses.
Using an extension tube, it’s possible to focus very close to your subject so you can capture detail in the tiniest objects, like jewelry, flowers, insects, and mushrooms with your standard lens.
The extension tubes allow you to magnify the images without any optics, meaning there is no extra chromatic aberrations or distortion added by having another piece of glass in front of your lens like a close-up filter.
When purchasing extension tubes, be sure to find one that has electronic contacts. They’re a little more expensive than the cheaper options that don’t have contacts, but they will allow your camera to communicate with the lens so that you can control the lens aperture and use autofocus.
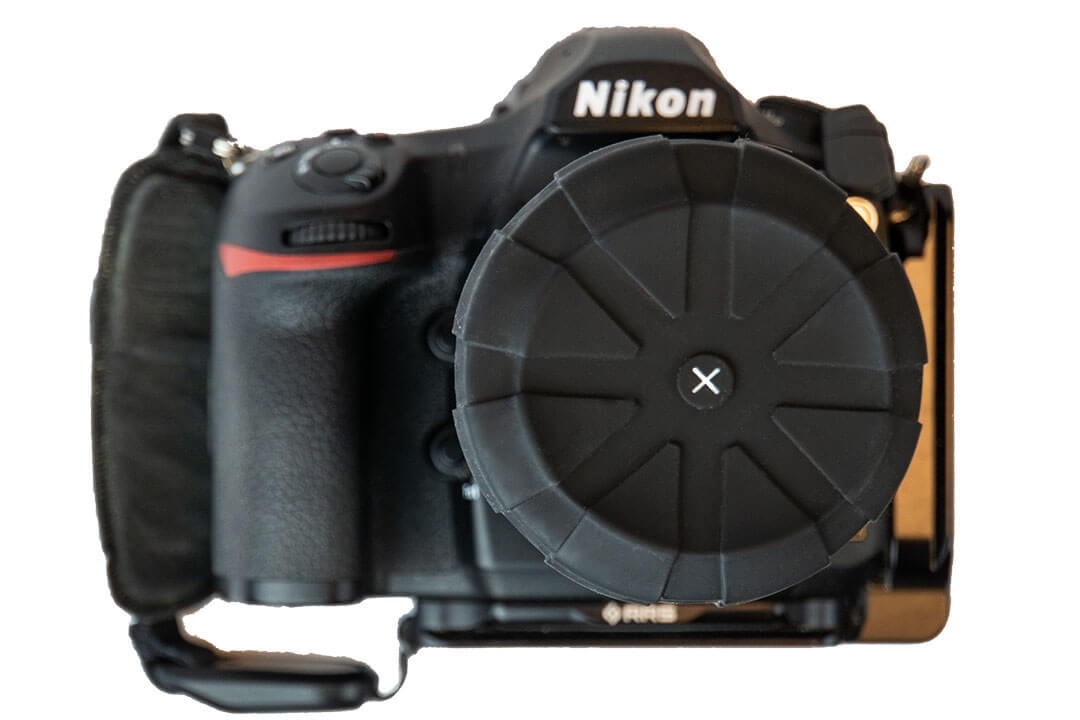
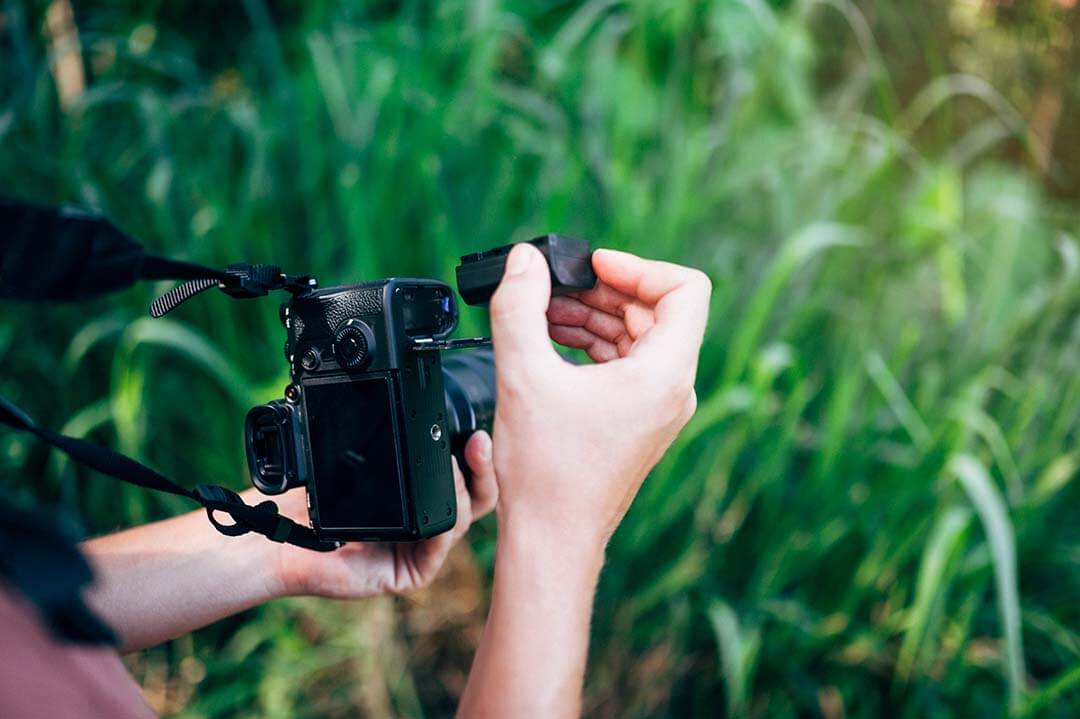
Lens cover
Having the right lens cover is vitally important for protecting your gear, especially if you’re out in the rain or the desert. Sand, dust, and water can all ruin a lens for good. Silicon lens covers completely seal the front and back elements of a lens, and are often much better at keeping water and dust out of the lens than the standard covers that come with the lenses.
The good news is these lens covers are also cheap, and universal, meaning if you can adapt the ones you have to your kit so you have them whenever you’re out in the field and need them most.
There are a few brands that make these, but most of them are made from the same materials and process, meaning you can purchase whichever ones you find the cheapest without any worry about getting a low-quality cover.
Microfiber cloths
You never know when you’re going to get your camera lens wet or dirty in the field. Especially when you’re dealing with neutral density filters and other accessories, it’s easy to accidentally touch your lens and leave a sharpness-ruining fingerprint, mud, or debris on the front element of your lens.
That’s why I always carry a couple of new microfibre cloths in my bag. And on long trips, they always come in handy — even if it’s just to clean my glasses.
The last thing you want to use to clean your camera lens is your shirt. Unless it’s a pure soft cotton, it’ll end up scratching the elements permanently, which can harm your images and the resale value of the lens — especially older lenses from the film days are prone to this problem.
Here’s how to clean your camera sensor the right way.
Sensor cleaning kit
The first thing I do before every big trip is clean my camera sensor. One of the most frustrating things is to come home with a memory card full of images that have dust spots everywhere. They’re usually easy to fix, but the amount of time it can take makes cleaning dust a daunting task.
The easiest way to get rid of this problem is to clean your sensor once a year, or every six months if you’re using a mirrorless camera (which are prone to collecting large volumes of dust).
But you can’t just use a regular microfiber cloth and cleaning spray. To clean your sensor, you’ll need a specialized sensor cleaning kit that has a cleaning solution and special swabs that are designed for this kind of sensitive job. If you’re too rough when cleaning your sensor, you might leave a scratch, which will then show up in every image you take.
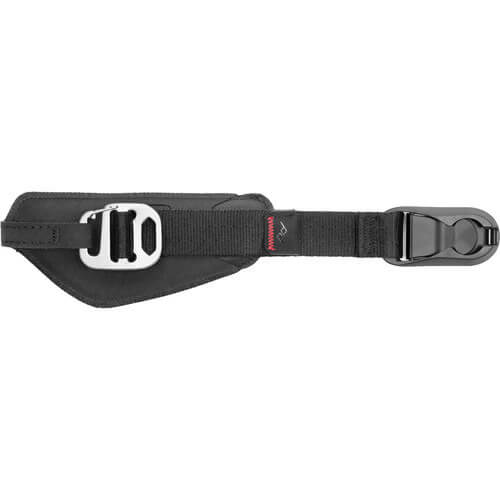
Peak Design camera strap
The default camera straps that come with your camera are pretty good. But when you’re taking photos in the wilderness, a neck strap can get in the way.
Ideally, you want the kind of strap that will make your camera hand-holdable and secure, without getting in the way when you need to keep your camera steady on a tripod.
The straps that I have used for the last 8 years are the Peak Design Clutch wrist straps. These use the innovative Peak Design capture clips, which fit perfectly on almost any tripod (including the Acratech tripod head) and don’t get in the way because of their small form factor.
When you need to take it off, the Peak Design clutch comes off in seconds so that you can be sure it doesn’t get caught in the breeze and cause camera shake and ruin your image quality.
These are the perfect camera strap — I’ve personally bought these for every camera that I own so that it’s always available.
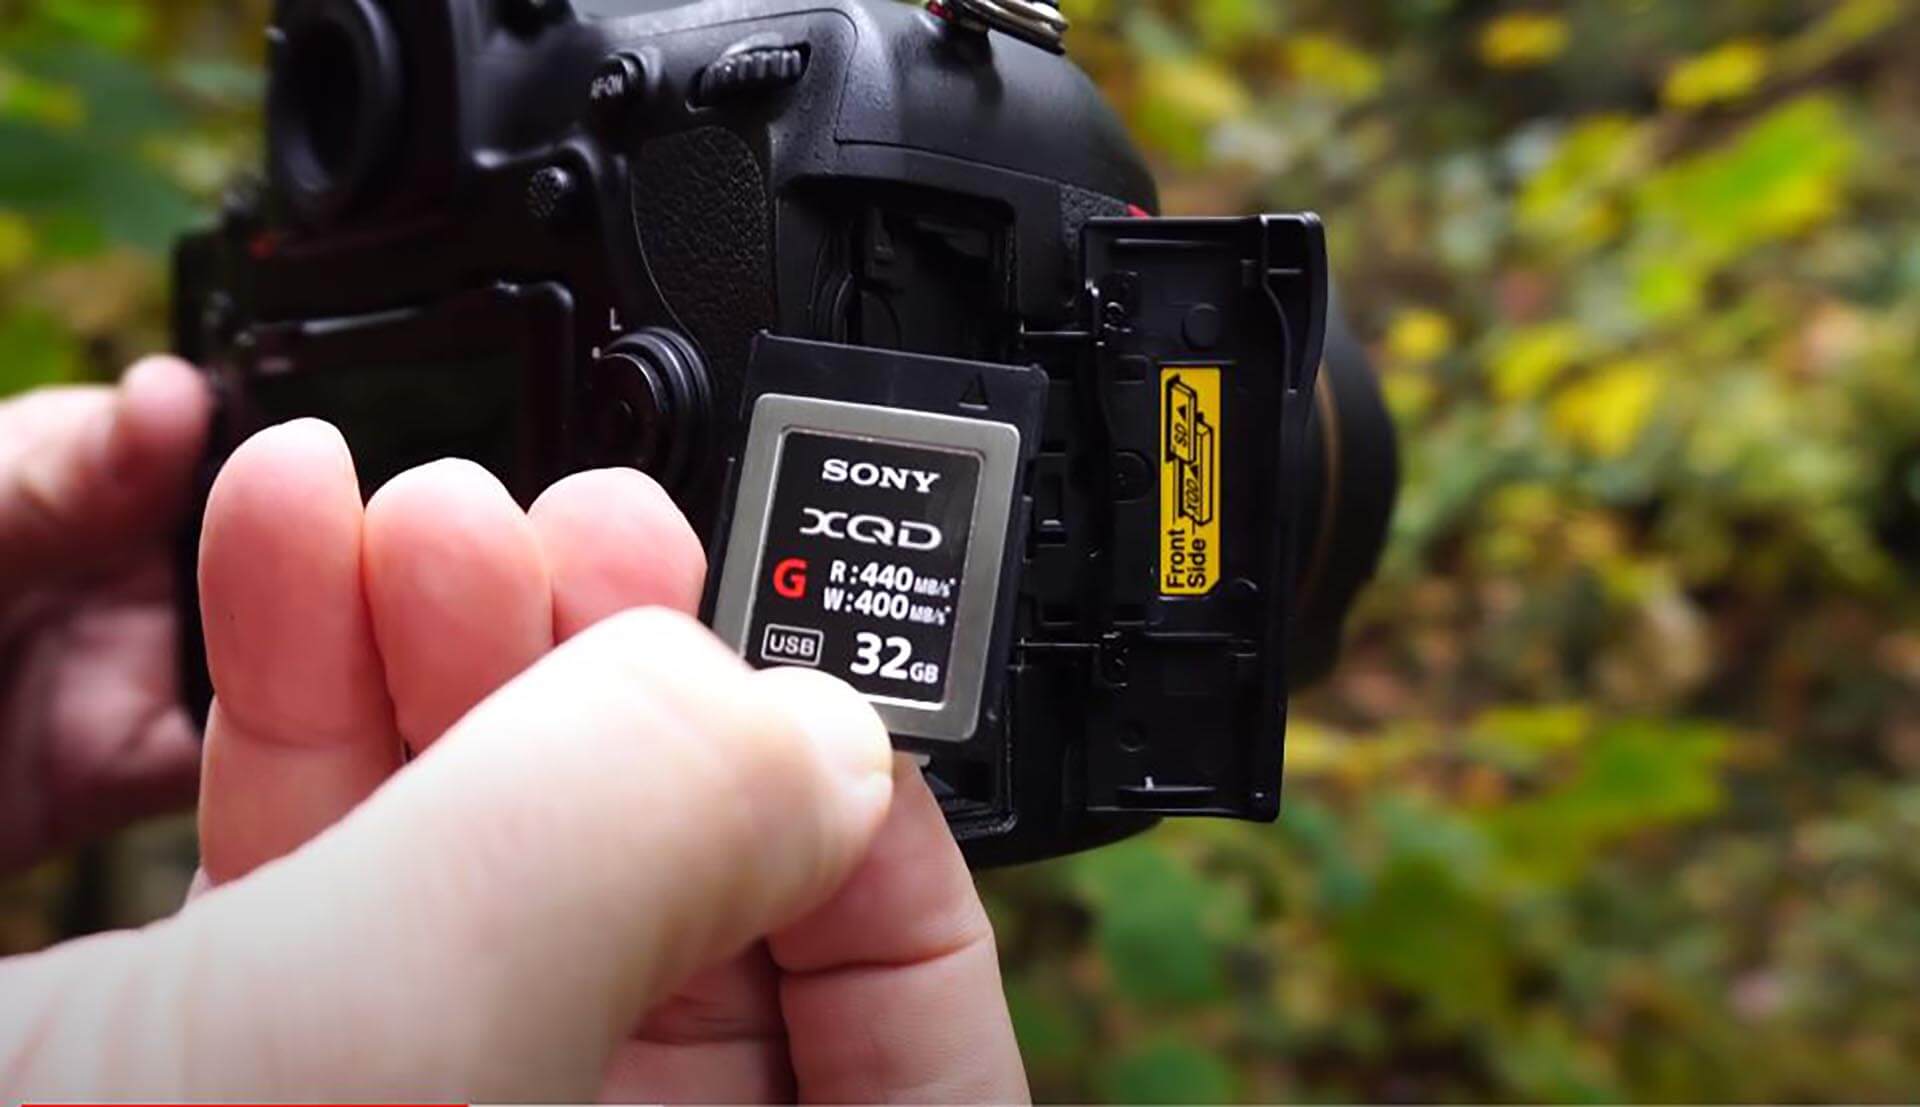
Memory Card reader
There’s nothing worse when you’re on a trip than realizing you have no way to backup or see your photographs. There is no camera accessory that I forget more often than my memory card reader.
These are necessary for anyone who uses non-standard memory cards, like Qfast, CFExpress, or Compact Flash. Many laptops have a card reader built-in, but no computers have a reader for a compact flash.
That’s why I ended up purchasing a card reader that only lives in my camera bag. That way I never forget it at home, and end up making another run to the nearest electronics store to find one.

External hard drive
Digital storage is not permanent. If you only have your photos stored on your computer or on your SD card, they are not secure. The fact is, digital storage is always prone to failure.
That’s why I always have an SSD drive handy. Even if I keep my photos on my memory card and on my computer hard drive, I will always have a second (or third) backup in case one of the other two gets lost, corrupted, dropped, stolen, or another mishap.
Even if you’re the most careful person in the world, there’s always a chance of losing files. Theft and accidents happen everywhere.
And if you’re a working photographer who relies on these photos (or wants to start relying on the photos), you will need to have another storage place to ensure you don’t lose them.
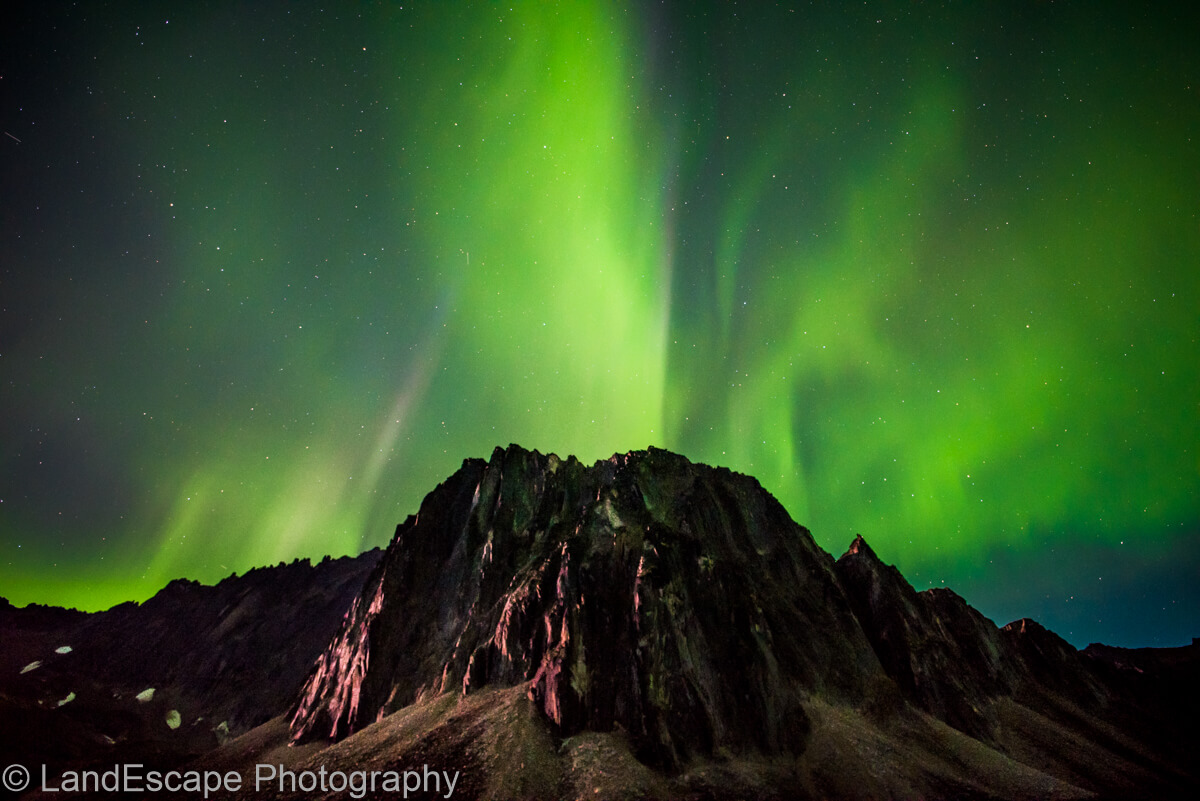
Flashlight
When you’re chasing sunrises and sunsets, you’re going to end up walking to your location in the dark either first thing in the morning, or after the sun goes down. When that happens, the light on your phone isn’t going to be strong enough to guide you out of the forest.
You need something stronger to avoid tripping over rocks and roots, or even just to find the right place to set up your tripod. That’s why I always bring a powerful flashlight with me when I’m out taking landscape photos.
Having a powerful flashlight can also help you take cool photos starry night with a person pointing a beam of light up at the sky. Ask your subject to go out into the middle of your composition (or bring your remote shutter release and do it yourself), and point up into the sky while you take photographs.
Having a set of walkie-talkies will also be a major benefit here if you want to take multiple images without having them come back each time.
Here’s the flashlight that I use for this exact purpose.
Bring a Headlamp
One step above a flashlight is a headlamp. These are especially useful for those who are going out and camping in between taking photographs.
The benefit of the headlamp is that you’re still able to use both of your hands to set up camp, cook food, pack your gear, or any other business you may have to attend to.
It may not be one of your typical photography accessories, but it’s certainly one that’ll allow you get to your location when there isn’t enough ambient light to see two feet in front of you.
Having a headlamp has saved me from falls and scratches multiple times out in the field, so I highly recommend these to anyone who is serious about going out and taking photos away from civilization.
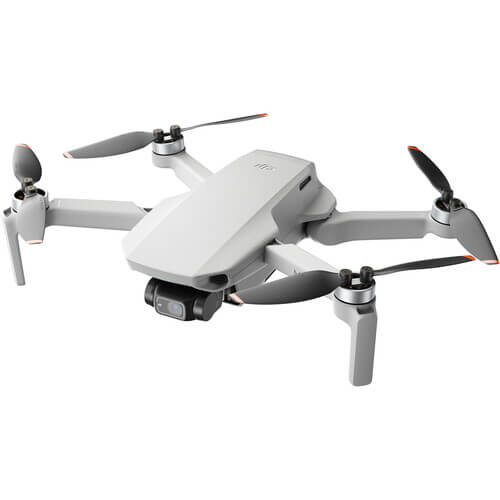
DJI Mini 2
The last accessory that can get you into new perspectives is having a drone. These cool devices allow you to take photos and videos from any angle and open up a ton of images that you otherwise wouldn’t be able to access with a traditional camera.
The DJI Mini 2 is a great option for drones because it has such a small form factor and is lightweight enough that it doesn’t require a license to pilot in all of North America. That makes it the perfect drone to practice with to see if it’s something that you enjoy using before diving into bigger and more expensive models.
I’ve used this drone for more than a year now, and have greatly enjoyed the kind of access it gives me. Once you learn how to pilot them smoothly, you’ll be creating incredible footage and images that you’d never be able to from the ground.
Just be aware that in some national parks, or near airports, you may not be able to take off or land without having a proper permit, license, and the ability to liaise with air traffic control.