
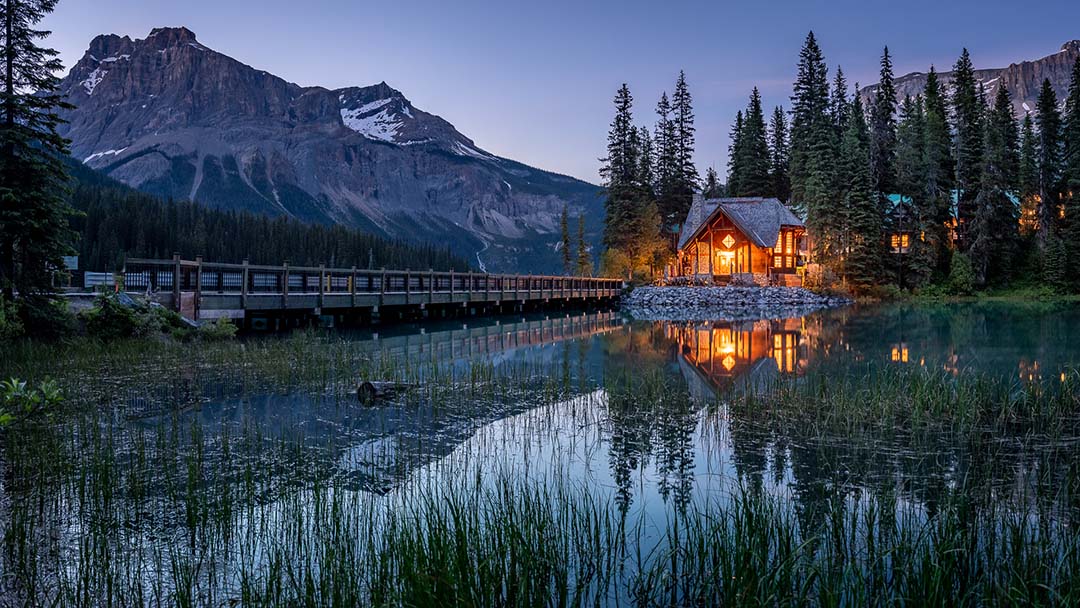
Many new photographers stress over using the right camera settings for landscape photography. While I can’t tell you the exact settings, there are some simple rules to follow that will make the whole process intuitive.
So what settings should you consider using when shooting landscape photos?
The best landscape photographs are usually taken in raw format with a small aperture around f/16 and the lowest ISO possible. In most cases, that will require the photographer to use a tripod to overcome slow shutter speeds, especially around sunrise and sunset when the light is just right.
Using this combination with the shutter speed varying depending on the light is a great way to set up your camera to capture the highest-quality photos possible. Most landscape photographers shoot in either aperture priority mode, or manual mode to dial in the perfect settings for their photos.
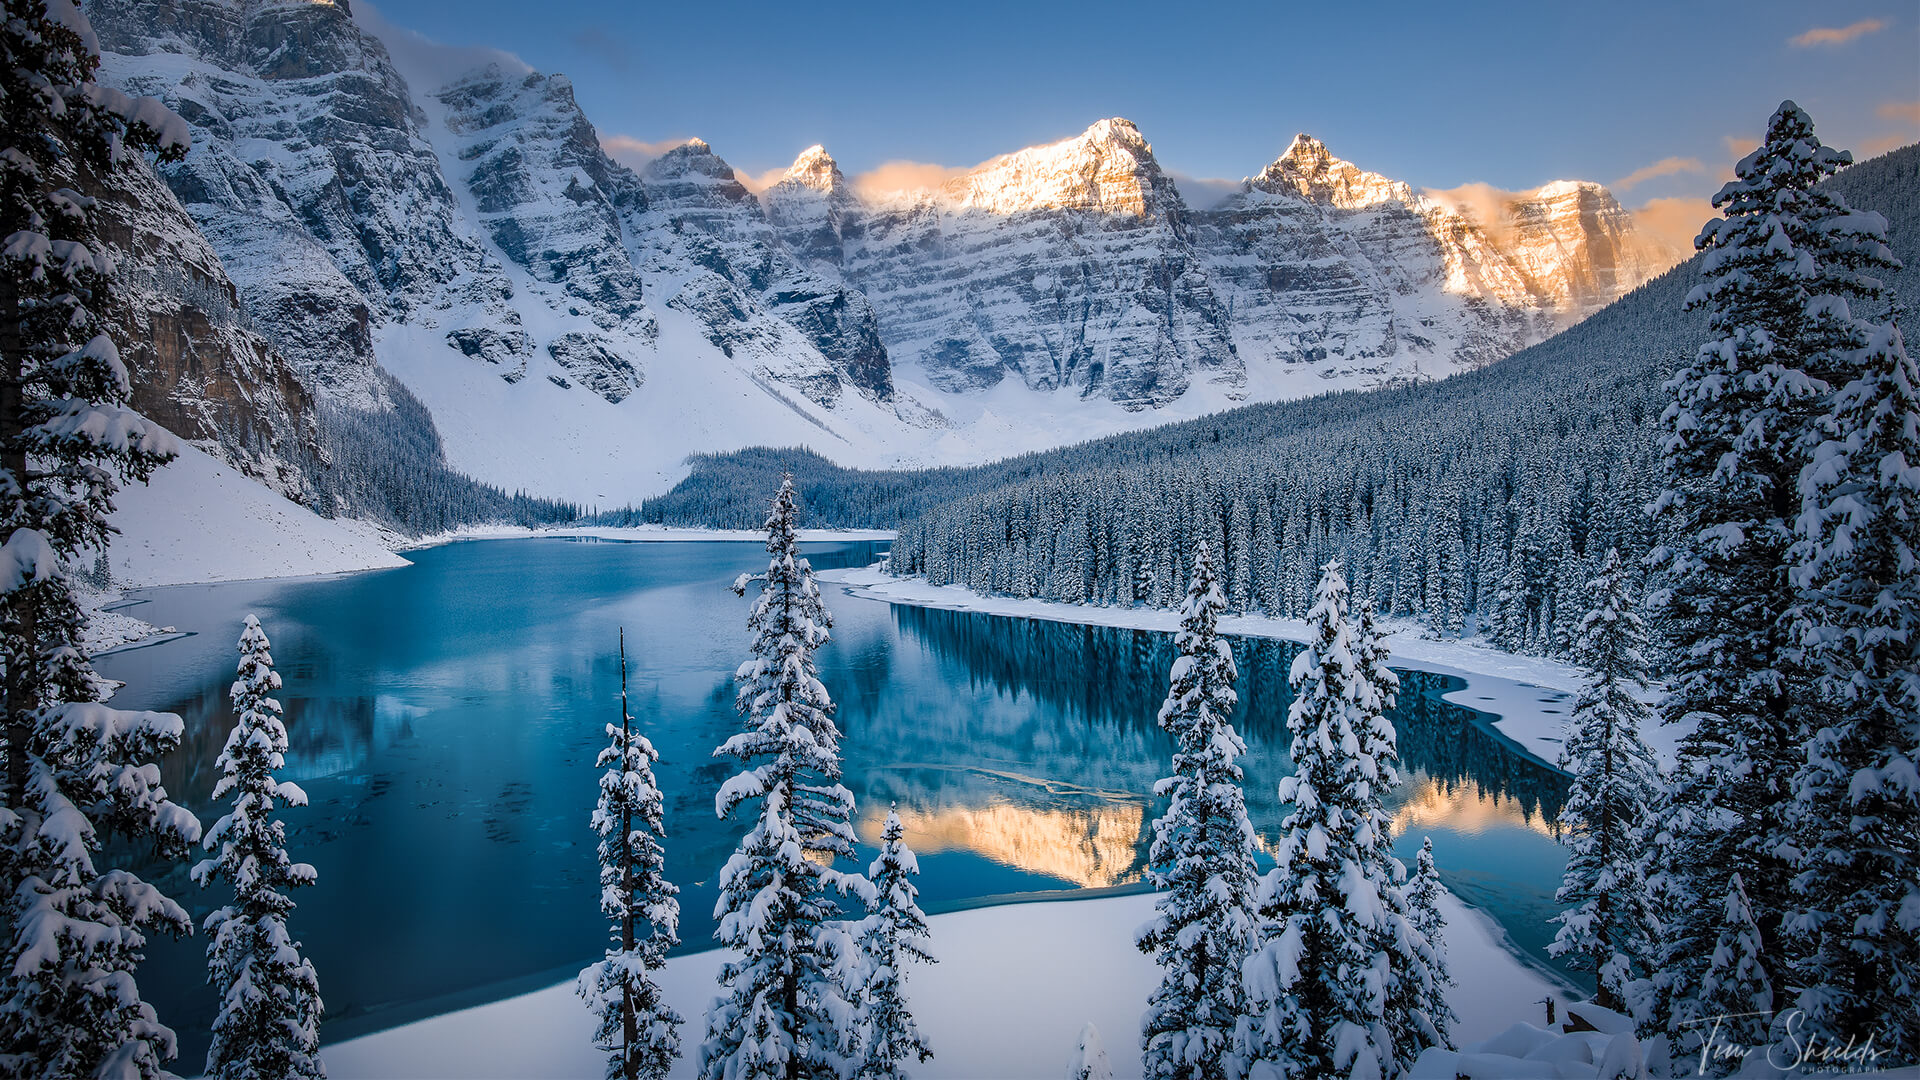
Let’s start this off with an example photo, and I’ll show you all of the settings that I used, and then further into the article, we’ll go into why and how I choose the settings that I do.
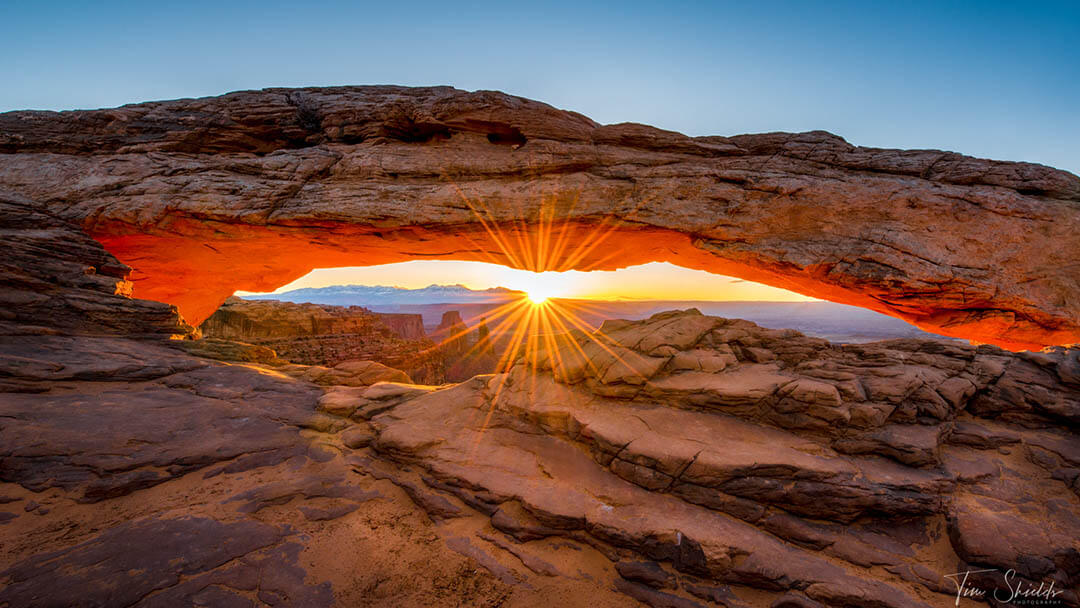
Camera settings used to capture this famous Mesa Arch photo
Here are the camera settings that I used to take this landscape photograph:
- Shutter speed: 1/60th
- Aperture: f/16
- ISO: 100
- Auto setting: Manual mode or Aperture Priority mode
- Format: Raw
- White Balance: auto
- Metering mode: spot metering
- Focus mode: Single-point AF
- Capture mode: single shot
This morning was very bright. When the sun started coming over the horizon, the sky was completely blue, and the whole area was filled with pure, bright sunlight.
The primary goal was to capture the glow on the bottom of the Mesa Arch. I started with an f/16 aperture since I was close to the arch with a wide-angle lens, and wanted to capture everything in focus. If I go smaller than f/16, then I will start to lose sharpness because of diffraction.
Then, because I was on a tripod, I used the lowest ISO possible on my Nikon D800, which was ISO 100. Using the lowest ISO guarantees that you will have clean, noise-free images and capture the highest amount of dynamic range possible.
Shutter speed was the final consideration. Because I was on a tripod, and nothing was moving in this photograph, the shutter speed didn’t really matter. In this case, shutter speed is only used to balance out the exposure.
Using spot metering mode (to ensure I am only metering from one, specific area that I need to expose perfectly), and metering off of the glowing arch, I was able to get 1/60th of a second shutter speed, which is pretty fast for a landscape photograph.
What is the best aperture setting for landscape photography?
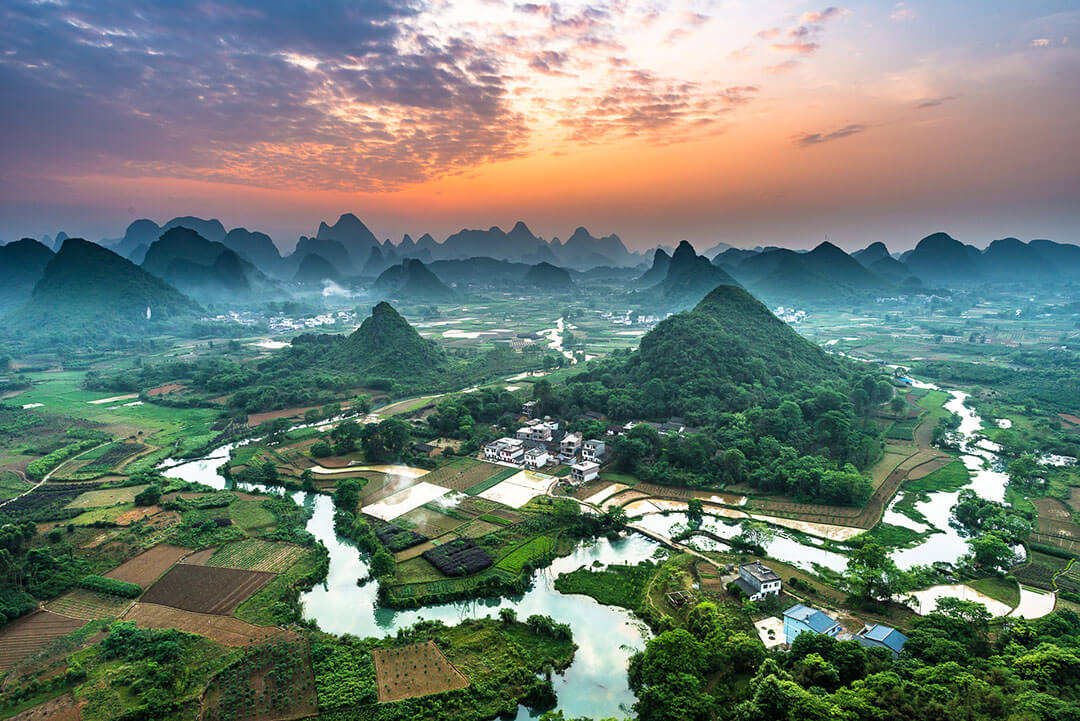
Landscape photographers usually want to create images with the maximum depth of field possible. So most landscape photographs are taken with aperture values between f/8 and f/16 — but there are some cases where using a small aperture will create a more compelling image with a creative use of focus blur.
Depth of field means the amount of the photo that is in focus. The larger the f/#, the greater the depth of field will be, but that greater depth of field comes at a cost of letting less light into the camera. If you’re focusing at infinity, then everything after that point will be in focus — no matter what aperture you’re using — but the details closer to your lens will be out of focus.
That means if you’re taking a photo close to the ground, you will want to use a small aperture to capture the entire image in focus from front to back.
In many cases, the easiest way to ensure proper exposure is to use aperture priority mode on your camera. Aperture priority mode will automatically change the shutter speed to get the perfect exposure so that you can worry about more important things like composition.
How lenses affect depth of field
Another important note is that wide-angle lenses will be able to get a larger depth of field (the amount of the image in focus) than a telephoto lens at the same distance to the closest foreground element.
Quite often I can get the entire image in focus using a 24mm lens when using an aperture value between f/8 and f/16, but when I use the 70mm end, either the foreground or the background will be out of focus even when using smaller aperture values.
This is a very common frustration for new landscape photographers because wide-angle lenses tend to make the background appear smaller. If you have some epic mountains in the background, you’re going to want to make them look huge, but a wide-angle lens will turn those mountains into molehills. learn more about this effect in this handy article about choosing the right lens for landscape photography.
So what do you do when you want to use a telephoto lens to get the entire image in focus? You’ll need to use a technique called focus stacking.
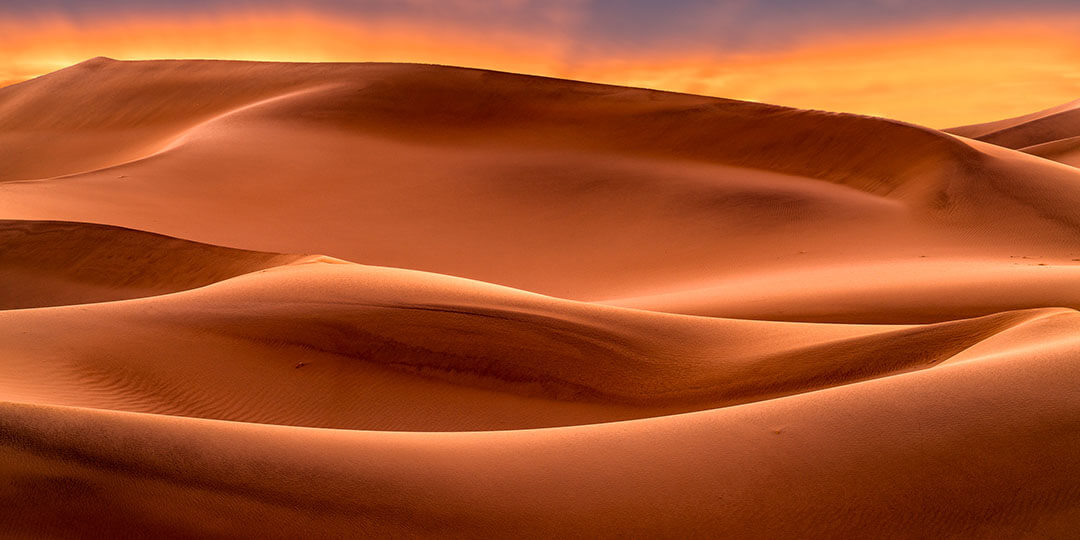
Using shutter speed to create dramatic photos
Landscape photography is one of the few cases where photographers look to use longer shutter speeds. Most landscape photographers use tripods so that they can create noise-free images from front to back by using low ISO settings and large apertures.
When the shutter is open longer, it captures motion blur in the trees, water, clouds, and everything that moves in front of the camera sensor. If you’re not using a tripod, then you will need to use a fast shutter speed to avoid camera shake.
But the advantage of using the slow shutter speed is that it can blur water to create a calm, glassy, and distraction-free appearance. Waves in water can create a distracting texture in your image that makes the image less compelling.
Using a slow shutter speed to blur those sharp ripples makes the image more calming, while bringing the attention straight to the subject of your photograph.
You can do the same thing with clouds and waterfalls, whereby removing much of the texture in the water and creating negative space, you’re able to make a more dramatic image overall.
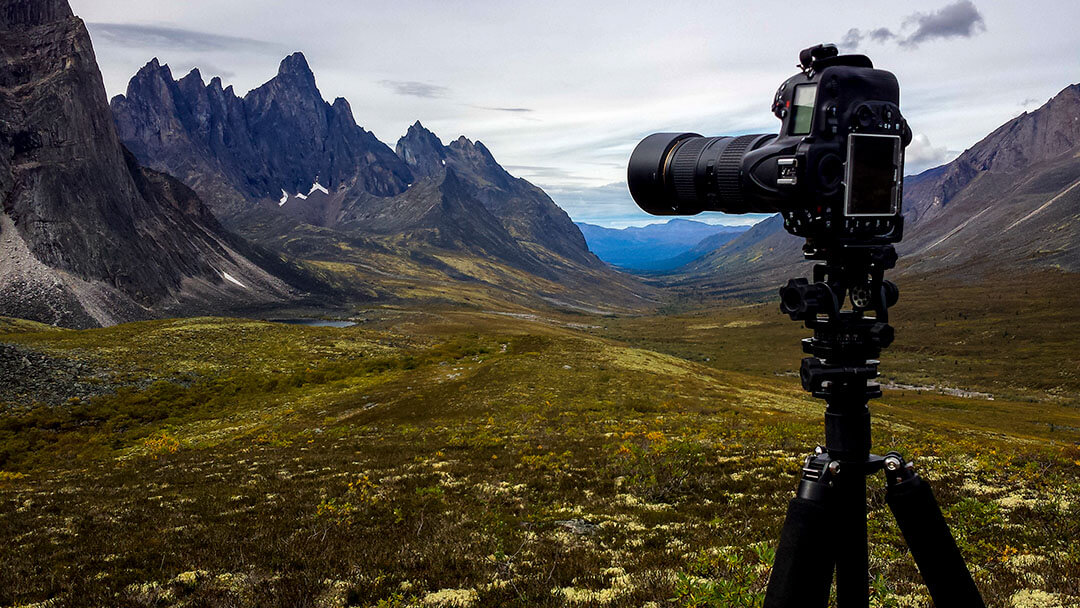
Tripods are the most important tool for landscape photography
Tripods are essential for landscape photography because they open up a lot of options for taking photographs, such as using long exposures and allowing for computational photography.
Without a tripod, it’s almost impossible to stack images, create panoramas, and HDR images. No photographer has rock-steady hands that can take multiple images without some amount of movement.
This is because computers may be able to correct for lateral and vertical movements, but because of the distortion in the lenses, if there is even a slight change of the angle of the lens, there will be no way to make the images overlap perfectly.
But tripods are also the defacto tool that allows photographers to keep the ISO as low as possible when taking photos. Keeping the ISO low means there will be less noise in the images, but it also opens up the maximum dynamic range the camera is able to capture.
When you capture more dynamic range, you’re able to bring back more of the highlights and shadows in the image during post-processing. This is essential for landscape shots during the golden hour, which are times of day when the sky is extremely bright, and the landscape itself is dark.
Tripods are also needed for techniques like HDR, panoramas, focus stacking, and other computational photography techniques that improve image quality. If there’s one tool that will greatly improve a landscape photo, it is the tripod.
If you don’t have a tripod, this is the one tool that can instantly help you create the kind of images that leave audiences in awe. Learn how to choose the right tripod for you in this article.
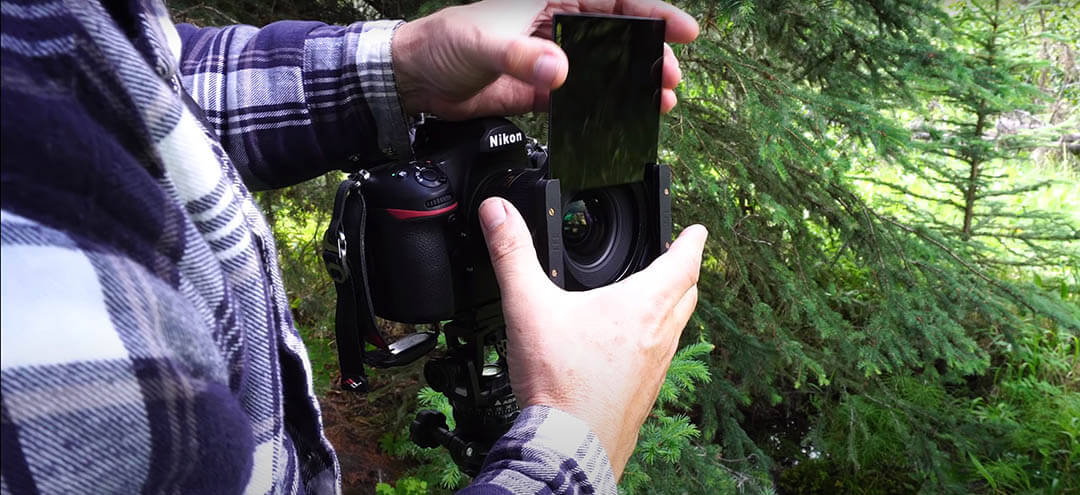
Why landscape photographers use neutral density filters
Almost every other kind of photography requires the use of a faster shutter speed. But landscape photographers loves long exposures.
Often when you’re shooting during the daytime, it’s impossible to get an exposure time that’s long enough to blur water or clouds in an image. If there is bright sun on a clear day, you will have a hard time getting your shutter speed below 1/250th of a second even when using the lowest possible ISO setting and an aperture value around f/16 or smaller.
The problem is, once you start using aperture values that are smaller than f/16, an effect known as diffraction kicks in. Diffraction is where the diaphragm the light is traveling through becomes so small that the light waves interact with each other as they spread out to cover the camera sensor.
When those light waves interact, they will noticeably reduce the sharpness of the image. So as a general rule, photographers like to keep their aperture values between f/4 and f/16.
So when you don’t want to go beyond f/16, but there is too much light outside, the solution is to use a set of neutral density filters. These filters block excess light so that you can use the camera settings that create the sharpest images and capture motion in landscape shots.
I use the Lee Filter foundation kit, which is by far the most convenient way to use neutral density filters because it allows you to remove the filters in seconds. That way, you won’t need to unscrew the filters off the front element of your lens every time you need to adjust your composition or focus.
Should I use long exposure noise reduction?
Some cameras have the option of using Long Exposure Noise Reduction. This camera setting can be found inside the menu system, and by default it should be turned off.
Long Exposure Noise Reduction is not necessary in most cases, and can reduce the number of stars in the sky if you use this camera setting while taking photographs of the Milky Way or stars.
I personally always keep this camera setting off, because I would rather control the noise in post-production rather than letting the camera make a decision that permanently impacts the image I am creating.
How to capture the most dynamic range (why camera settings matter)
Digital photography comes with a lot of benefits. The main one being that we can easily edit out photographs to make them as interesting as we want. But to get the most out of our photographs, we have to use the camera settings that will give us the most flexibility in post-production.
This means paying attention to the dynamic range, which is the measure of how much detail it is possible to capture in the highlights and shadows of an image before that information is lost.
For example, during a bright sunset, there is a major difference between the highlights and the shadows. That means when you expose your image, the brightest parts will be really bright, while the darkest parts might be too dark.
The problem is if the highlights are too bright, they may not be possible to recover. Digital cameras capture the most information in the darker parts of the image.
So to get the most dynamic range in an image, you have to expose for the highlights, which means making the other parts of the image darker. The shadows can always be made brighter, but the highlights cannot be made darker as easily.
When Should I use HDR?
HDR, or High Dynamic Range imagery is used to reduce the contrast in a scene. At sunrise and sunset, there is often a large variation in the light from the shadows to the highlights. Our eyes may be able to see everything clearly, but a camera will not be able to capture the full range of light in a single exposure.
When that happens, you will need to use High Dynamic Range imagery. Creating an HDR image is as simple as taking three images at different exposures, and then combining them to create one image in Lightroom or Photoshop.
Ideally, the images should have a two-stop difference between exposures to create consistent tones in the final image. You can find a full guide on creating HDR images in this article.
Some cameras can make HDR images automatically, although they are not as efficient or as capable of creating good HDR images in Adobe Lightroom Classic or Adobe Photoshop.
Set the camera’s maximum bit depth
Some cameras have the option to set the bit depth, which is how much information is stored in each pixel. Using a smaller bit depth is particularly valuable to wedding, event, action, and sports photographers who need to capture a lot of images and don’t want large files.
For example, if you’re shooting a wedding, it’s not incomprehensible to need to capture 2000-5ooo photographs in a single 12-hour day. That is easily 240 gigabytes of data from a single day when you’re shooting at the maximum 14-bit depth on a Sony A7III. In that case, reducing the bit depth may make images that are less flexible, but being able to carry fewer cards and have an easier time processing the photos makes reducing the file size a blessing.
Landscape photographers, on the other hand, will never shoot 1000 photos on a single day. So having larger files is not an issue. You want to capture as much detail as possible so that you can edit the colors and retain as much light information as possible in your files.
So when you are packing your bag to go out and take landscape photographs, always check that your camera is set to capture the maximum bit depth possible.
Shoot in raw format for maximum image quality
One of the best landscape photography tips is to set your camera to capture raw images and just never change it. The largest camera settings mistake that you can make is to take jpeg images, which do not allow you to change the white balance or affect the individual colors, tones, and calibration of the image.
Once the camera captures an image in jpeg format, you will not be able to effectively alter it. That can ruin the photos, as in most cases, the final image is much different from the raw image that was captured.
By default, your camera may be set to capture images in jpeg mode — and that includes professional cameras like the Nikon D850. So this is always the very first camera setting that I change when I purchase a new camera.
Setting the white balance
In most cases, landscape photographers allow their cameras to choose the white balance for them. Most cameras are really good at selecting the right white balance for the scene, and raw photos retain all of the color information that is needed in case you need to make adjustments.
If you’re shooting in JPEG mode, then you will need to set the white balance correctly, because you cannot change it in Lightroom or Photoshop.
Using auto white balance, like using Aperture Priority mode, allows me to focus more on the outcome of the image. Instead of spending time worrying about small details, I can let my camera do the heavy lifting so that I can focus on the tasks that it cannot do.
The one time when you cannot use auto white balance settings when taking landscape photographs is when you are going to create a panorama. Any automatic setting will create a difference between the images, which will make the stitched panorama appear as having patches of different colors and brightness across the image frame.
How to use autofocus for landscape photography
Most photographers wouldn’t think that getting the right focus with landscape photography would be difficult. But landscape photography requires strict care when it comes to choosing the right place to set your focus.
Landscape photography sometimes requires the use of manual focus. Usually manual focus is only required when shooting at night, or when using a neutral density filter. But some photographers also use manual focus to set the perfect hyperfocal distance where everything in an image is in focus from the foreground to the background.
When using autofocus, if the lighting is tricky, always try to use the center autofocus point on your camera. Especially if you’re using a DSLR, the center focus point is always the most accurate.
Using single-point autofocus for accuracy
There is nothing more frustrating than watching your camera focus on the wrong place in your image. The best way to make sure you’re focusing on the right place is to use single-point, or expanded-point autofocus.
These two settings allow the photographer to choose the area they’d like to focus on. Single point autofocus is best when your subject isn’t moving — such as landscapes and portrait images, while flexible point is great for when your subject is moving.
In most cases, I use single-point focusing to make sure that I have my focus set perfectly at the hyperfocal distance point in the foreground of my image.
Use back-button autofocusing
Back button focusing is one of the best landscape photography tips that can make your life so much easier.
This has happened to me way too often. I have the camera set up perfectly, I got the autofocus point set just where I want it. But then when I press the shutter button the camera tries to autofocus a second time and ruins the shot.
The way to solve this problem is to decouple the focus from the shutter button, and place it on another button on your camera. I typically keep the autofocus button attached to the star button on the camera. Using this setup makes it much easier to get critical focus on the subject.
Picture style settings for landscape photography
One flashy camera setting that you have control over is the picture style settings. You can usually find these on the back of the camera and in the menus. But these style settings do not affect raw images.
So it is not important to set the picture style setting because it will have no effect on the outcome of your image unless you’re shooting in jpeg mode.
But it’s extremely rare for a photographer to shoot in jpeg mode, as it reduces the flexibility of the files and makes them virtually un-editable in programs like Adobe Lightroom and Photoshop.
Final thoughts
 There is a common formula that results in the highest quality landscape photos. For the most part, it’s using a small aperture with the lowest possible ISO, and whichever shutter speed is needed.
The tripod is also the most essential tool for landscape photography because it allows you to create the highest quality images. With a tripod, the type of camera you own doesn’t matter — you can use computational photography techniques like HDR, Panoramas, and Focus Stacking to create higher-quality images with less noise.
That’s why landscape photography is one of the most forgiving photography mediums out there. With the right knowledge, and the will to go out into the backcountry, you can take incredible fine-art photographs.
If you want to start taking your photography to the next level, take a look at this free webclass. In it, you’ll learn all about the four-step system that will allow you to start taking the best photographs of your life with the camera gear that you already own.
I’ve taught over 10,000 photographers how to take better photographs using this simple system. Many of them have gone on to take award-winning photos, teach others, and go on to sell their work. Check out the webclass today to learn more!
