
Yeah, outside is beautiful right now, but doing some indoor photography is way cozier. If all you want to do is put on your favorite sweater, put a fire on, and jam out to tunes, this guide is for you.
I’ve written a guide on how to get out into the backcountry during winter. But let’s be real, that’s just not fun for everyone. The good news is there’s still a lot of practice that can be done while enjoying the great indoors. All of these skills will challenge you to think differently about photography. And once you get good at these, you’ll be able to take those lessons into the real world and create stunning imagery.
1. Photograph flowers
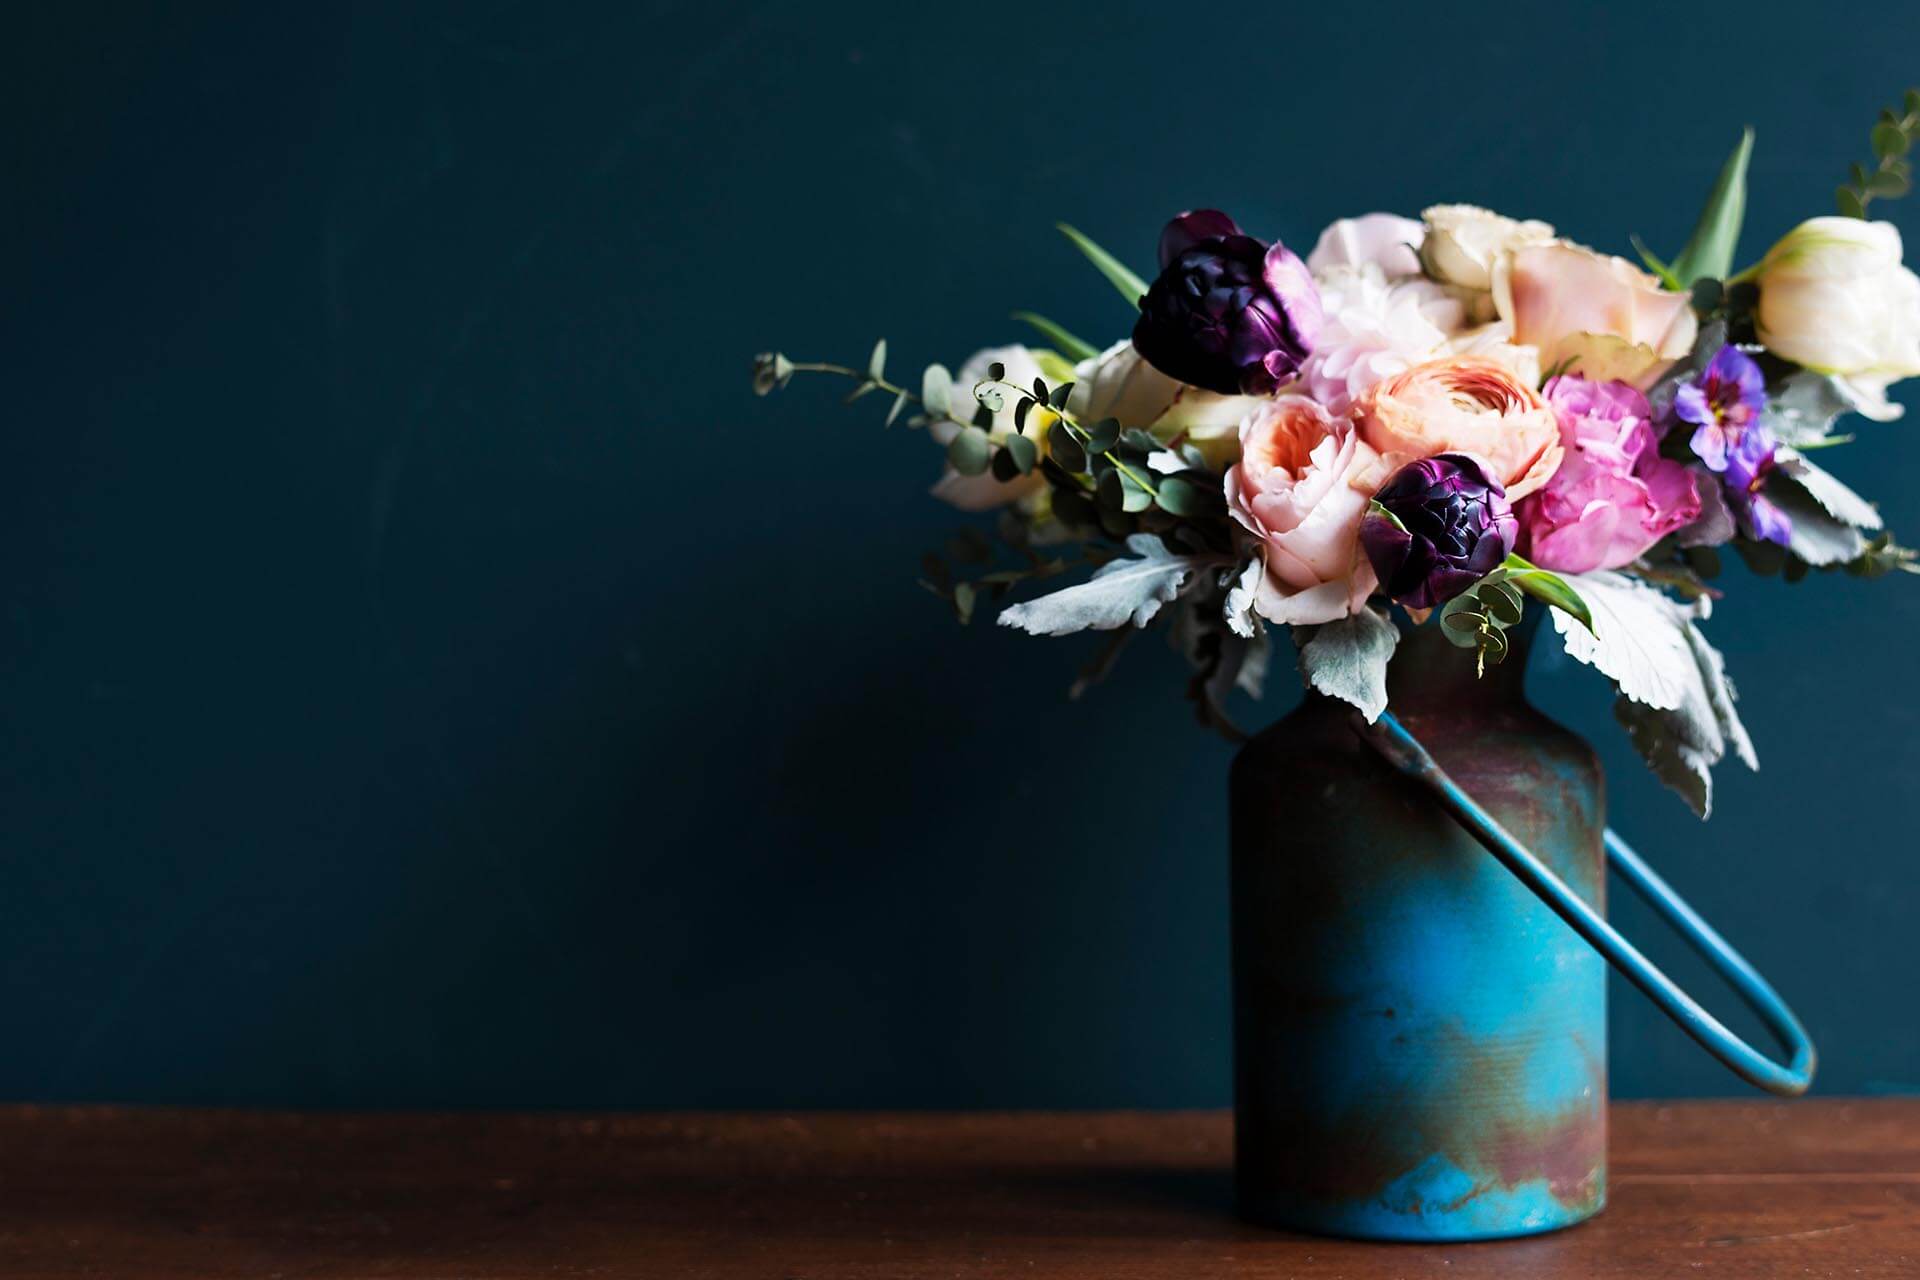
Flowers are a precious sight in the winter. It’s truly a miraculous thing that we can still have flowers in the dead of winter all over the world for a fairly reasonable price. If you have the ability to go out and buy flowers, or if you dried some of the summer blossoms, now is as good a time as any to get some amazing photographs.
Flowers can be a very complicated indoor photography subject. They’re beautiful to the eye, but they really need contrast to stand out. In Nature, the bright colors always stand out against the grass, leaves, and trees. But our indoor environments can be chaotic with colors and textures. So the best tip is to make the background as simple as possible. Blue, red, or purple flowers will stick out against a tan, yellow, or white background. And having the background simple and empty will ensure there are no distracting elements in the image.
The next step is to use large window light and move the flowers away from the background. Using a wide aperture, you can then blur the background by getting close to the flowers. All of this will provide ample contrast. This should be enough to get you started on taking some beautiful flower photographs. And if you’d like to learn more about photographing flowers, I’ve made a guide here.

2. Photograph objects that are dear to you
Everyone has some keepsakes that they’d like to keep forever. Unfortunately, things breakdown over time. And we have these things for the memories they bring up — not to forget about in our storage bins. So if you’d like to keep these objects forever, and you have some extra time, why not try to photograph them?
Similar to flowers, set the object up with a simple, clutter-free background. If you can set this up next to a window, you’ll be able to make a brilliant contrast. If there’s no good window light available, you may have to purchase a soft-box and an off-camera flash. Luckily there are cheap options out there that’ll give you amazing results for under $200. If it’s a small object, take
If you’re able to make really nice images of them, they can make amazing images to hang on your wall!

3. Take portraits of family members
This one is likely the hardest. Starting out with portraits can be an awkward and difficult process. Mountains have so much more patience and are typically not fussy with their appearance. But kids, or significant others? It’s a tough racket.
But nothing worth doing ever comes easily. As much as your iPhone would like you to think it’s the greatest camera in the world. A DSLR or Mirrorless camera will always have better results when you learn how to put the work in. And the great thing about learning portraiture is that you can make your own perfect family photographs instead of hiring a photographer for each of the milestones. You can start by taking environmental portraits, of pictures of the family going about their daily lives.
Keep your camera nearby, and reach for it when something interesting is happening. Challenge yourself to adjust settings on the fly, use different focus points with your framing in mind, and get the shots as quickly as possible. When you start studying the photos that worked well, they’ll often follow the same rules that make good landscape photographs.
And when you’re ready to try posing people, but you don’t have any lights, try putting them next to a window. Ask them to look outside, or lean against it and look straight down the camera. This will create a beautiful image where half their features are bright, and the other half is in shadows. When you meter for the bright parts of the image, it’ll make a style of lighting called Rembrandt lighting. This type of light is named after an Italian painter who championed this style during the Chiaroscuro movement. If it’s survived that long, it’s bound to be doing something right!
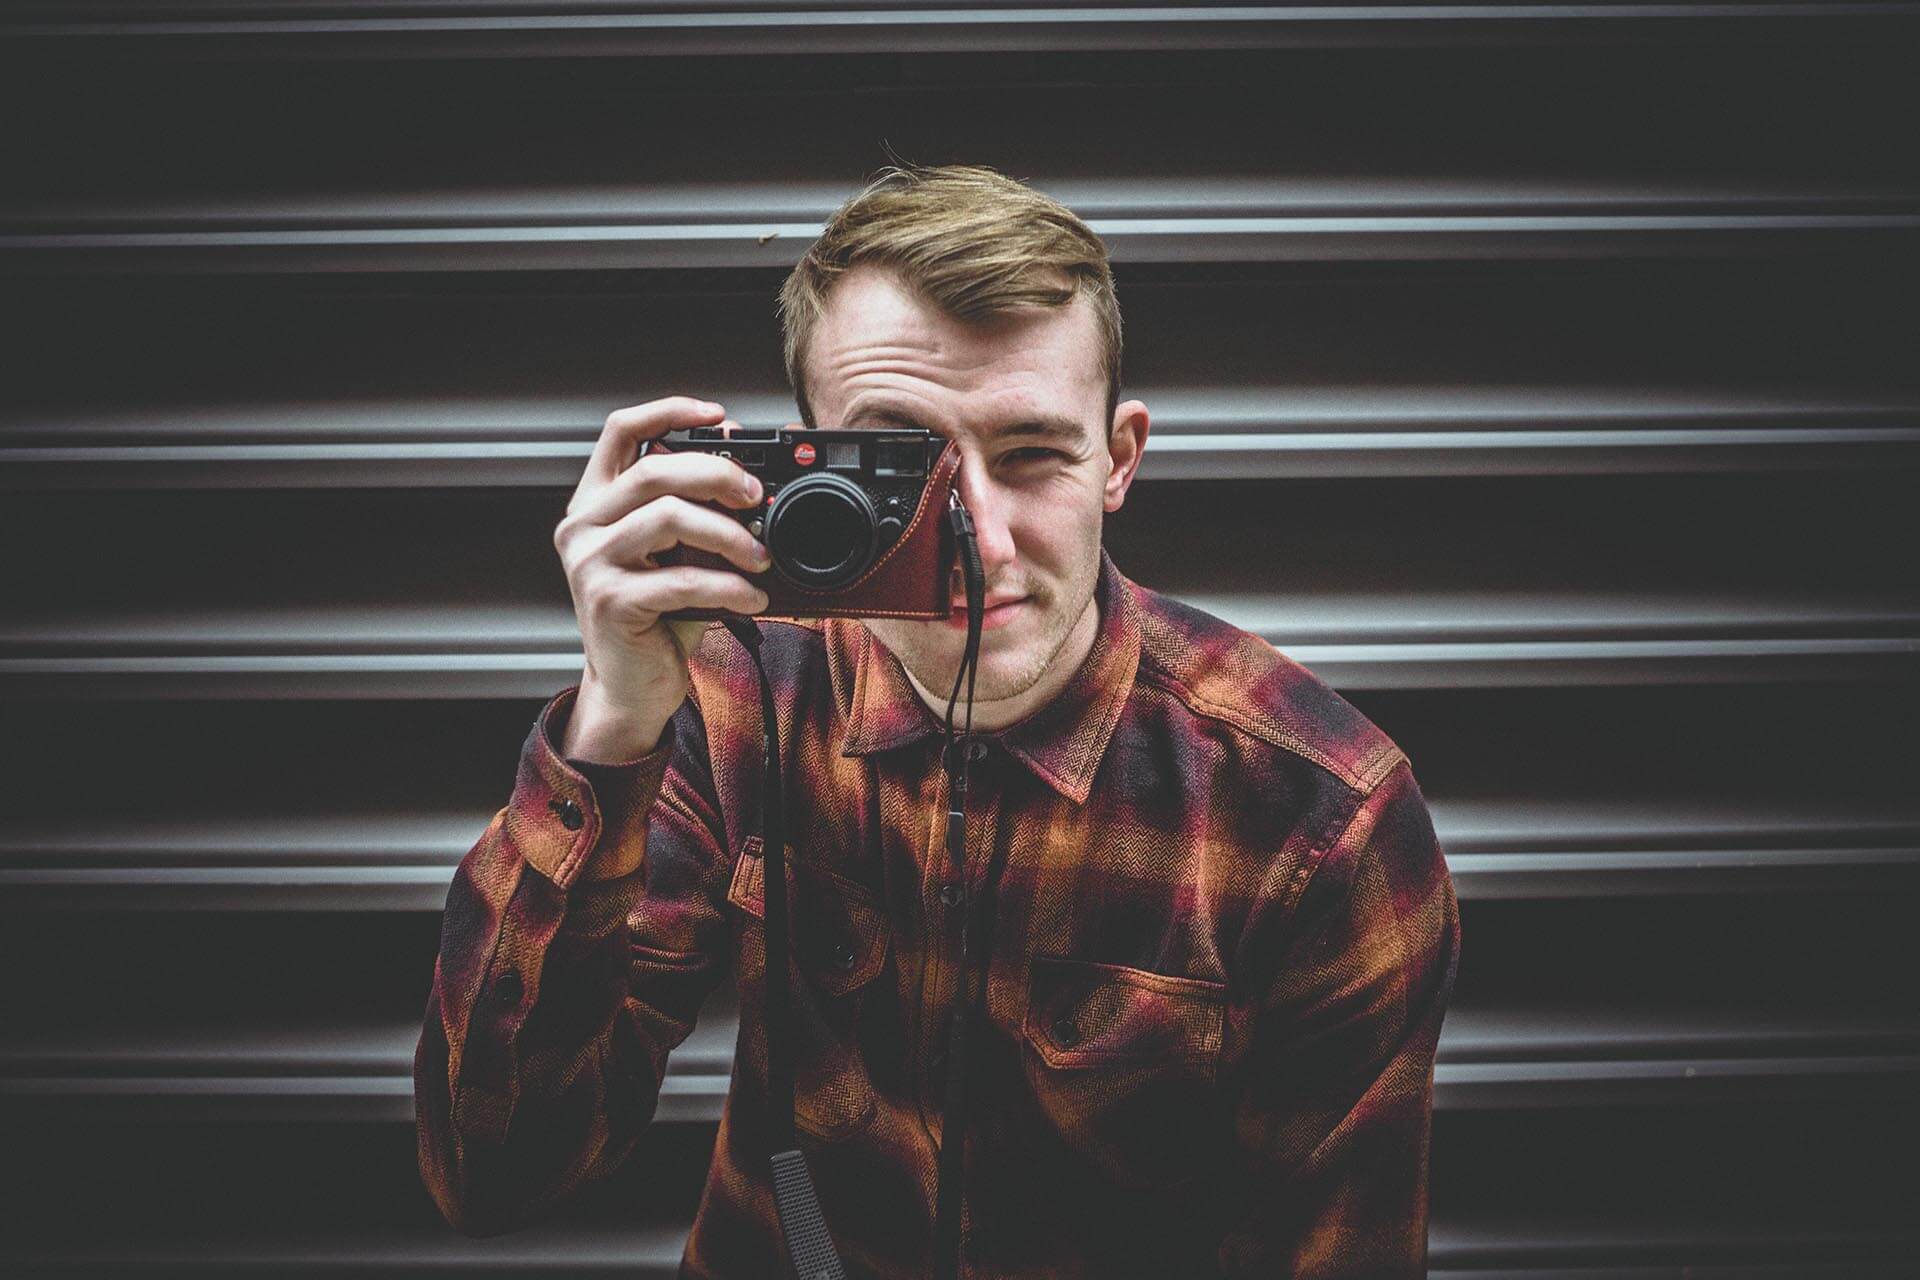
4. Take self-portraits
When your kids or partner lose their patience in front of your camera with all these indoor photography tasks, the next subject to try photographing is yourself!
There are a couple of ways to do this. Take a photo in the mirror, like nearly every famous photographer has done in the past. These can be moody, or interesting images, and it’ll be sure to let everyone know you’re a photographer. The second way is to set your camera on a tripod and use a 10-second timer, or remote shutter release. This is the harder method because you’re going to have to try to get your face perfectly in focus, which is not easy.
The best way I’ve been able to do it is to set my focus to a certain distance, say 10ft. Then I measure out a spot on the floor 10ft from where the lens meets the camera body. Put some painter’s tape on the floor, and set the timer. You’ll get best results with a smaller aperture, like f8. But if you want to to blur out that background, you’ll need to open the aperture a bit more. And that might take some trial and error, but the results can be astounding!

5. Make a Flat Lay photograph
Flat Lays are surprisingly difficult to pull off. So it’s best to get to it since you’ve got all winter to get it right. These are images where you take an image of an object from overhead. Typically they’re styled with flowers and textures to show off the quality, or likeness of an object. Photographers do this all the time with their lenses and random assortments of equipment.
To get a good idea of what flat lays look like, look up the hashtag #flatlay on Instagram. Here you’ll get all kinds of inspiration for how to use your coffee, kids’ toys, or other decorative objects to show off a certain piece of your personality.
It can be a really fun process to make the images look interesting without being too busy, or too flat.
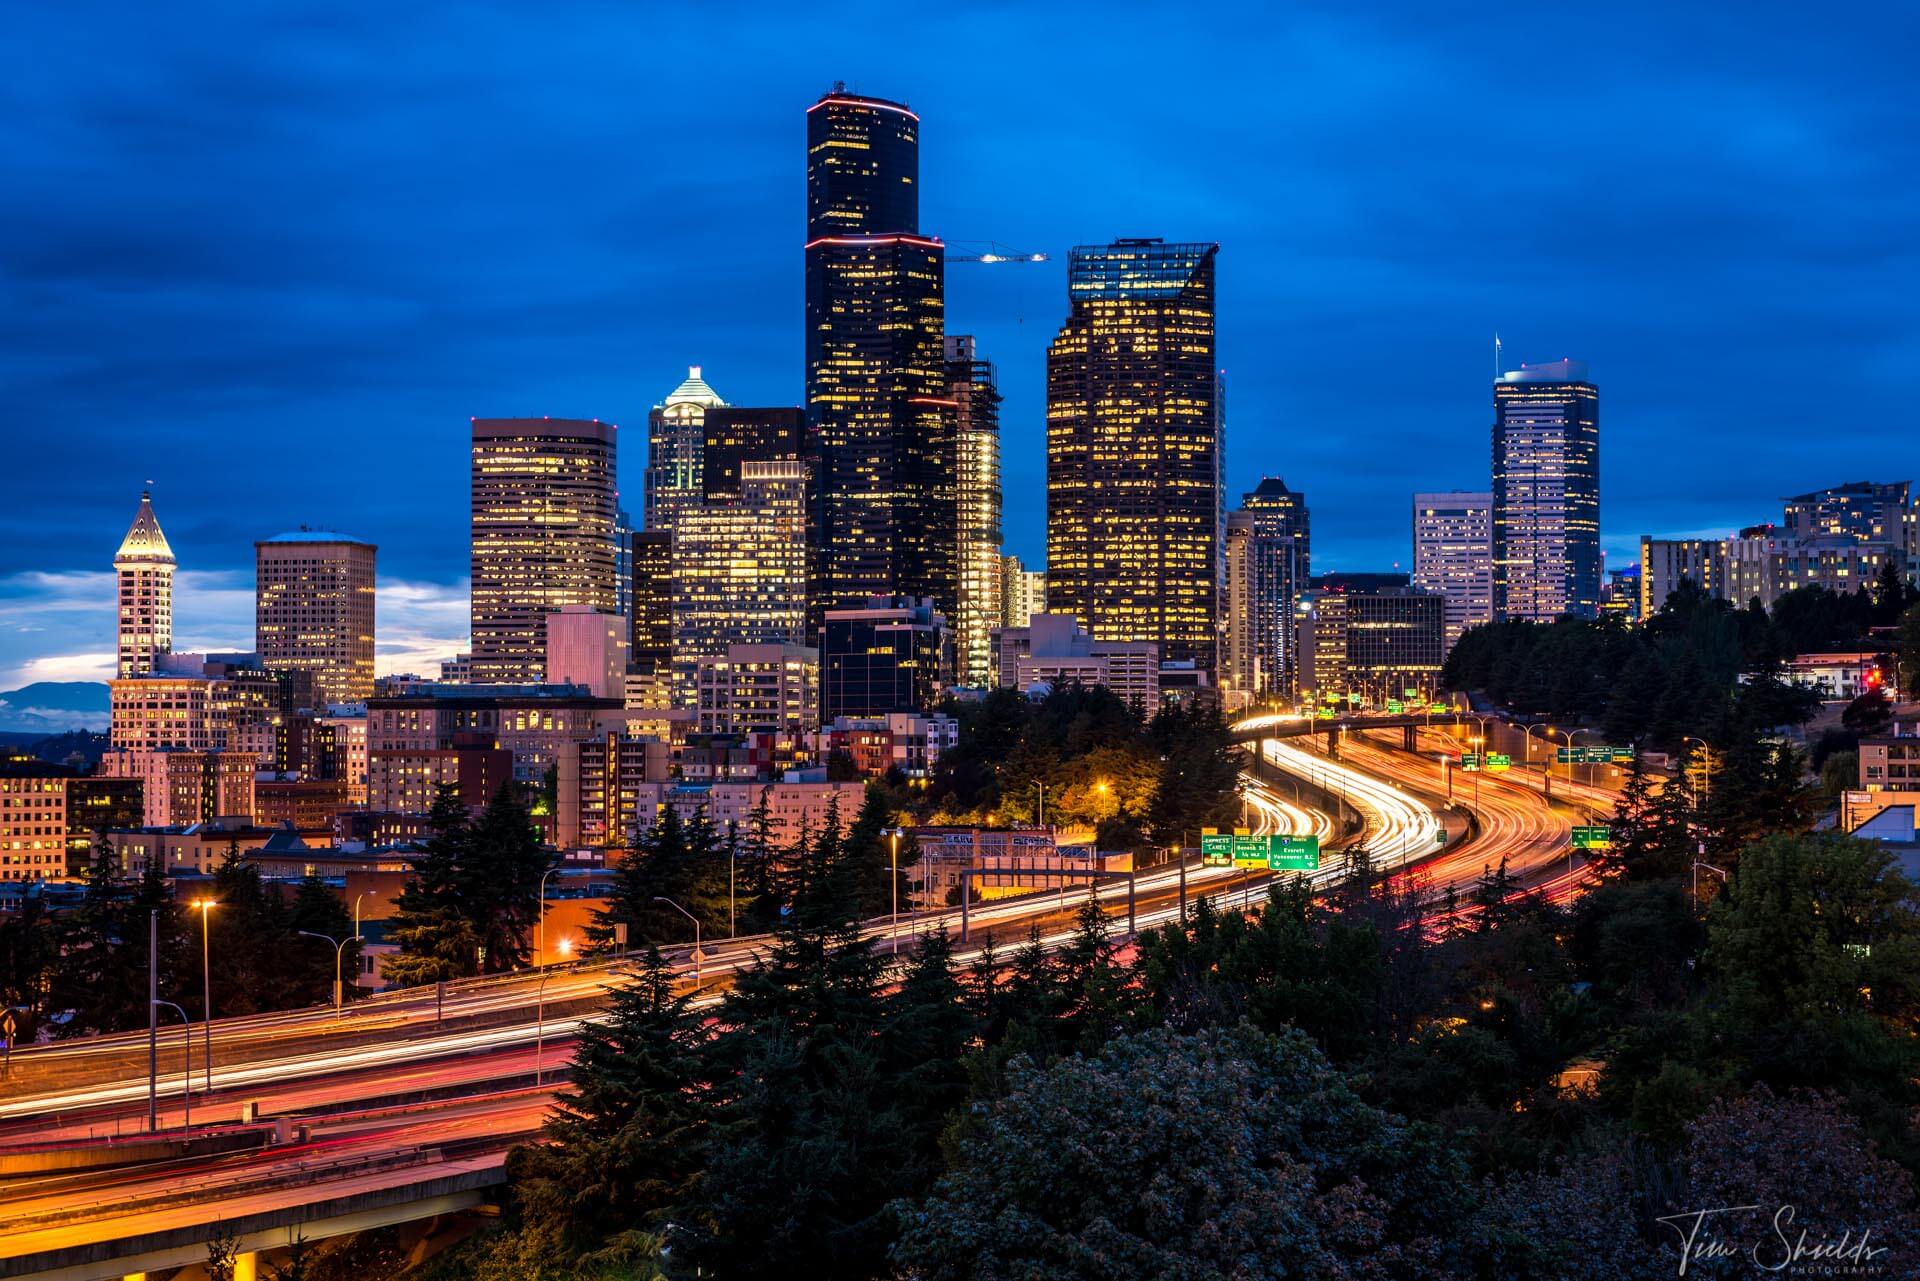
6. Create a timelapse
These can be a lot of fun. Timelapses are when you take photographs over a long period of time to show motion or life from a single position. Many photographers take photographs of the sun rising or setting, clouds moving across a vast vista, stars trailing across the night sky, or even plants growing. The best is to take photos of things that move too slow for you to see them.
You’ll need a tripod and a camera, or remote shutter release capable of taking a photo at a certain interval. Set your camera in front of a large vista of your choosing, set the remote, and let it sit for anywhere from 30 minutes to multiple days. Just be sure the camera is plugged in if it’s mirrorless, or that battery is going to drain.
For the final product, you can edit the photos the way you’d like in Lightroom. Typically I use a single preset applied to the images so that there are no weird changes in the video. Then, import the images as layers into Photoshop. From here, go to the Window menu, and scroll down until you see the timeline. Open this up, and create a video timeline to get started making the video. Bring all of the images into the same line, and choose how many frames you’d like each image to be by dragging them from the side in or out.
This can be a lengthy process the first time you do it, so I’ll be making a longer article that goes in-depth on this topic later down the road.
7. Get into Macro Photography
Macro photography opens up entirely new worlds. Microscopic objects can become massive, and extremely detailed in your photographs. And the best news is that you don’t even necessarily need a macro lens. If you’re interested in trying it out, there’s a really cheap tool out there called an Extension Tube. These devices sit between your lens and your camera body and allow it to focus much closer on objects in front of it.
There are usually two versions of extension tubes. Ones with electronic contacts, and ones without. The electronic contacts will allow the lens to use autofocus and to control the aperture. So typically, you’ll want to buy the version with the contacts, so you can adjust the aperture — even if you normally use manual focus.
Use the extension tubes to photograph smaller trinkets to see the kinds of details they’re hiding, get photos of food, or even insects that you find around your home. These can be so much fun to try out, and it might just make you want to pick up a real macro lens down the line.
8. Learn more about photography by signing up for web classes
 If you’re ever stuck in a rut or find yourself struggling to learn new skills, web classes can be an amazing help. I give away a lot of information that I’ve learned and used throughout my years as an award-winning landscape photographer. But there’s some information that I only give away in my course materials. These classes also contain many digestible lessons that go much further in-depth than I can in writing. Learn about my secret four-step system for getting better photographs with the camera you already own by signing up for my free web class today!