Landscape photographers love telephoto lenses because they make mountains and hills appear larger in the frame — especially compared to architectural features like castles and villages. Longer focal lengths also isolate subjects, capturing dramatic lighting and textures not possible with wide-angle lenses.
A wide-angle lens will capture more of the scene, but what your eyes see as epic mountains in the distance can start looking like molehills. It’s a strange, but fundamental property of lens optics. A wider lens captures close-up objects very large, but distant objects become small.
But most photographers start with a wide-angle lens because being able to get everything in the frame is important. Wide angles, like my trusty 16-35mm f2.8 are never going to get left behind — when you need it, nothing else will do.
But there’s a reason that even mobile phones are adding on telephoto lenses these days. It’s because they get a unique look, and are capable of blurring out the background easily. Telephoto lenses also allow you to pick out and isolate a single detail in incredible ways.
1. Make the subject your entire photograph
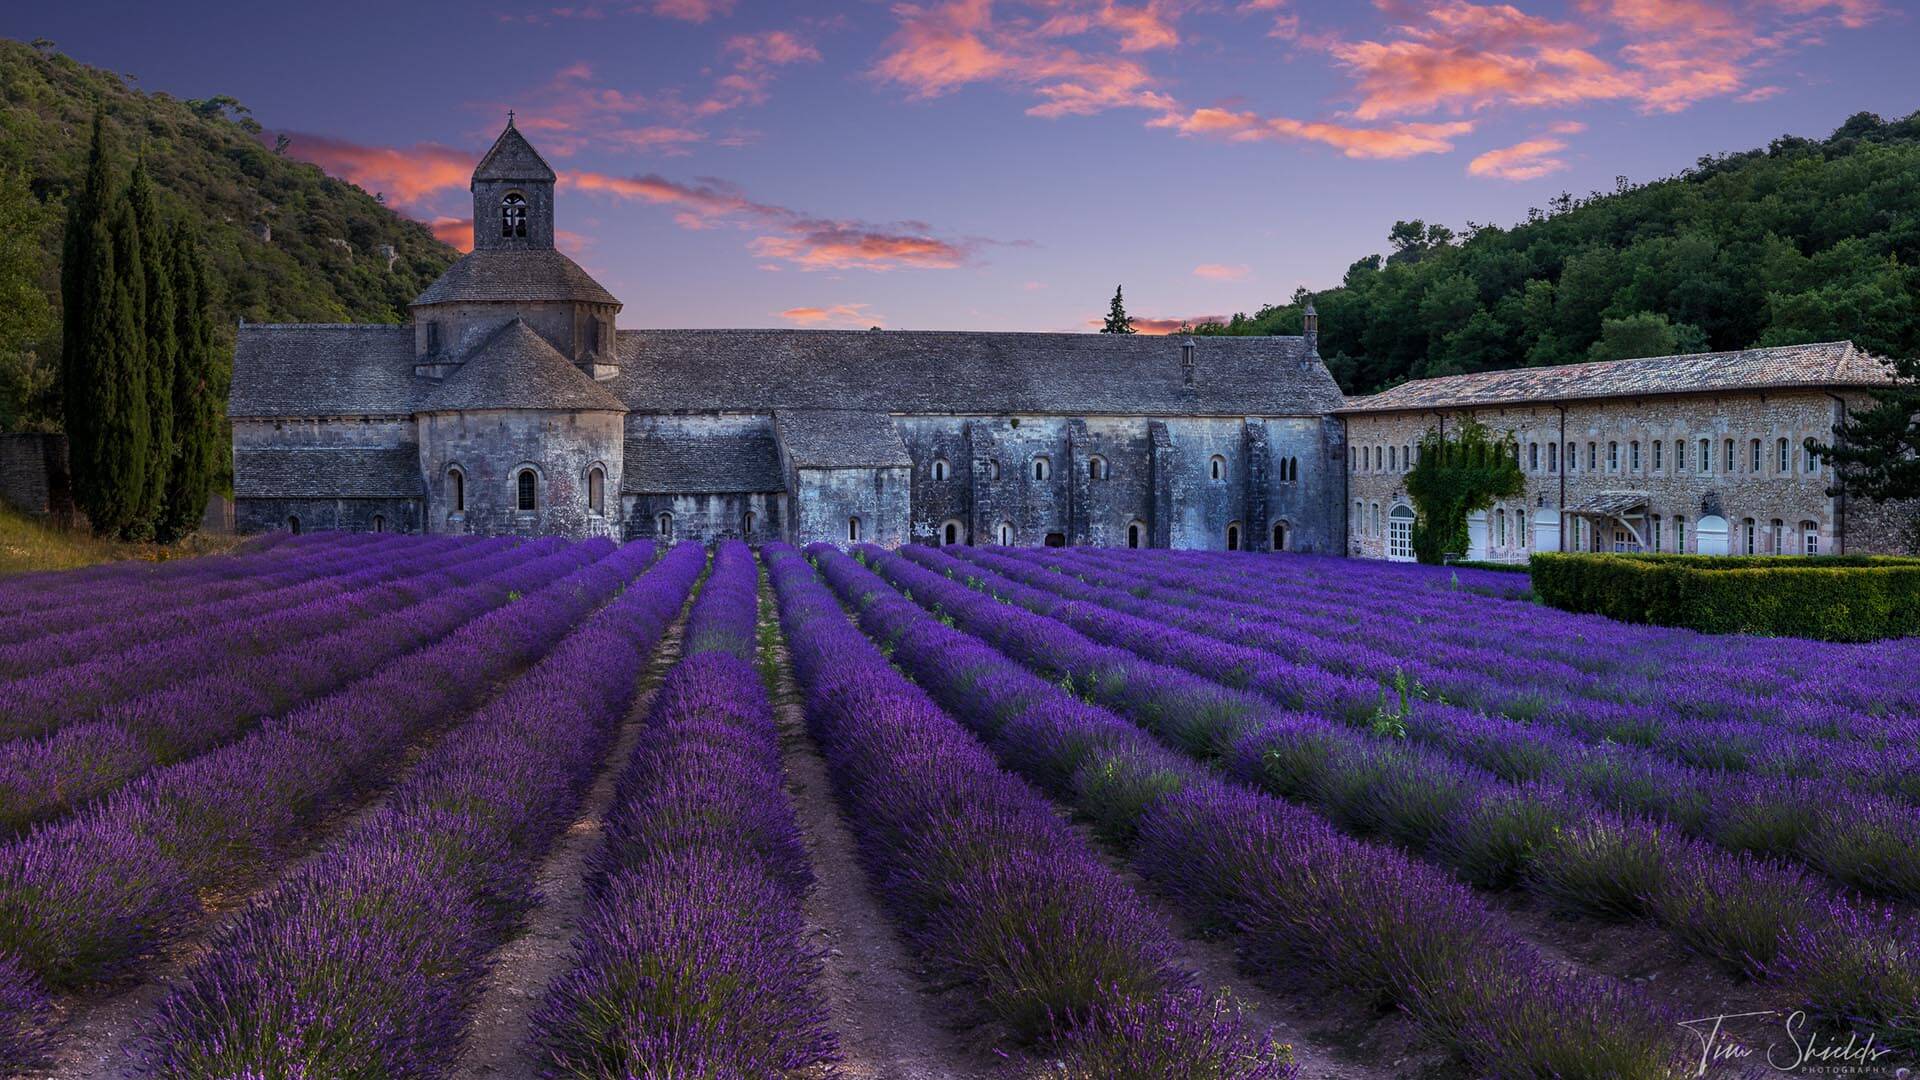
I’ve gotten to the top of many mountains in the Rockies, and it can be an amazing view, but sometimes there just doesn’t seem to be any compositions with a wide-angle lens. This is the perfect time to bring out that telephoto focal length. Using a 200mm lens from the top of a mountain can feel like looking into the eyes of the other mountains. This cannot be accomplished with a wide-angle lens, because the distance between the mountains will make the others look small no matter how much you crop.
Try to isolate a nearby mountain top, and focus on the details. The further you zoom in, the more detailed and interesting it’ll look.
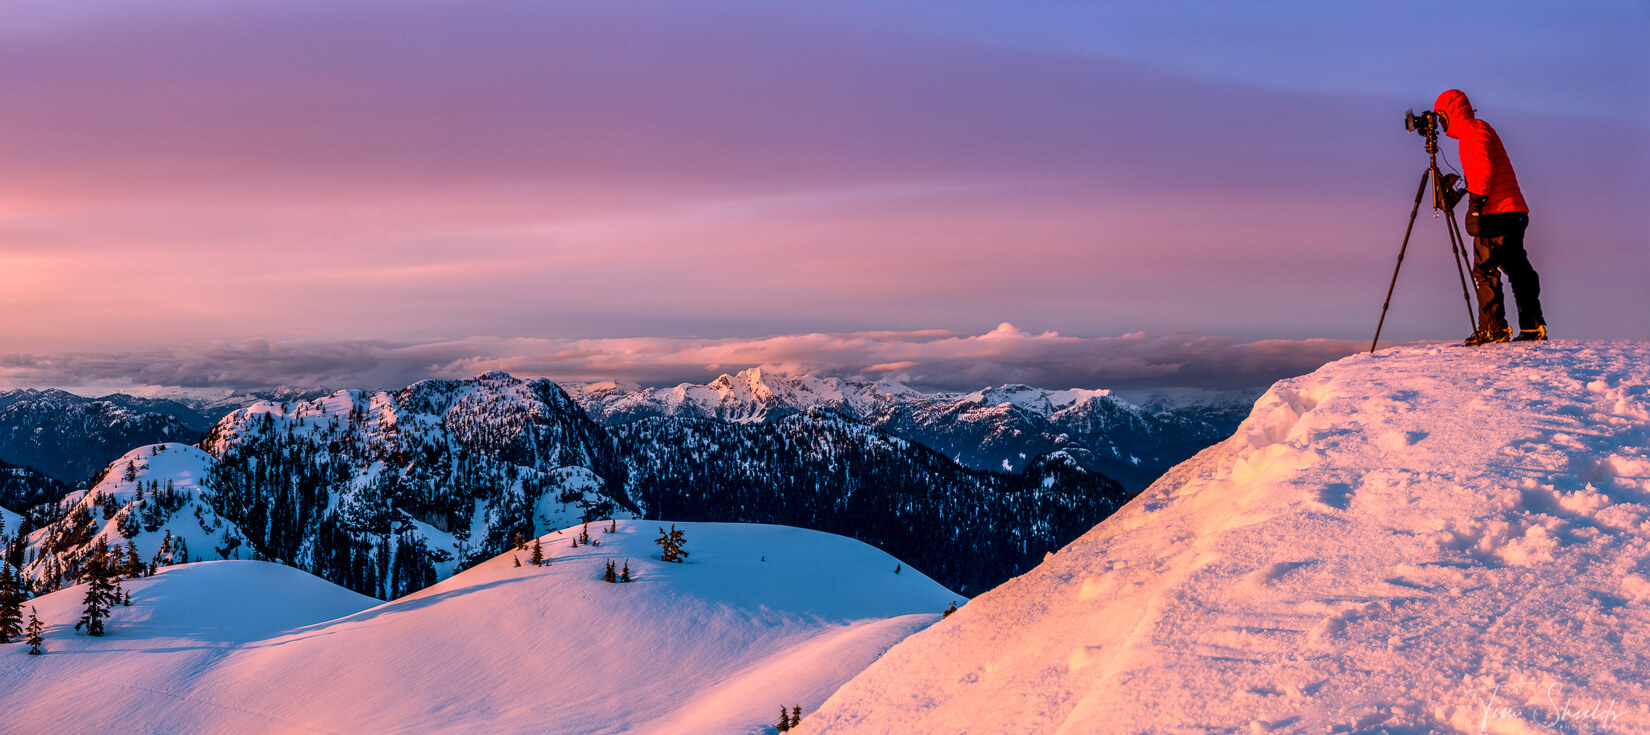
If you climb mountains in the later season, there will be snow at the tops. The snow can create an incredible contrast, and add some drama to the photos if there’s a bit of wind blowing snow off the top. This is something you’ll have to prepare for. Because while it may feel like t-shirt weather at the bottom, it can get mighty cold at the top. Deep snow will also present a pretty big challenge if you’re just wearing shorts and running shoes. Always look up the weather conditions and know your route before you go so that you can prepare as much as possible for the weather.
Check out this blog article to learn more about preparing for backcountry winter photography.
2. Look for Foreground Interest
Foreground interest in a photo can mean a couple different things. 1. It can be something like a house, castle, or village at the bottom of an incredible mountainscape. 2. It can be blurry leaves or flowers that frame a gorgeous vista in the background. Foregrounds create contrast in an image and draw the eyes around, or through the frame.
Telephoto lenses can create more blur than wide-angle lenses. This is because the focus plane can be anywhere between 100 and 330 feet (30-100 meters)! This means objects like flowers within that 100ft will be blurred if you’re focusing on the background. Using these blurry elements works like a vignette, which draws the viewer’s eyes into the middle of the frame. It’s an excellent tool to frame your images.
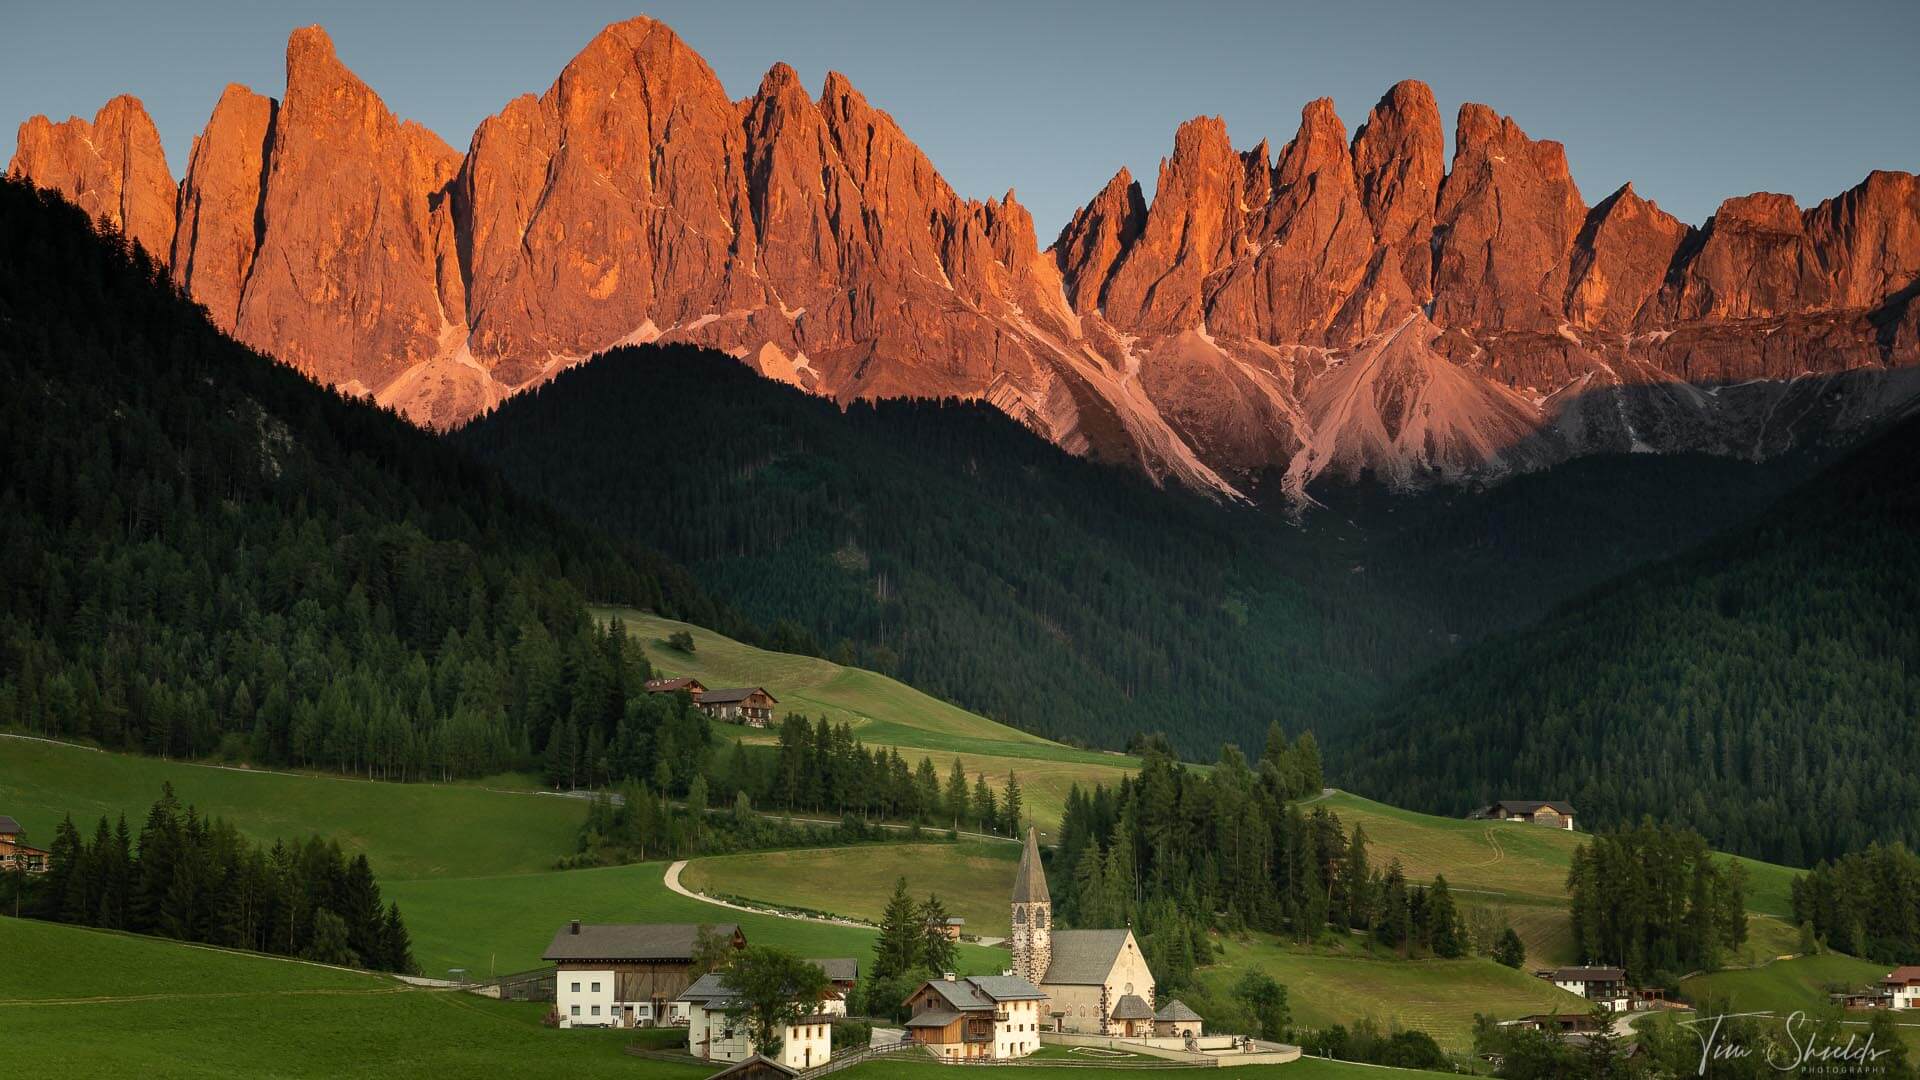
The next type of foreground interest that works especially well with a telephoto lens is when you capture a scene with a house or castle in front of a grand vista. A telephoto lens is best here because it makes everything at a distance larger. Wide-angle lenses simply compress everything with distance, so the house will look tiny, and the mountains won’t feel as grand — unless you’re really close.
The image above this section is St. Magdalena, an Italian village in the Alps. This is the perfect example of a time when a telephoto lens is needed to make the image work. This photograph took a ton of planning to get to, but the work that I put in made sure that when I got there, I knew exactly what I was doing down to the minute.
3. Show off that dramatic light
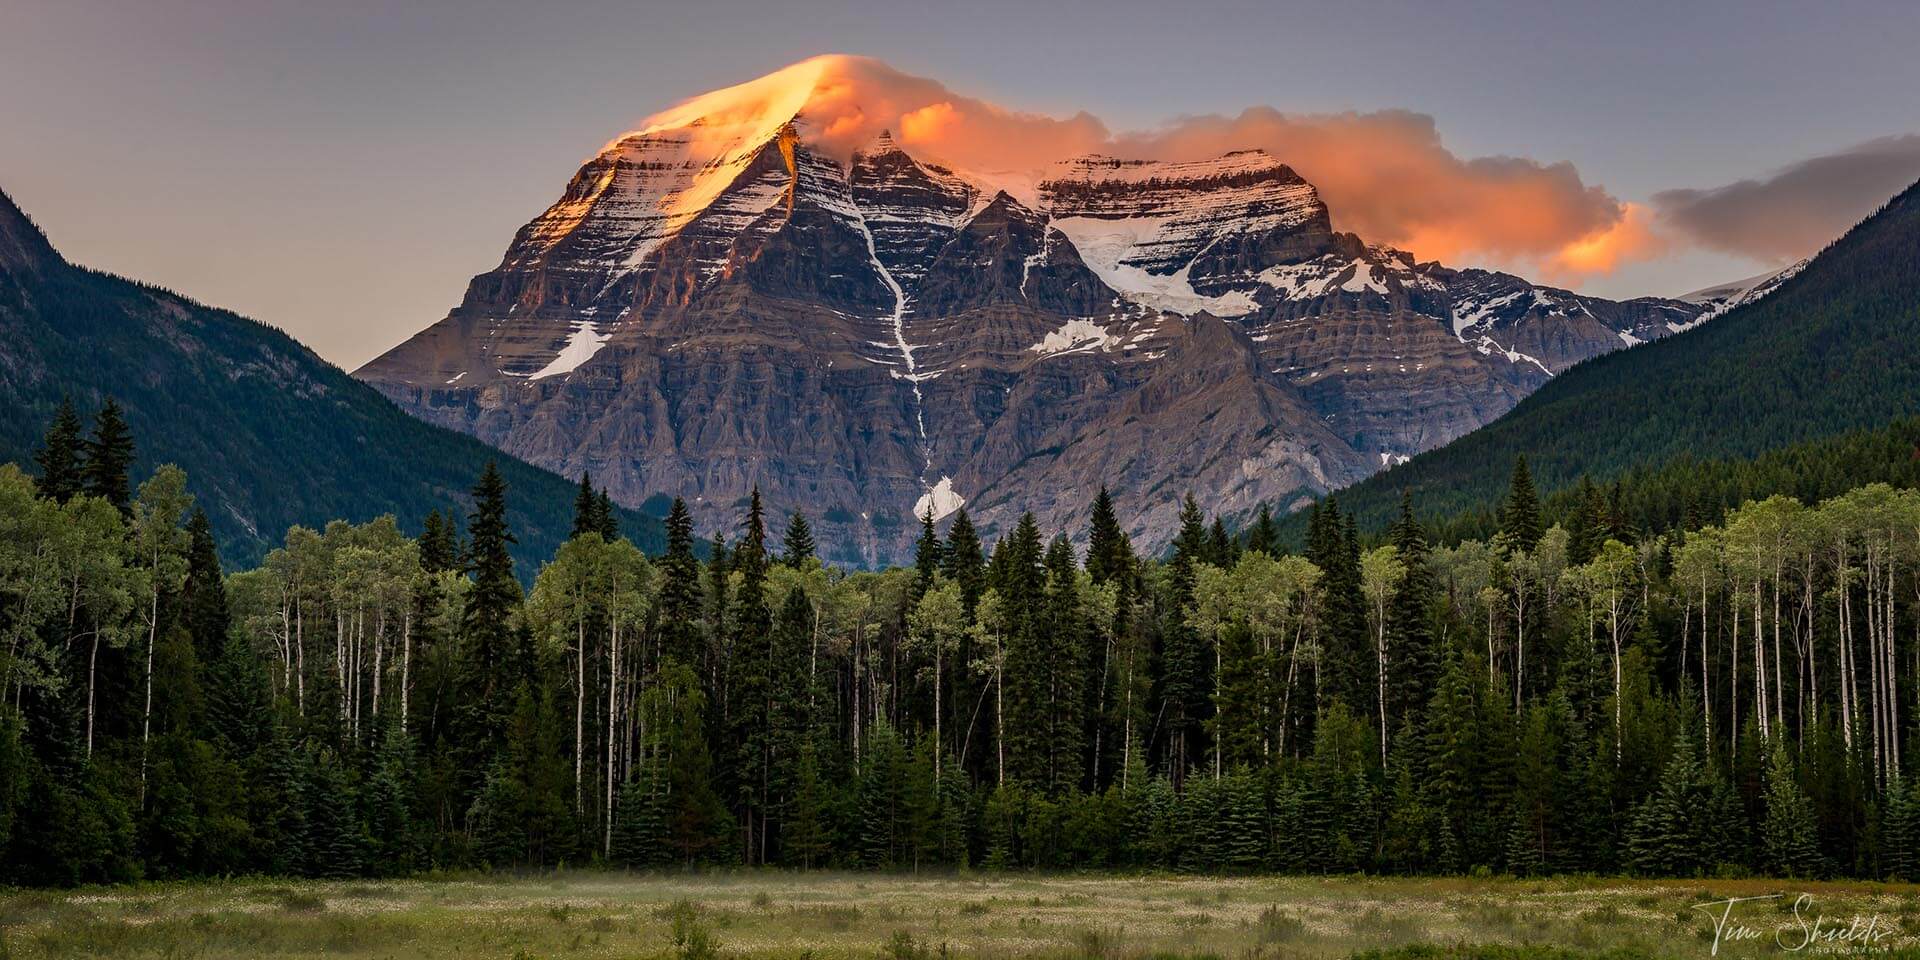
Sunsets and sunrises are essential to taking noteworthy images. This is because these two brief golden hours are the times when the light is the most dramatic. It adds color contrast to the images, and produces intense shadows across the landscape for light/dark contrast. Having a telephoto zoom lens allows you to isolate those contrasty parts of the frame, and make them really stand out.
Mountain peaks light up with a brilliant red at the very end of the sunset, as the dying light hits them one last time. And a telephoto lens lets you get in close, and capture the true majesty of these mountain tops as it happens. If you know nature’s settings for those perfect sunsets, you can know exactly when and where to go to capture that perfect, serene moment.
4. Create incredibly detailed panoramas
With a bit of practice (and a good amount of hard drive space) a telephoto lens can make the same image as a wide-angle. It’s a technique called panorama, and it’s something that’s been done since the film days. Back then, you’d need a special camera that could take photos across a really wide length of film. And then you’d need a special enlarger to do anything with it. These days, we can do all of this way quicker with a tripod and Lightroom.
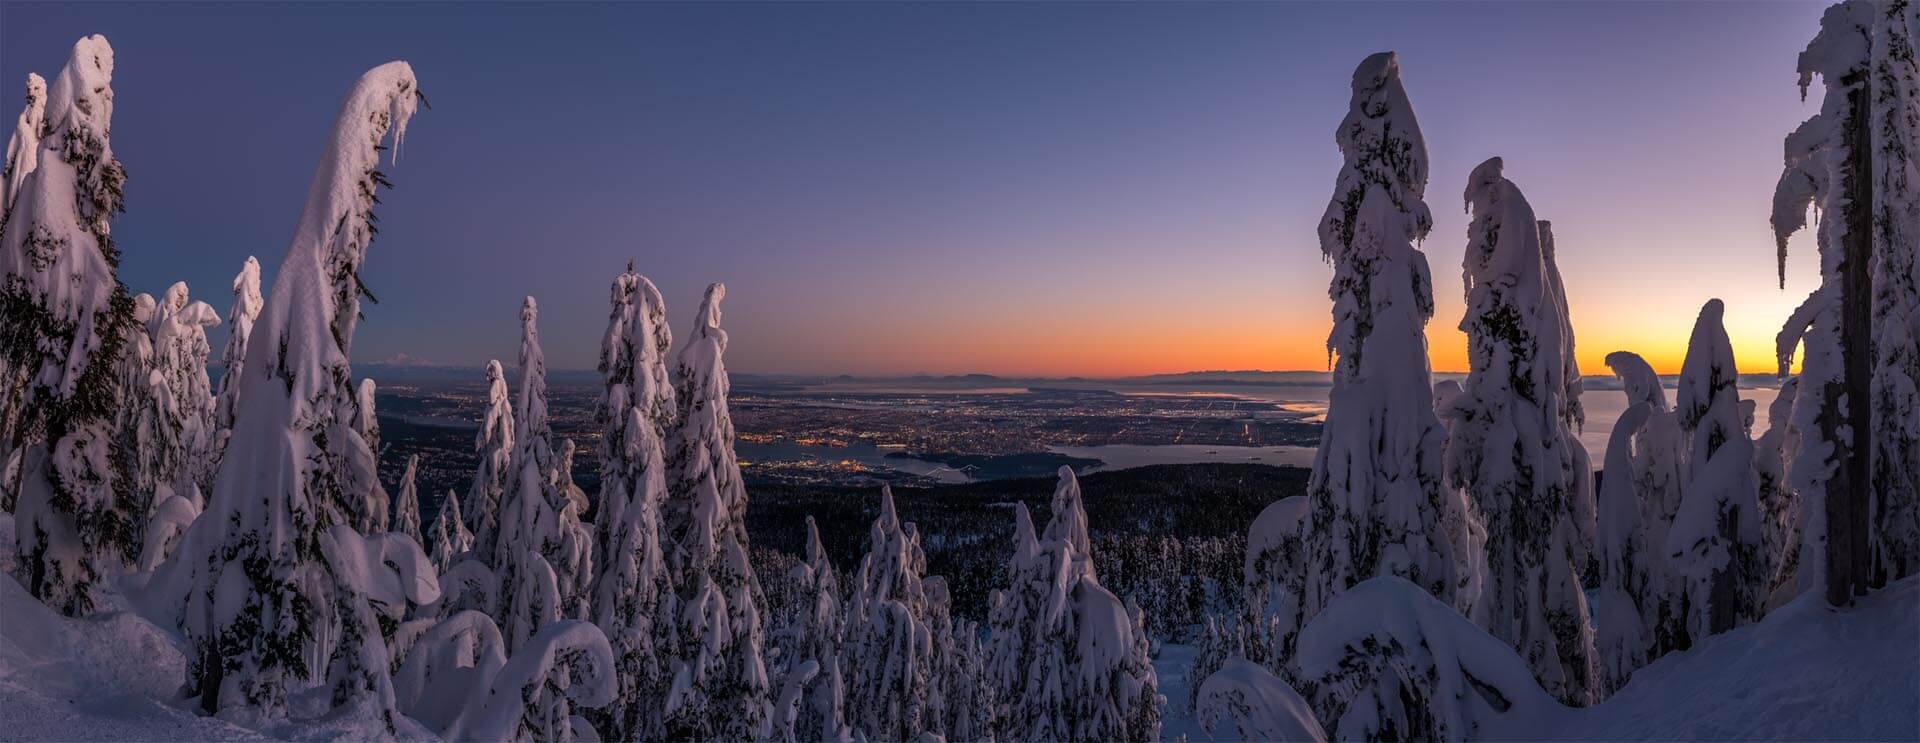
Look at this image I took after a huge snowfall in Vancouver, BC. This was taken with my trusty 70-200mm lens at 70mm, and it has so much detail that you can make out the individual windows in the downtown core. This was created by stitching together 22 photographs in Lightroom, with two rows.
I could have taken just a single photo at 24mm and gotten a similar image. But by stacking together the 22 photos, I was able to get 22x the amount of detail in this shot. I can print this image over 40ft (13 meters) wide and still have a perfect, 300DPI image. That kind of quality is insane.
How do I take a panorama photograph?
Set up your camera on a tripod with a pan and tilt head. Put the camera in manual settings, and manually set the white balance and exposure exactly how you want it. This is important, because auto settings or white balance will make different exposures at different parts of the image, and it’ll ruin your panorama.
Next, start by panning the camera to the left or right, overlapping 30% of the previous frame. This will make it easier for Lightroom to stitch the images together. Then, once you’ve completed a row, tilt the camera up or down, overlapping 30% of the frame below, and make a new row.
This will take a bit of practice. I know I screwed up so many of these when I was first learning how to do them. So be sure to pack along your wide-angle the first couple of times just in case it doesn’t pan out.
When you get back home, import the photos into Lightroom. Then select all of the images that are part of the panorama, right-click, go to Photo Merge, and click Photo Merge. Or press Ctrl + M (Cmd + M on Mac). and let Lightroom work its magic. When you’ve got the images merged you can start editing! With images this size, it’s important to have a strong composition and subject in the image. And the really easy way to emphasize your subject is to use Dodge and Burn to make the subject brighter, and the backgrounds or distracting elements darker.
Bonus tip 1. Primes or Zoom lenses for telephoto landscape photos?
While I love prime lenses for their sharpness and low-light capabilities, they’re not always the best choice for landscape photography. The good ones, like the Sigma Art Series, are extremely heavy, with one lens often weighing the same or more than a 70-200mm lens.
If you have to go on a long hike, you’ll want to save as much weight as possible. Every time I go out, I have to make the tough choice of which lenses to leave behind. And when it landscape scenes, you sometimes won’t know exactly which lens will be the best until you get there. So why bring separate 85, 135, and 200mm lenses when you can just have a single one do it all? They say primes are sharper than zooms, but in my own testing, I’ve yet to find a really noticeable difference. But that weight DOES matter.
So zoom lenses are the ideal choice. For most landscape photographs, a 70-200 is going to give you the ultimate versatility to get the shot. In my case, I actually sold my 70-200mm f2.8 for the f4 version. The 70-200mm f4 is much lighter than the 2.8, and since I’m never using this one for indoor photos, I don’t need a large aperture to capture so much light. Most of my photographs are taken between f8 and f16 anyway, so this was a decision that I have yet to regret.
Bonus tip 2. How can I start taking better photographs with the camera gear I already own?
 There are ways to overcome the challenges present in any photography situation. All it takes is a little knowledge and a little planning. Then you’ll be able to get out there and take amazing photographs every time. I’ve created a free online web class that’ll teach you the simple four-step system I use for every photograph I take. Sign up today to learn how I take award-winning, fine-art landscape photos.

