
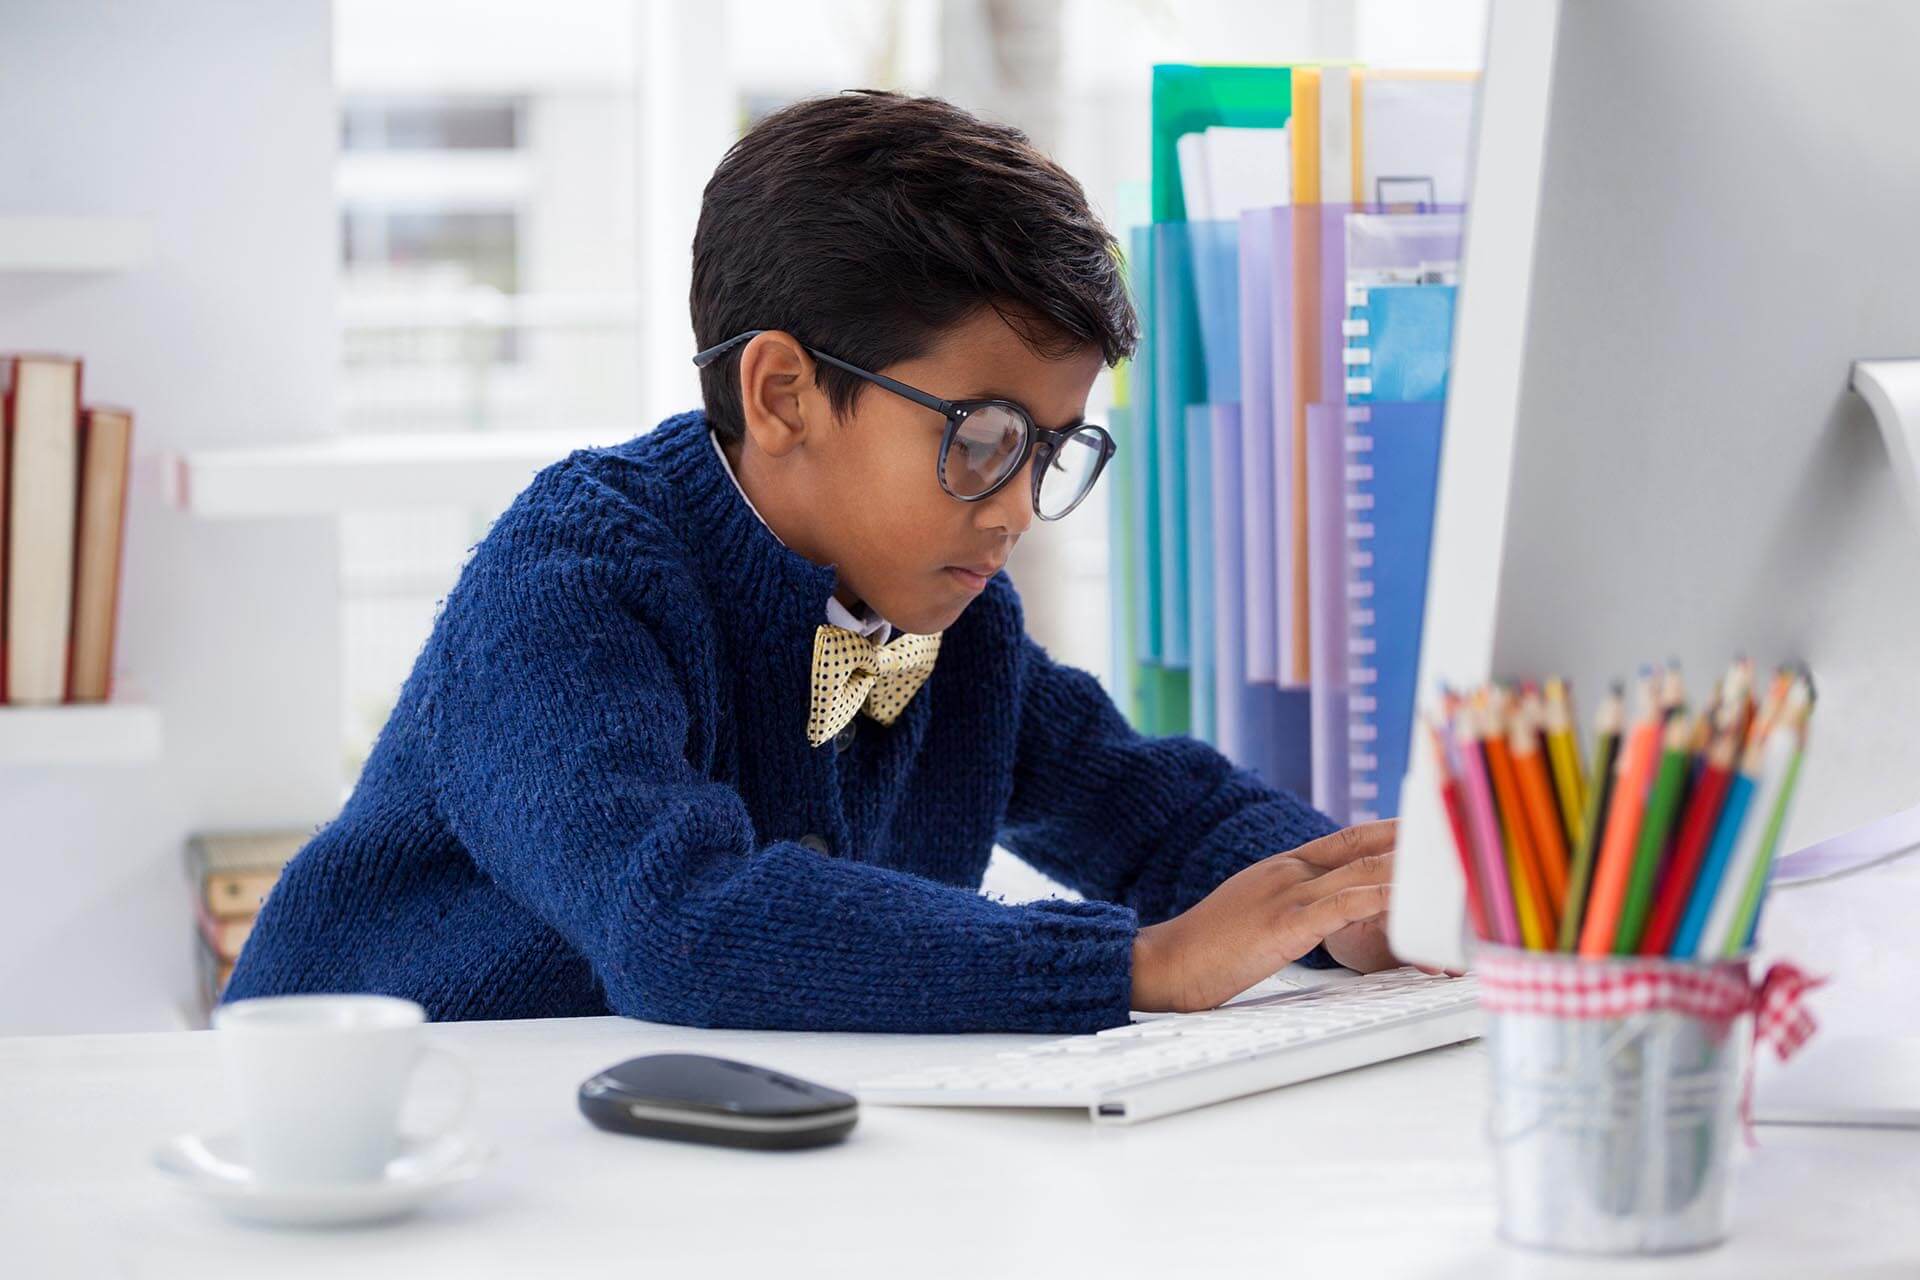
Desk ergonomics is extremely important when you’re editing photographs. Many modern-day computers are designed for portability, but not for use over a long period of time. And when you’re learning how to use Lightroom and Photoshop, it’s not uncommon to sit behind the computer for longer than 2 hours working on photographs.
If that time is spent hunching down over the computer, it can eventually lead to back pain. None of us are as young as the day we first found out what we can do with landscape photographs in post-processing. But even if you haven’t yet made a habit out of editing photographs, and still spend a lot of time in front of the computer, this is the guide for you.
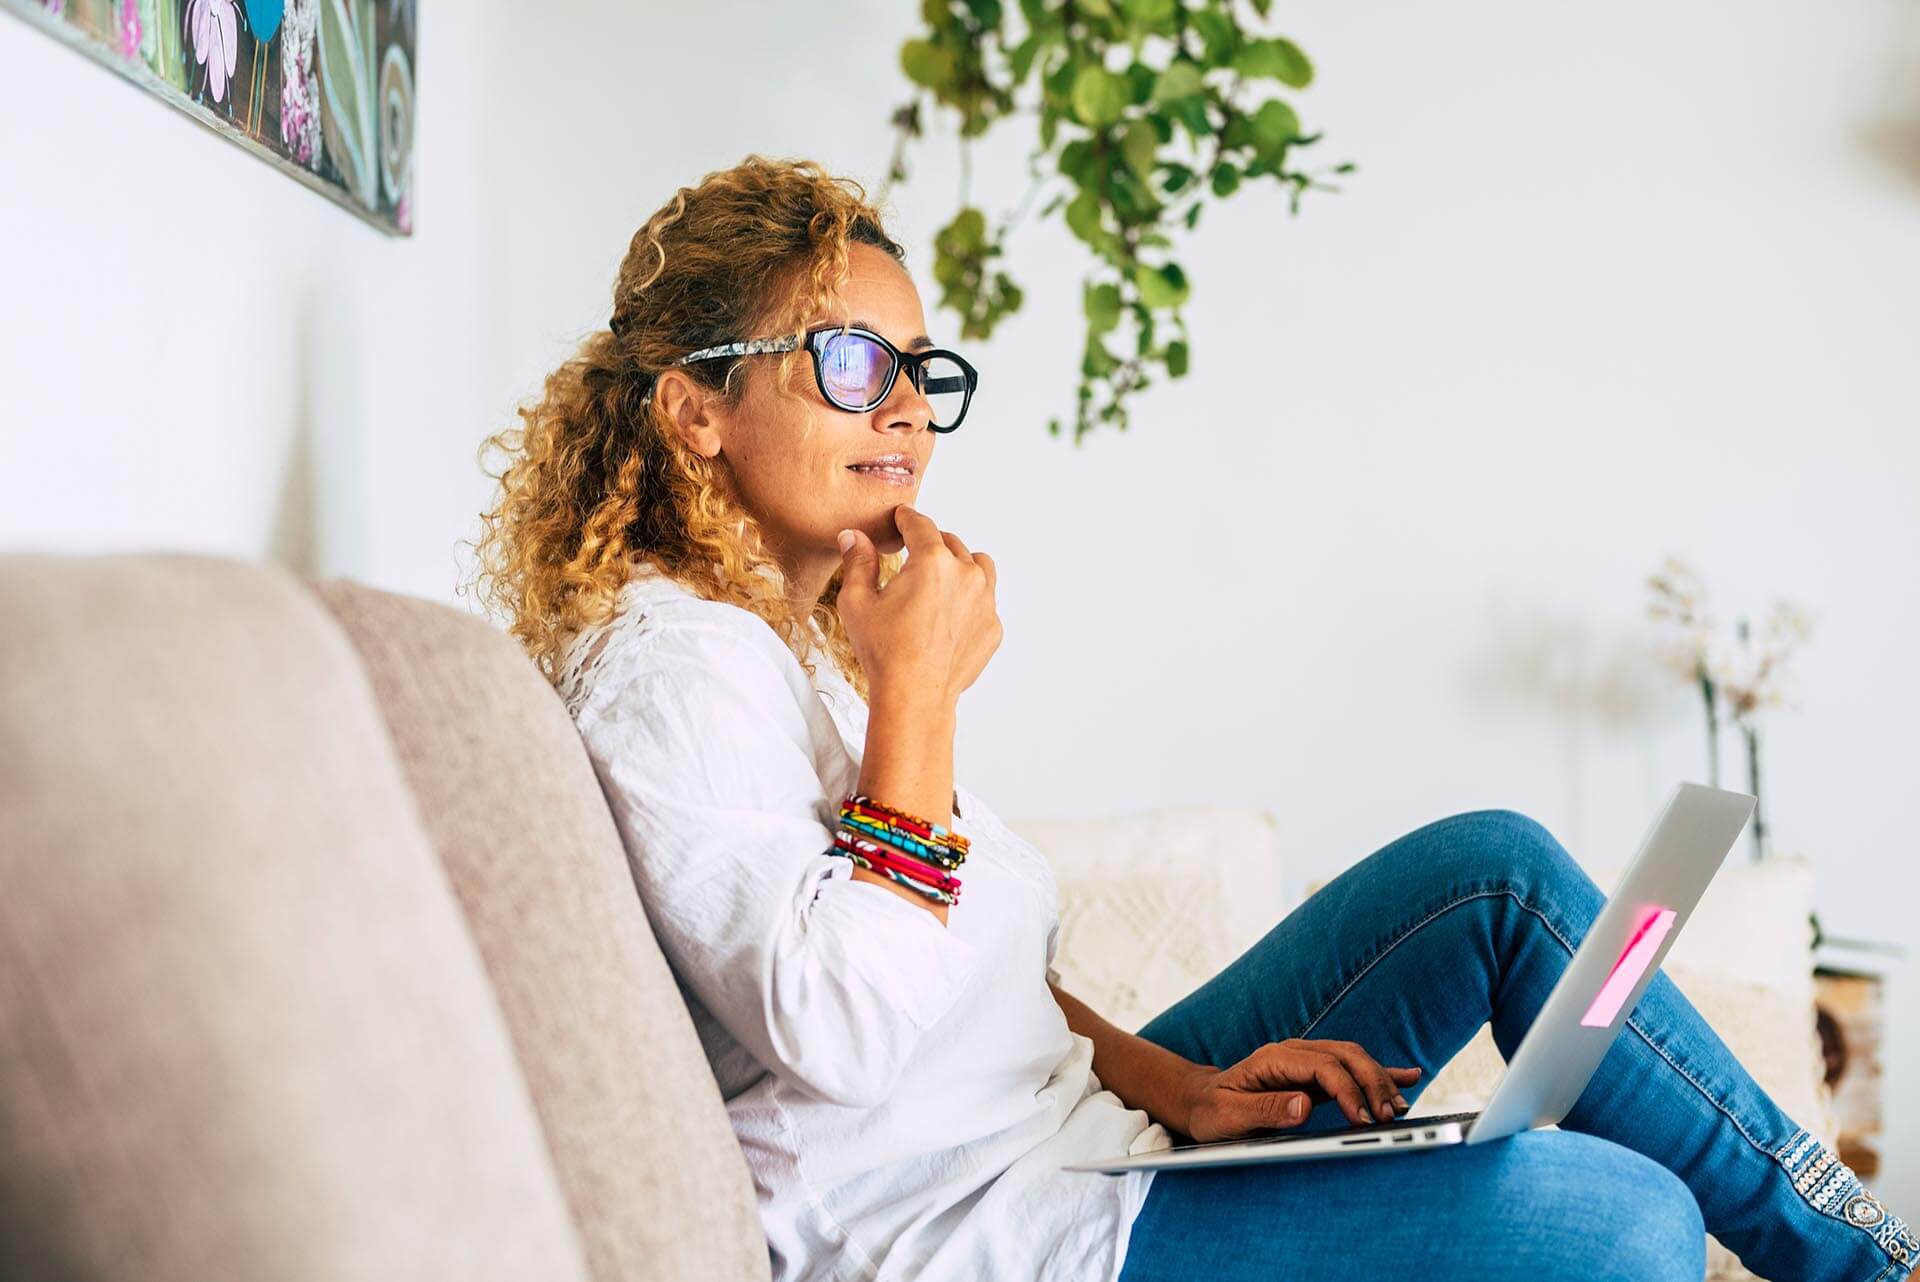
I’ve used a laptop for many years. As a student, I went a full four years without a proper desk — often opting for studying at a table, on the bed, or even from the comfort of my couch. My laptop served me very well, and over the years I’ve upgraded a few times as my needs for photo and video editing grew. But it wasn’t until I went pro that I really began to consider my long-term desk needs.
What ergonomic considerations do I need for photo editing?
When you’re editing for long sessions, it’s very easy to fall into a slouch. Our bodies naturally want to relax. Since you’re not using the muscles for standing or walking, it’s easy for them to relax and fall into bad positions.
The main ergonomic issues while editing for longer periods of time are tension in my wrist and neck, as well as eye strain. Most ergonomic photo editing setups will focus on sitting properly, having tools and support to relieve wrist tension, as well as having good lighting to reduce eye strain.
I’ve worked with both PCs and Mac computers, and I have to say that while Mac computers look nicer, and have good screens, their mice, keyboards, and even computer stands are atrocious for long editing sessions. Back when I used Mac, I always threw out the mouse and keyboard first, because they are simply so uncomfortable. PCs, on the other hand, are much more adaptable to your space. Most monitors are sold separately from the computers, so you can buy adjustable stands that are designed for humans.
If you’re in the market for a new computer, this is one great reason to consider a PC over a Mac.
How can I make a laptop more ergonomic for photography?
Laptops are powerful machines these days. I’ve used them for some pretty intense editing, like combining over 40, 50mb images and had them barely struggle to keep up. Of course, it’s not as fast as a PC. But the benefit of being able to pick it up and take it anywhere is a huge bonus for me.
But the drawback is they’re just not ergonomic at all! The very design of a laptop means that you’re going to be staring downwards at the screen. And this is a nightmare over long photo editing sessions, and even writing blog posts like this. But I love using laptops because of how portable these machines are. It can go from a Photoshop powerhouse to a movie machine in 10 seconds, and that’s what I need in my life.
So over the years, I’ve learned a number of methods to make them much better for sitting long term. The main consideration when making a laptop more ergonomic is to find a way to get the screen at your eye level. This will allow you to sit up straight when your editing. I’ve used everything from external monitors, to laptop stands and yoga blocks to raise the platform of my laptop so it’s more ergonomic. The external monitor was by far the best option because it is larger and allows me to better see what I’m editing. But I’ve also been happy with the much cheaper option of just raising up the laptop on stands.
Of course, when you raise it this high, you’re going to need to add an external mouse and keyboard. Otherwise, you’ll be reaching fairly high up to type, and that’s not going to be doing your arms and back any favors over the long run. More on how to choose these below.

Should I buy a desktop computer for ergonomic reasons?
There is a good case for buying a desktop computer. If the laptop just isn’t working when you raise it higher, say if you don’t have enough USB ports to support a mouse, keyboard, card reader, external monitor, and backup drive, it might be worthwhile to upgrade to a PC.
I’ve written an article here about when a desktop is better than a laptop for photo editing. And this is one of the best reasons to move that route. You can purchase a high-end desktop computer for the same price as a pretty good laptop. And, you’ll get the benefit of having enough ports, cheaper long-term storage, better screens, and way better ergonomics.
Desktop computer screens have monitor stands that can be adjusted to the person using them. Meaning, if you’re tall, there are stands that’ll work for you. If you have a small space and want to wall-mount the monitor, you can do that. Desktop computers will also have more than enough ports to support all of your external device needs and have far better cable management possibilities.
As well, a dedicated space means that you can find a desk that fits and a chair with proper support. It took me a while to realize this. The chair with the right lumbar and neck support made one of the largest differences for my posture over the years. I highly recommend speaking with a physiotherapist to learn about what your body needs if you’re experiencing back pain. It’ll make a world of difference.
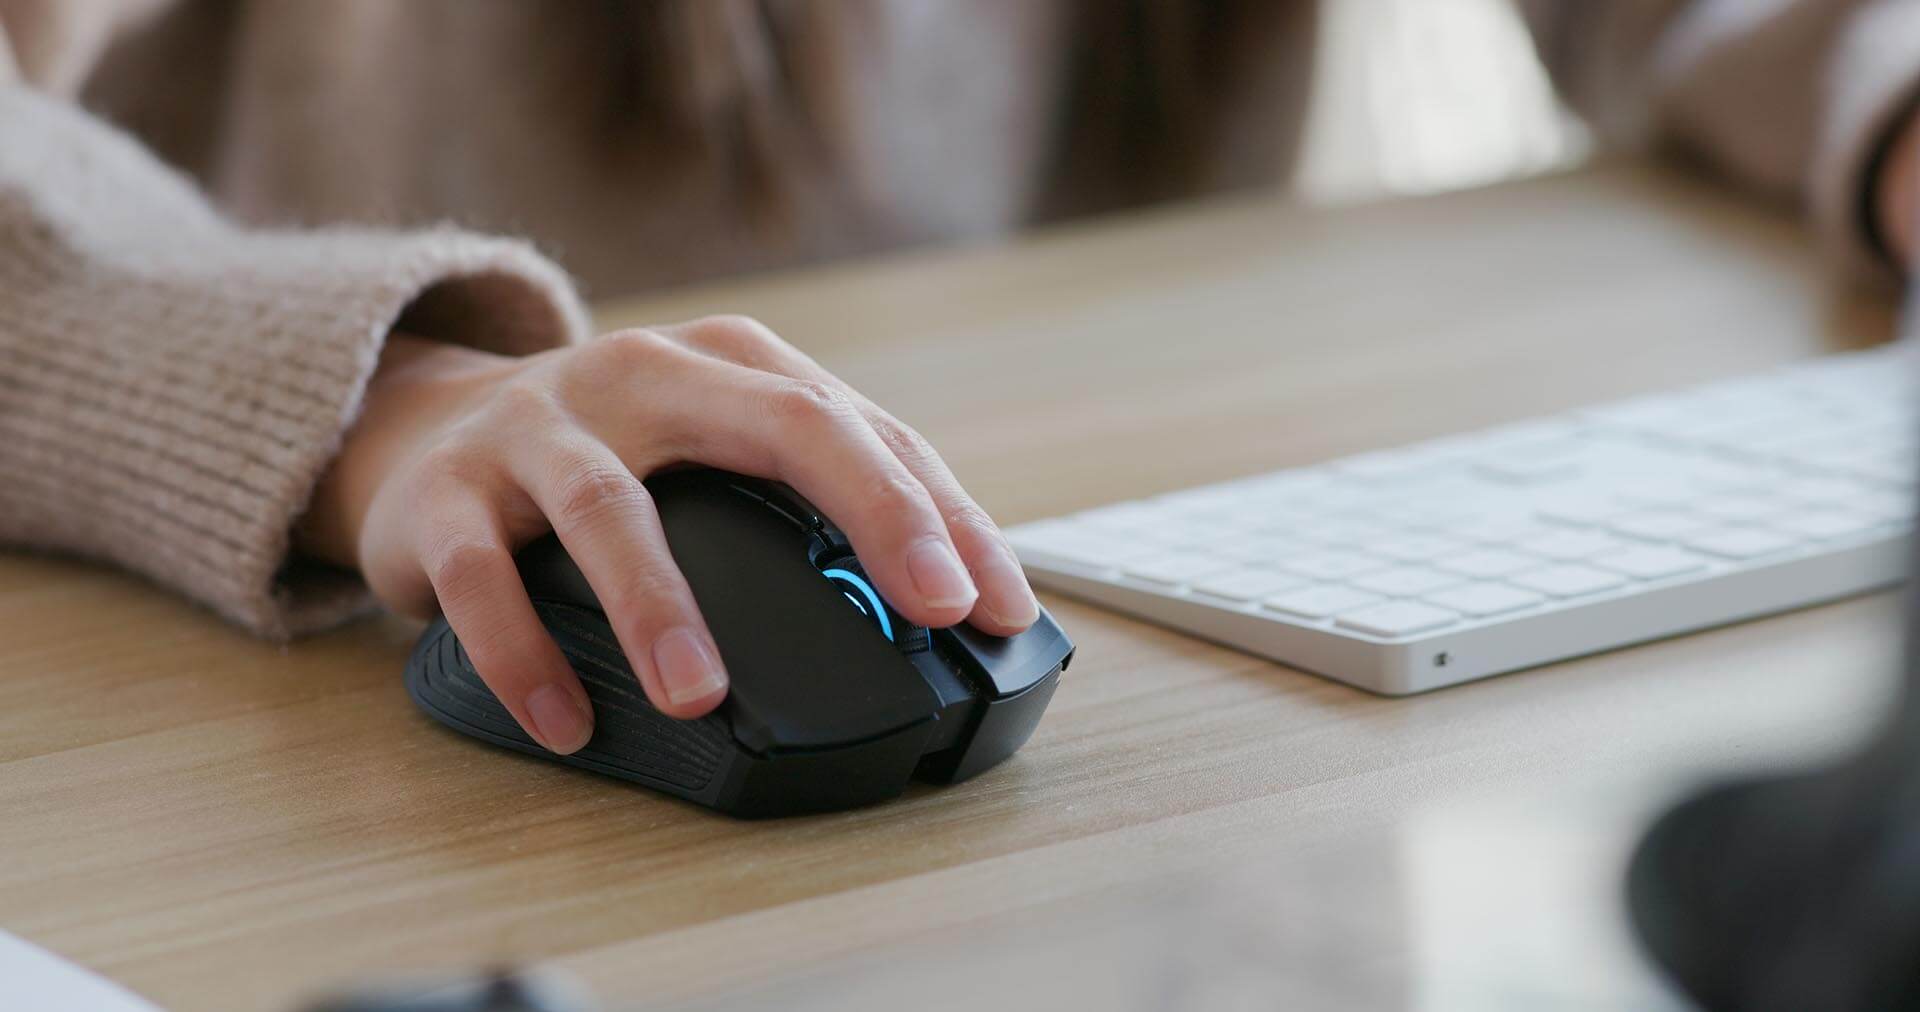
Finding the right mouse or tablet for photo editing
I edited photos for more than 2 years with a 27” iMac computer. The machine worked well enough, but the mouse was atrocious! By the end of an editing session, my wrists would cramp so badly that I had to buy a new mouse. The stock mouse looks beautiful, but it’s not built for human hands, and the charging mechanism on the bottom is the worst possible design.
When you’re looking for a new mouse for photo editing, the main feature to look for is one that fits in your hand. It should be large and rounded near the back so that it fits comfortably in your palm. Only after comfort is it worthwhile to start considering extra buttons and features.
Many other editors I know have also had a lot of success by using wrist supports. These are soft fabric pads that sit behind your mouse and support your forearm. They’re cheap little devices that make sure your wrist isn’t bending upwards to use the mouse. It’s more for people with small hands and wrists, so if you’re finding that your hand is bending backward, this can be the support that’ll work for you.
And if you find that your hand is still cramping, it could be because using a mouse is inherently unnatural for photo editing. They work well enough for most people. But I’ve found that using a tablet, like Wacom, can give you much more control over the entire editing workflow. Especially when you get your photos into Photoshop, where most of the wrist stress happens. A tablet will go a long way towards reducing the stress on your wrists and gives you way more control over the editing process.

What kind of keyboard is the most ergonomic for photo editing?
Having a keyboard that you can actually type on is more important than you’d think for photo editing. In Lightroom, I’ve personally set up keyboard remapping so that I can edit photos without ever touching the mouse. So having a good keyboard has been key for my long-term success when editing large volumes of photographs.
If you’re using a laptop set up on a stand to support your posture, you’re going to need a keyboard so that you’re not raising your arms up a foot to reach the keys. That’s only going to be comfortable for five minutes.
The good news is ergonomic keyboards are easier to find than non-ergonomic ones. Unless, of course, you’re using an iMac. Because I honestly don’t think their design team has ever seen a human.
Ergonomic keyboards will raise slightly in the back so that you have an easier time pressing the keys. They often have little legs that do this job. Find one that has these legs in multiple steps to support different-sized people, and your wrists will thank you. Fortunately, the keyboard is probably the cheapest part of the entire setup. And you don’t have to look far to find an ergonomic option. Again, unless you’re an Apple fan.
How to reduce eye strain when editing
There are three tips that are advised by optometrists on the web.
- Reduce glare on the monitor
- Make the images larger
- take breaks to look somewhere else
Making the images larger is the easy part. In Lightroom, you can reduce the size of the editing panels by moving your mouse over the sides and dragging left or right when you see the arrows pop up. There are also microscopic arrows on the top, left, right, and bottom part of the screen in the Develop Module. These arrows will allow you to close those sections of the editing panel and make the images on the screen larger.
The other option is to get a bigger screen. If you’re editing on a laptop, you can usually connect a larger screen using an HDMI, or other port, depending on the laptop. Using an external monitor this way is much cheaper than buying a new laptop, and can get much better results, as well as make your setup more ergonomic in the long run.
Reducing glare could mean moving your editing setup to another location. Often lighting in houses is fixed. So if you’re editing in an office with an overhead light on top, you may have to turn the desk towards the middle of the room to blog the light from glaring on your screen. Having a lamp beside the screen is also beneficial to light up the wall, or the room around the screen so that there isn’t too much contrast. Just like a good theatre setup will have some lights behind the TV to reduce eye strain.
Taking breaks from editing is always a good move for your eyes. Computers have only been around for the last 30 years. That’s not even enough time for some kids to leave their mom’s homes, let alone enough time to evolve eyes better for computers. Take breaks, look into the far distance every now and then so you don’t need to get a stronger glasses prescription again next year.
I’ve made a more ergonomic setup, now how to I update my photography game?
The next step is always to keep learning! Building an ergonomic setup was a really important step in my process of becoming a pro photographer. It’s not as exciting as a new lens, but investing in your long-term health and comfort is always very valuable.
 So when you’re ready to keep learning about photography, you can sign up for my free online web class! This is where I teach you my favorite 4-step system for taking incredible photographs. It doesn’t require purchasing anything new — in fact, you can start getting killer results even with entry-level gear!
