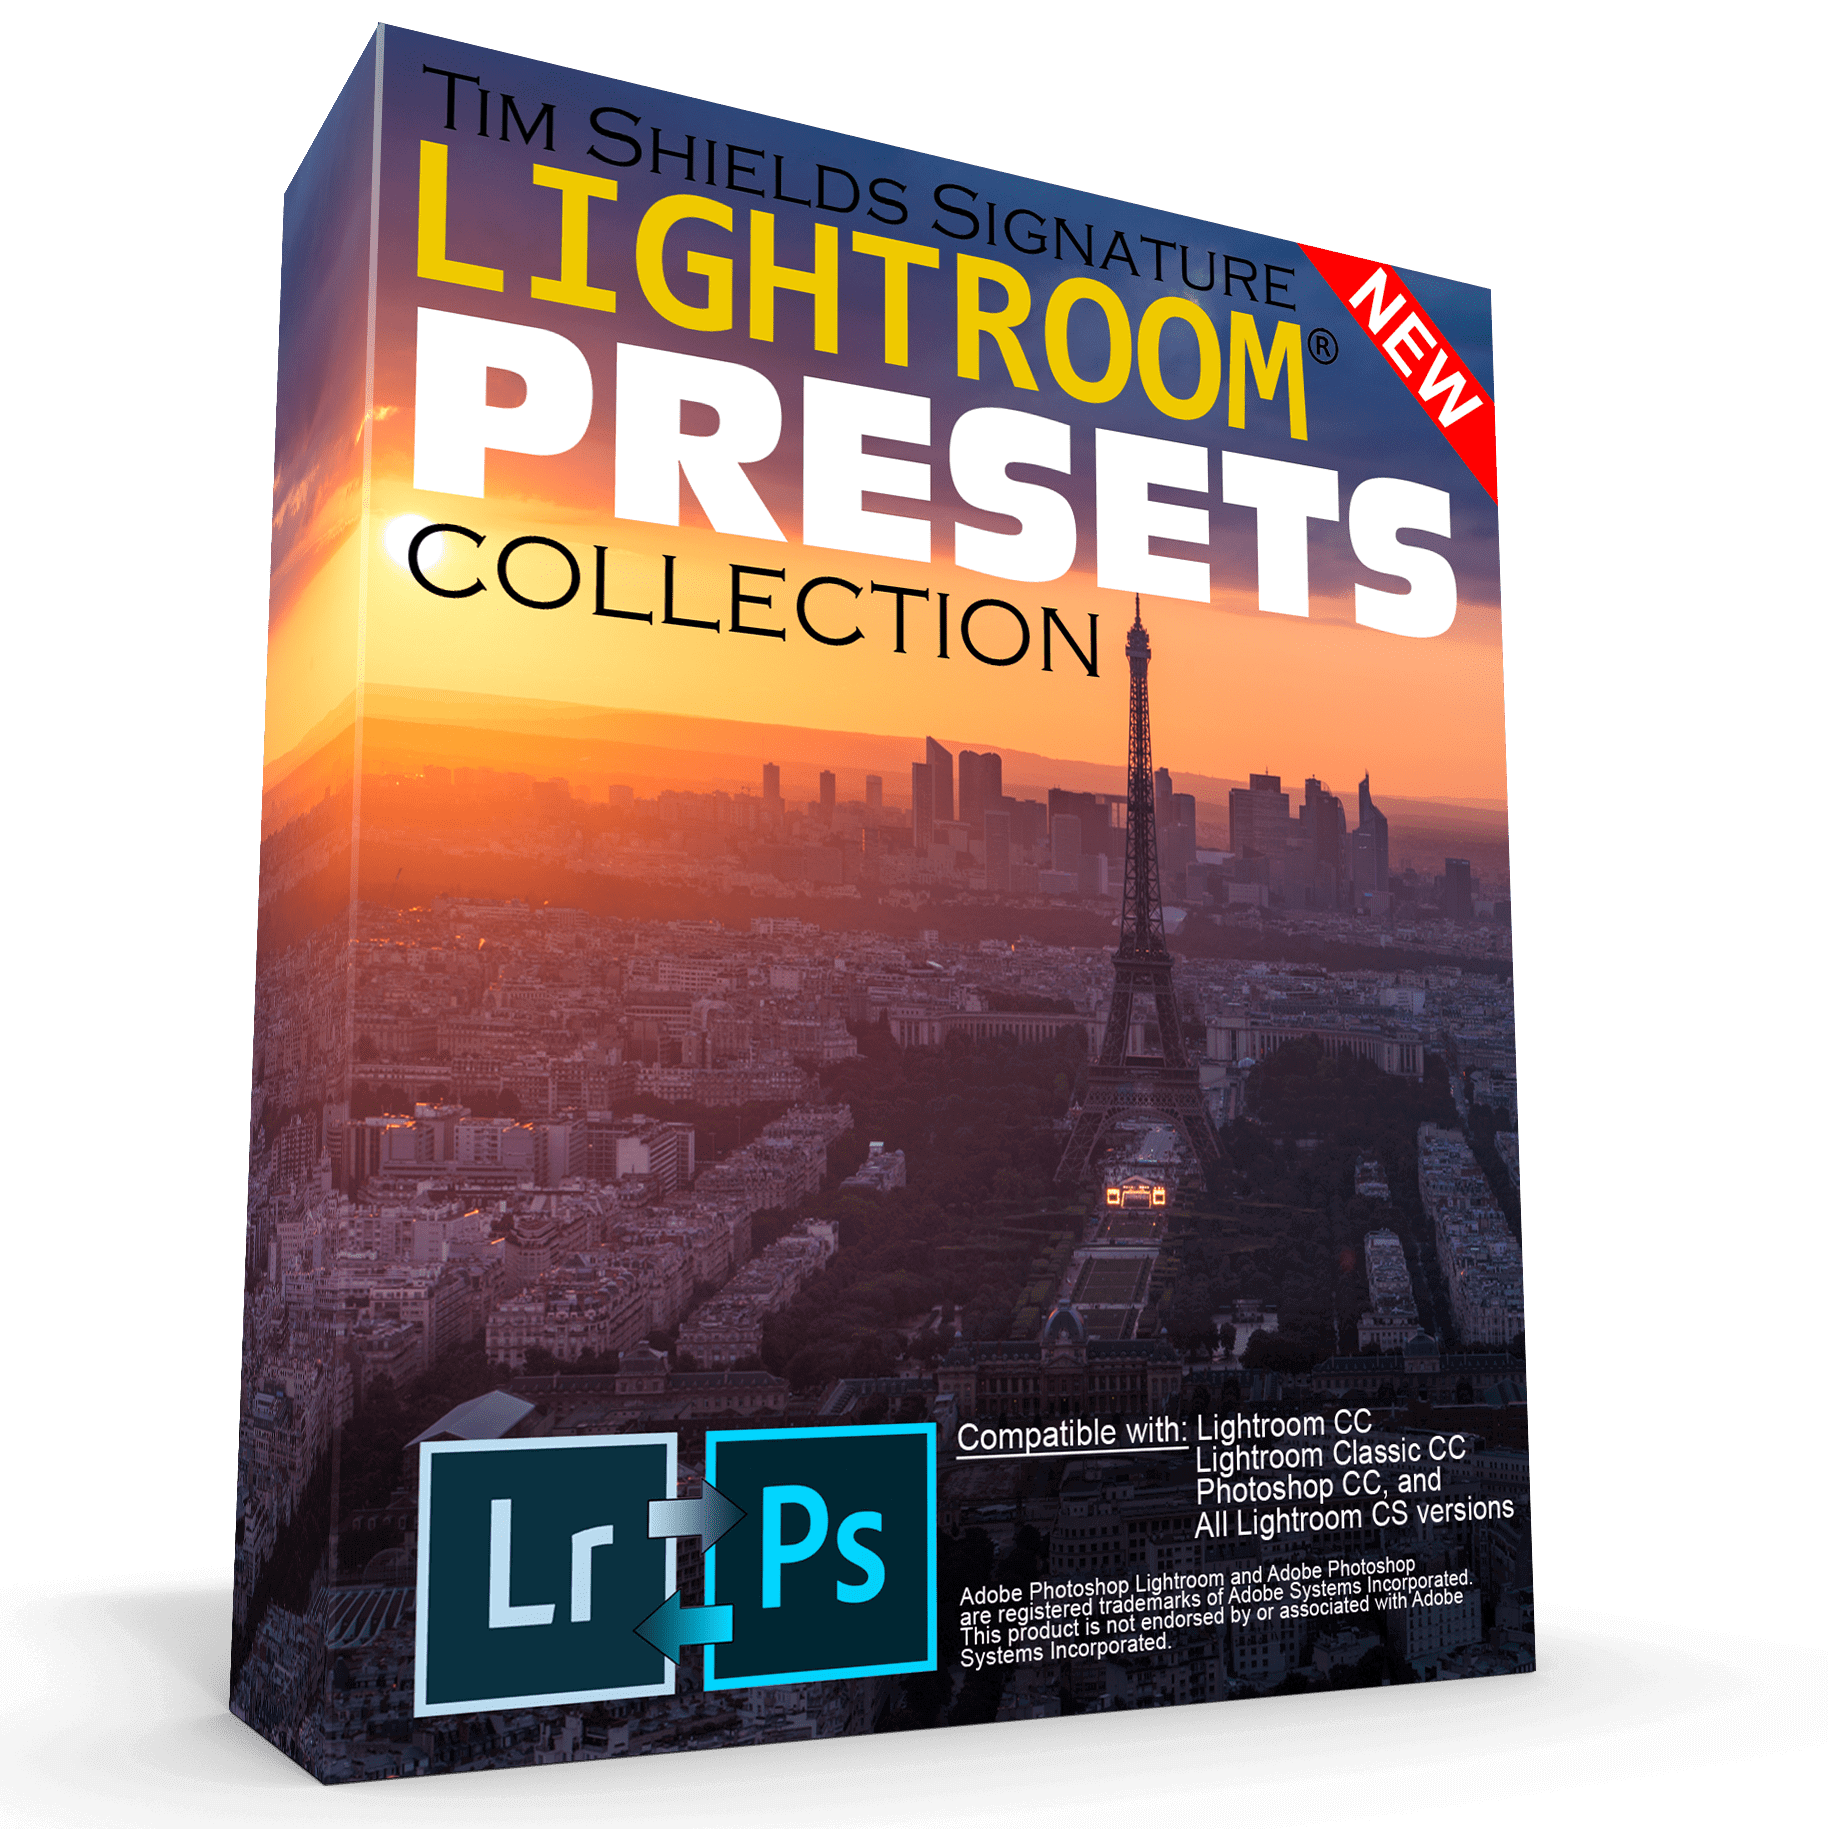
I am giving away free Lightroom presets! This is how to get your free presets and how to install Lightroom presets on Mac and Windows. These presets work on Lightroom CC, Lightroom Classic CC, Lightroom Mobile and all older versions of Lightroom such as Lightroom 6, 5 and 4.

Do you struggle with inspiration when you are editing your photos in Lightroom? I have the answer for you that will help you create your own stunning photos faster than ever before.
I just created my Signature Lightroom Presets Collection with over 200 presets for landscapes, portraits and cityscapes. I took my top 200 best photographs that I have taken over the last ten years and created presets from the settings on these photos. This means my presets are made with real-world camera and Lightroom settings.
You can buy the entire collection for just $37 USD, or you can download a free sample pack of five of my presets for Lightroom. The free presets come with five free RAW files for you to practice on.
Click here to download the free Lightroom presets sample pack.
Click here to purchase the entire collection of 200 presets for Lightroom.
Preset Installation Instructions
Preset Installation Instructions for Lightroom CC 2018 and Lightroom Classic CC 2018 – Mac and Windows
This is the easiest installation method but you must have a recent version of Lightroom CC 2018 or Lightroom Classic CC 2018 for this to work.
Video instructions:
1. Download and unzip the presets file. Open the folder where you unzipped the presets.
2. Copy the presets folders that you just unzipped. If you purchased the full preset collection you will be copying 15 folders at once. If you only have the free sample pack, you will copy one folder. (These folders contain files with an LRtemplate extension).
3. Open Lightroom.
4. In the top menu bar, select edit>preferences on a Windows computer. On a Mac, select lightroom>preferences.
5. A new window will open. Select the presets tab.
6. Click the button labelled, “Show All Other Lightroom Presets”.
7. Open the “Lightroom” folder by double clicking on it, and then open the “Develop Presets” folder.
8. Paste your new presets into the “Develop Presets” folder. The hard part is now over!
9. Restart Lightroom.
10: You should see your new presets on the left side under “presets” when you are in the develop module.
The path where you should have saved your new presets is:
Windows: [C:]\Users\\AppData\Roaming\Adobe\Lightroom\Develop Presets.
Macintosh: HD\Users\\Library\Application Support\Adobe\Lightroom\Develop Presets
What happens next?
The preset files you just installed are LRtemplate file extensions. For Lightroom CC 2018 versions, Lightroom will convert these LRtemplate files into XMP files and they will be available for your use as presets inside the Photoshop RAW editor. They will also be available in Lightroom Mobile after you have synced it with your Adobe Creative Cloud account. This cross-platform functionality only works for CC 2018 versions.
Preset Installation Instructions for Lightroom 4, 5, 6 and CC 2017 – Windows Instructions
Summary: You will be copying your new presets folders and pasting them into a specific folder on your computer. Here is how to do it.
Watch this video for both Mac and Windows installation with Lightroom 4, 5, 6 and CC 2017 versions.
Text installation instructions:
1. Download and unzip the presets file. Open the folder where you unzipped the presets.
2. Copy the presets folders that you just unzipped. If you purchased the full preset collection you will be copying 15 folders at once. If you only have the free sample pack, you will copy one folder. (These folders contain files with an LRtemplate extension).
3. Open Lightroom.
4. In the top menu bar, select edit>preferences.
5. A new window will open. Select the presets tab.
6. Click the button labeled, “Show presets folder”.
7. Open the “Lightroom” folder, and then open the “Develop Presets” folder.
8. Paste your new presets into the “Develop Presets” folder.
9. Restart Lightroom.
10: You should see your new presets on the left side under “presets” when you are in the develop module.
The path where you should have saved your new presets on a Windows machine is:
[C:]\Users\\AppData\Roaming\Adobe\Lightroom\Develop Presets.
Preset Installation Instructions for Lightroom 4, 5, 6 and CC 2017 – Macintosh Instructions
1. Download and unzip the presets file. Open the folder where you unzipped the presets.
2. Copy the presets folders you just unzipped. If you purchased the full preset collection, you will be copying 15 folders at once. If you only have the free sample pack, you will copy one folder.
3. Open Lightroom.
4. In the top menu bar, select lightroom>preferences.
5. A new window will open. Select the presets tab.
6. Click the button labeled, “Show Lightroom presets folder”.
7. Open the “Lightroom” folder, and then open the “Develop Presets” folder.
8. Paste your new presets into the “Develop Presets” folder.
9. Restart Lightroom
10: You should see your new presets on the left side under “presets” when you are in the develop module.
The path where you should have saved your new presets on a Macintosh is:
Macintosh HD\Users\\Library\Application Support\Adobe\Lightroom\Develop Presets
QUESTIONS? Email support@timsphotos.com
I have a 100% success rate with presets installations. You can do this.

