Most landscape photography takes place on a tripod so that we can get the sharpest image possible no matter what the situation is. As a fine-art landscape photographer, I’ve taken photos at every time of day, and have probably used every single shutter speed available. With a lot of persistence and practice, I’ve learned exactly how to get the effect that I’m interested in.
Shutter speed is an incredible tool to enhance your image and draw users into your photograph. A long shutter speed can blur out rivers, waterfalls, clouds, and lakes, while a short one can freeze fast-moving birds and wildlife.
Understanding how shutter speed works and the tools to manipulate it is one of the fundamentals of landscape photography. For the vast majority of cases, I use my ISO at the lowest possible setting and the aperture between f/8 and f/16. So shutter speed is usually the last setting I change, but it can ultimately make or break the photograph.
[twenty20 img1=”2662″ img2=”2663″ offset=”0.5″ before=”Fast shutterspeed” after=”Slow shutterspeed”]
How do I manipulate the shutter speed?
The light on a scene can be essentially static. Except during sunrise and sunset, changes in the light are usually not all that dramatic. The biggest issue that I run into is that sometimes there’s just too much light when I really want to slow down that shutter.
This is where filters come in. To get a slow shutter speed on a bright day, I need to use a Neutral Density Filter. These can either screw on the filter threads in front of a lens, or they can come with a special holder that fits overtop the lens. Both of these filters have their benefits and drawbacks. But they achieve the same goal of reducing the amount of light coming into my lens.
My favorite Neutral Density filters are the Lee Filter system. These filters are incredibly sharp and easy to use. The one that I use most is called The Big Stopper. It’s a 10-stop Neutral Density filter that can take a shutter speed of 1/1000th of a second all the way down to a full second-long exposure. In midday, that’ll allow me to blur fast-moving waterfalls and streams no problem. Adding on another filter, and I can blur clouds and make the water look like still glass.
Speeding up the shutter speed can be a problem. If there’s ever a time that you need it to be faster, you’ll have to choose the lowest f/stop on your camera to let in the most light or increase the ISO. Learn more about taking photos in manual modes here.
When do I need a fast shutter speed?
To capture sharp photos of this bear running at me full tilt, I had to use a shutter speed of 1/1250th of a second. Any slower and you would see some motion blur in the image. Especially with high-resolution cameras like the Nikon D850, I need to use as fast of a shutter speed as possible capturing moving subjects.
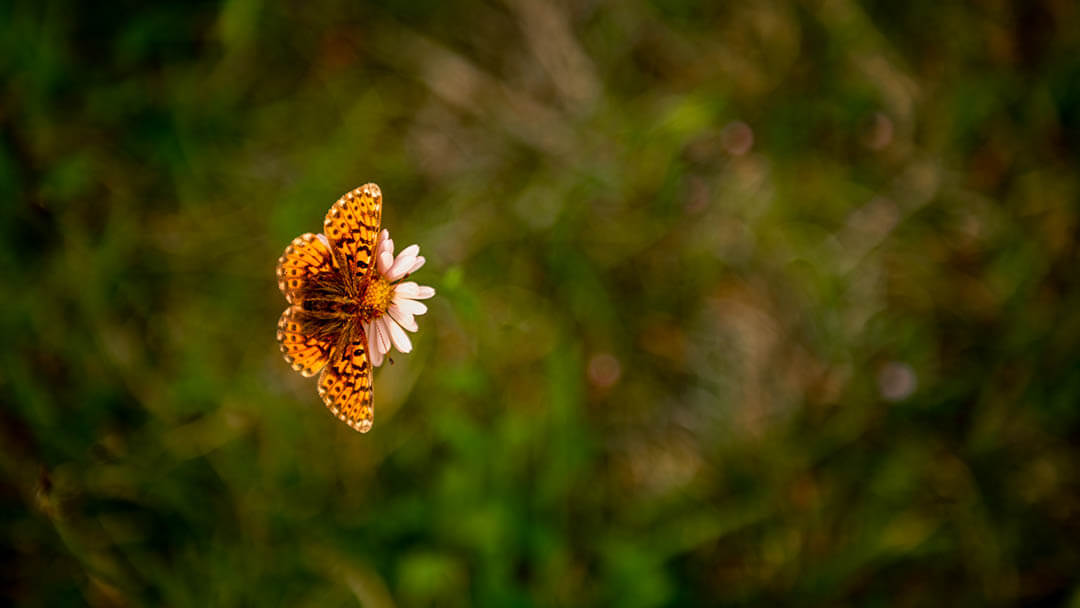
Some birds, like hummingbirds, move so fast they can require up to 1/8000 of a second to freeze — the maximum on most cameras — and they’ll still have blurred out wingtips!
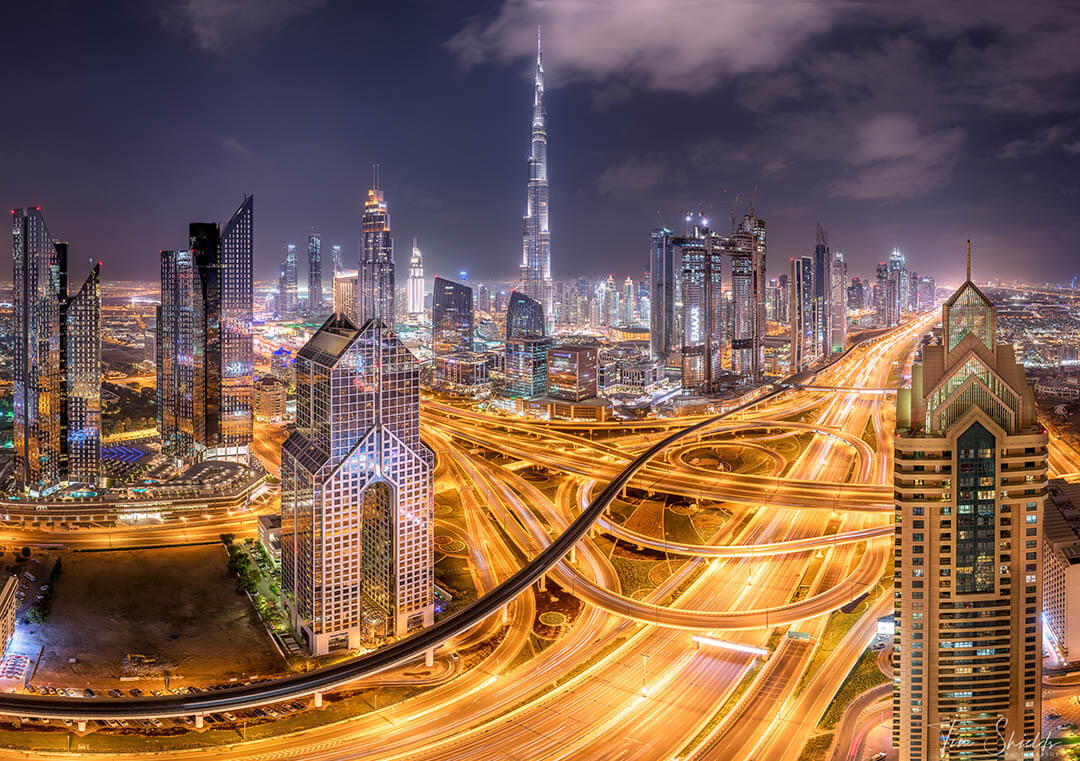
A fast shutter speed is also necessary for anyone capturing a landscape without a tripod. To get a sharp image while holding the camera in your hand. The general rule is that you should always have a shutter speed faster than the focal length of your lens. However, with modern high megapixel cameras, that rule often leaves a lot of motion blur in the images.
Typically, when I’m hand-holding for a shot at 70mm, I need to use a minimum shutter speed of around 1/250th of a second to get a perfectly still image. Even if my camera is on a tripod, if I’m pressing the shutter button instead of using a timer or a remote shutter release, I need to have that shutter speed fast to blur out the motion.
How do I choose which shutter speed to use in an image?
Every situation is different. But it comes down to a few different options.
Use a fast shutter speed when you need to freeze the action to make a good photograph. In most landscapes when you have a tripod, this won’t be necessary. You can choose whichever shutter speed will properly expose the image after you’ve set your ISO to the minimum, and the aperture between F/8 and F/16.
Choose to slow down the shutter speed if you want to create some blur in the image to contrast with the sharp details. A blurry section of the photo, like falling water, will grab the viewer’s attention, and lead it to the sharp detailed rocks and hold them there.
A glassy lake will also reflect the landscape above it, creating symmetry in the image. Balancing your composition with a mirrored foreground is another powerful tool for keeping the viewer’s attention on the image. Grab all the attention you can get. Because the longer somebody looks at your photo on Instagram, the more likely the algorithm is to feed your images to the next person.
If you don’t have a tripod yet, you’ll need to get one for landscape photography. This is an essential tool in every photographer’s kit. The tripod has been a focal point of my photography style. It’s so useful that I never leave the house without mine or the Nikon D850.
How slow of a shutter speed do I need to blur out water?
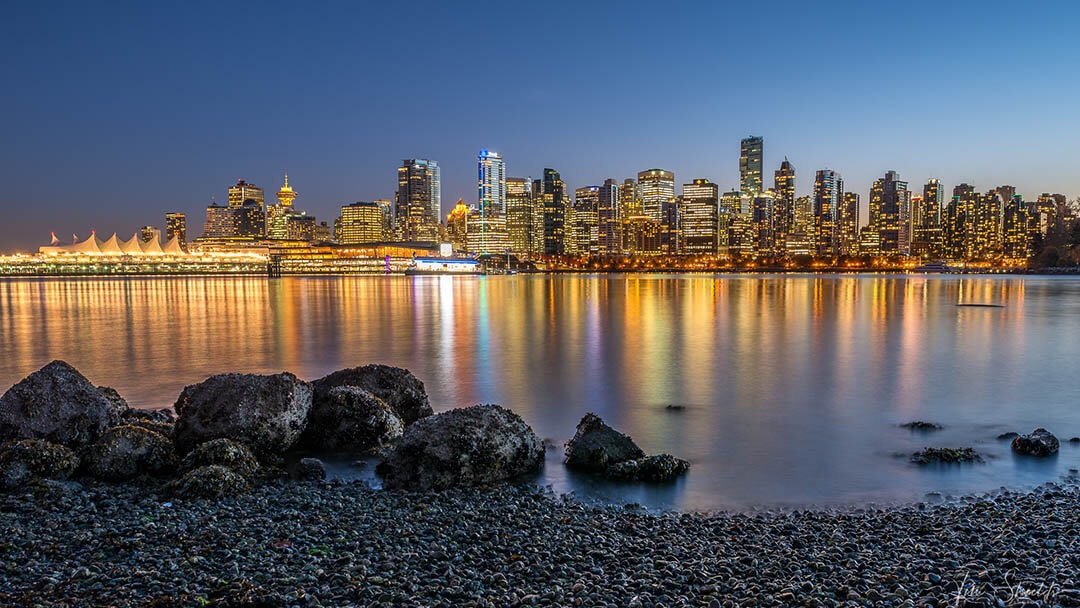
Most water can be blurred out in just 2 seconds. Faster moving water will blur out more with shorter exposure times than slow-moving water. In general, I aim to shoot between 0.5 and 4 seconds to blur out the water in most cases. Exposures longer than 8 seconds make little difference on the water, but they will begin to blur fast-moving clouds.
If you want to have a glassy lake reflection, your biggest enemy is the wind. Even a minor wind can make the water choppy enough to destroy a sharp reflection. In this case, a longer exposure will help, but you’ll still end up with blurry reflections. To solve this, look for a smaller source of water. Small puddles have much fewer waves because the wind has a smaller impact on them.
This is because small forces have a greater impact over time. Just like the moon is so small and far away that it has almost no impact on humans. But because the ocean is so large, the moon has a great impact in controlling the tides all around the world.
Are there any tools to predict the weather?
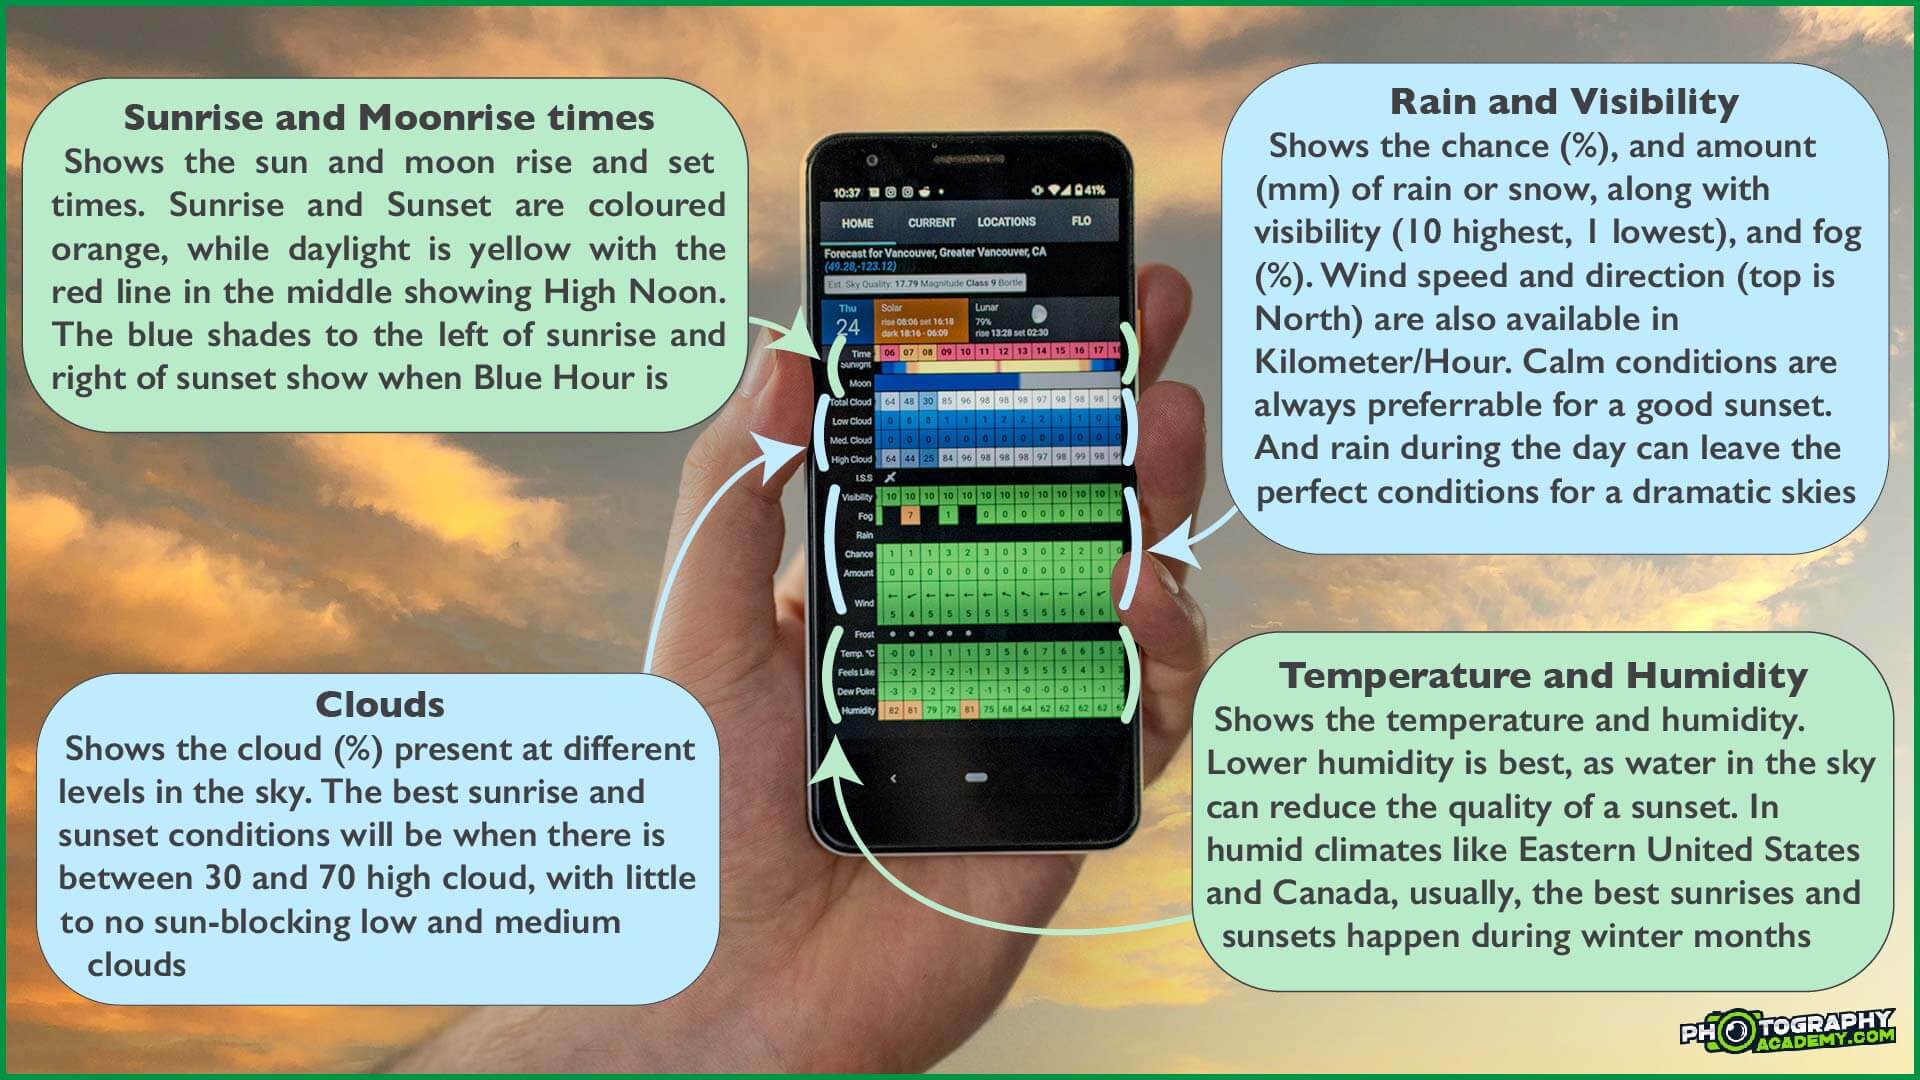
My absolute favorite application for knowing the weather ahead of my photographs trips is called Clear Outside. It’s a free application for both iOS and Android that shows in-depth weather details all over the world.
Type in the coordinates, and you’ll see the 5-day forecast for your planned location. It also shows the hourly precipitation, wind speed, and the amounts of clouds in the air! No weather forecasting app is going to be perfect — especially further away from the weather stations in the cities. But it will give you a good clue for what to expect along your photo journey. With a bit of persistence, you’ll even be able to see what the perfect conditions are for a gorgeous sunset!
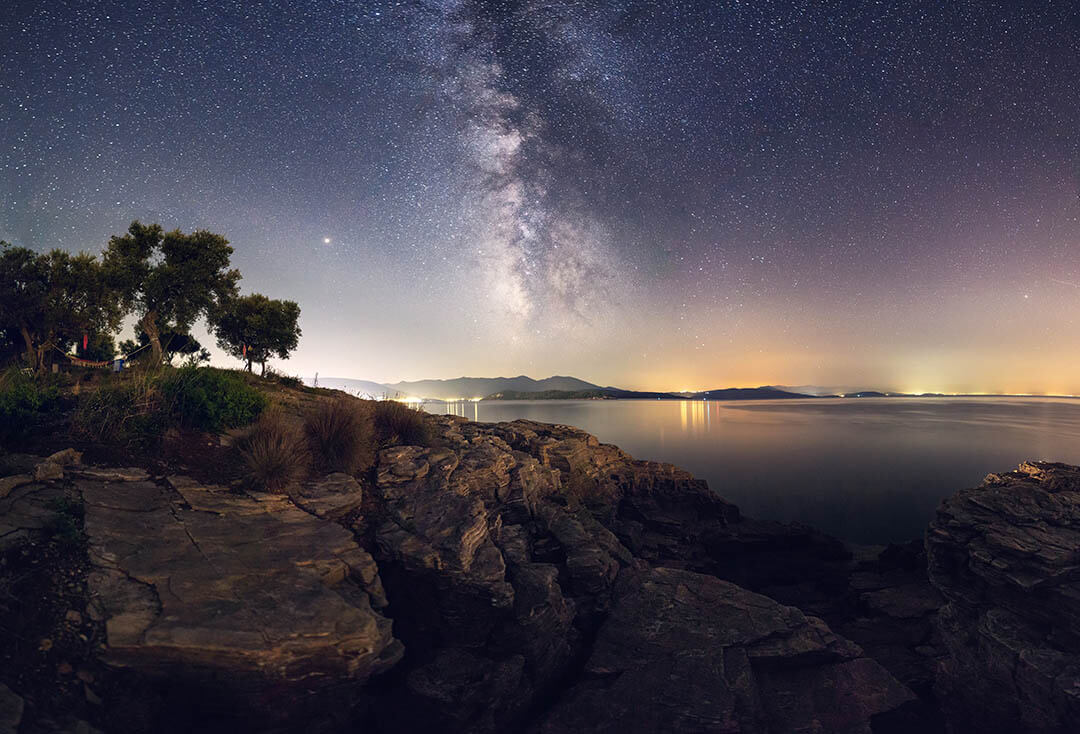
What shutter speed do I need to photograph the milky way?
Stars and the milky way are surprisingly difficult to photograph. For one, you’ll need to get far away from the city. And to make them bright and detailed in the image, you’ll need to get as much light into the camera as possible. This means using the smallest aperture possible (around 1.4 if you have a prime lens that can do it), and an ISO setting that’s high, but not so high it creates stars of its own.
The longest possible automatic shutter speed is 30s on most cameras. But that shutter speed is so long, that you’ll capture trails at the end of the stars due to the Earth’s rotation. Aim to capture images that are 1/20th of a second or faster. Any longer, and you’ll need a star tracker to get tack-sharp star photographs.
Where can I learn more about landscape photography?
 These blogs are an excellent resource for everyone learning the fundamentals of landscape photography. When you’re ready to take your photography game to the next level, I have some great tips and resources available in my free online web class! This quick course will give you an introduction to my four-step system for taking stunning fine-art landscape photographs. It’s the same system that I’ve used for almost every award-winning photograph I’ve taken. And the best part of it is that it doesn’t require you to upgrade your gear.
Anyone can become a world-class photographer. All it takes is persistence, patience, and knowledge. Once you have that, luck will never be a factor.

