
When this article is published in my part of the world, there’s only going to be another one or two months of winter left — depending on the groundhog, of course. That means it’s crunch time to get those stunning winter landscapes until they’re inaccessible. Especially come shoulder season, there are a lot more safety precautions to take into consideration.
So we’ve got about a month left of really good, pristine, pure white snow. And that’s just enough time to get out there and capture these scenes before they’re gone for good! Unless of course, you’re in Australia. In which case, good on you for planning ahead.
So I’ve been working hard all season to come back with some really solid tips to get those perfect photographs. Here’s how I’ve been getting my favorite shots this season.
The tips on this article are for more beginner winter photographer’s. If you’d like to see what it takes to get into the backcountry, take a look at this guide. Or, if you just want to stay inside, I’ve got a list of seven indoor projects that’ll let you practice photography while staying nice and cozy next to the fire.
1. Plan your photograph
I talk about planning in this blog a lot, and that’s because it’s what will make the biggest difference in your photographs. Sure, you can go out randomly on hikes and get great shots. But more likely, you’re coming back with a few okay shots, and not much more. The best way to create amazing, award-winning photographs is to plan your image.
I usually start by simply looking at Instagram. Find a good winter hashtag like #winterlandscape, or looking at people tagging locations near to you. These can often reveal some amazing scenes in the first images that appear. Once you’ve got your location, the next step is to bring it into Google Maps and find out how to get there.
From here, it’s time to look up when the sunrise and sunsets happen in that region, the weather, and what you’ll need for the kind of scenes you’d like to capture. Capturing the Northern Lights or the Milky Way will require a whole additional set of equipment than a daytime or golden-hour photoshoot.
And when the day comes, make sure to let the family know where you’re going to be and what time you’ll be back. This time of year is treacherous, and sometimes the only way you’ll be able to get help is if people know where you’re going to be. If they find you haven’t checked in within a reasonable amount of time, they’ll be able to send help.
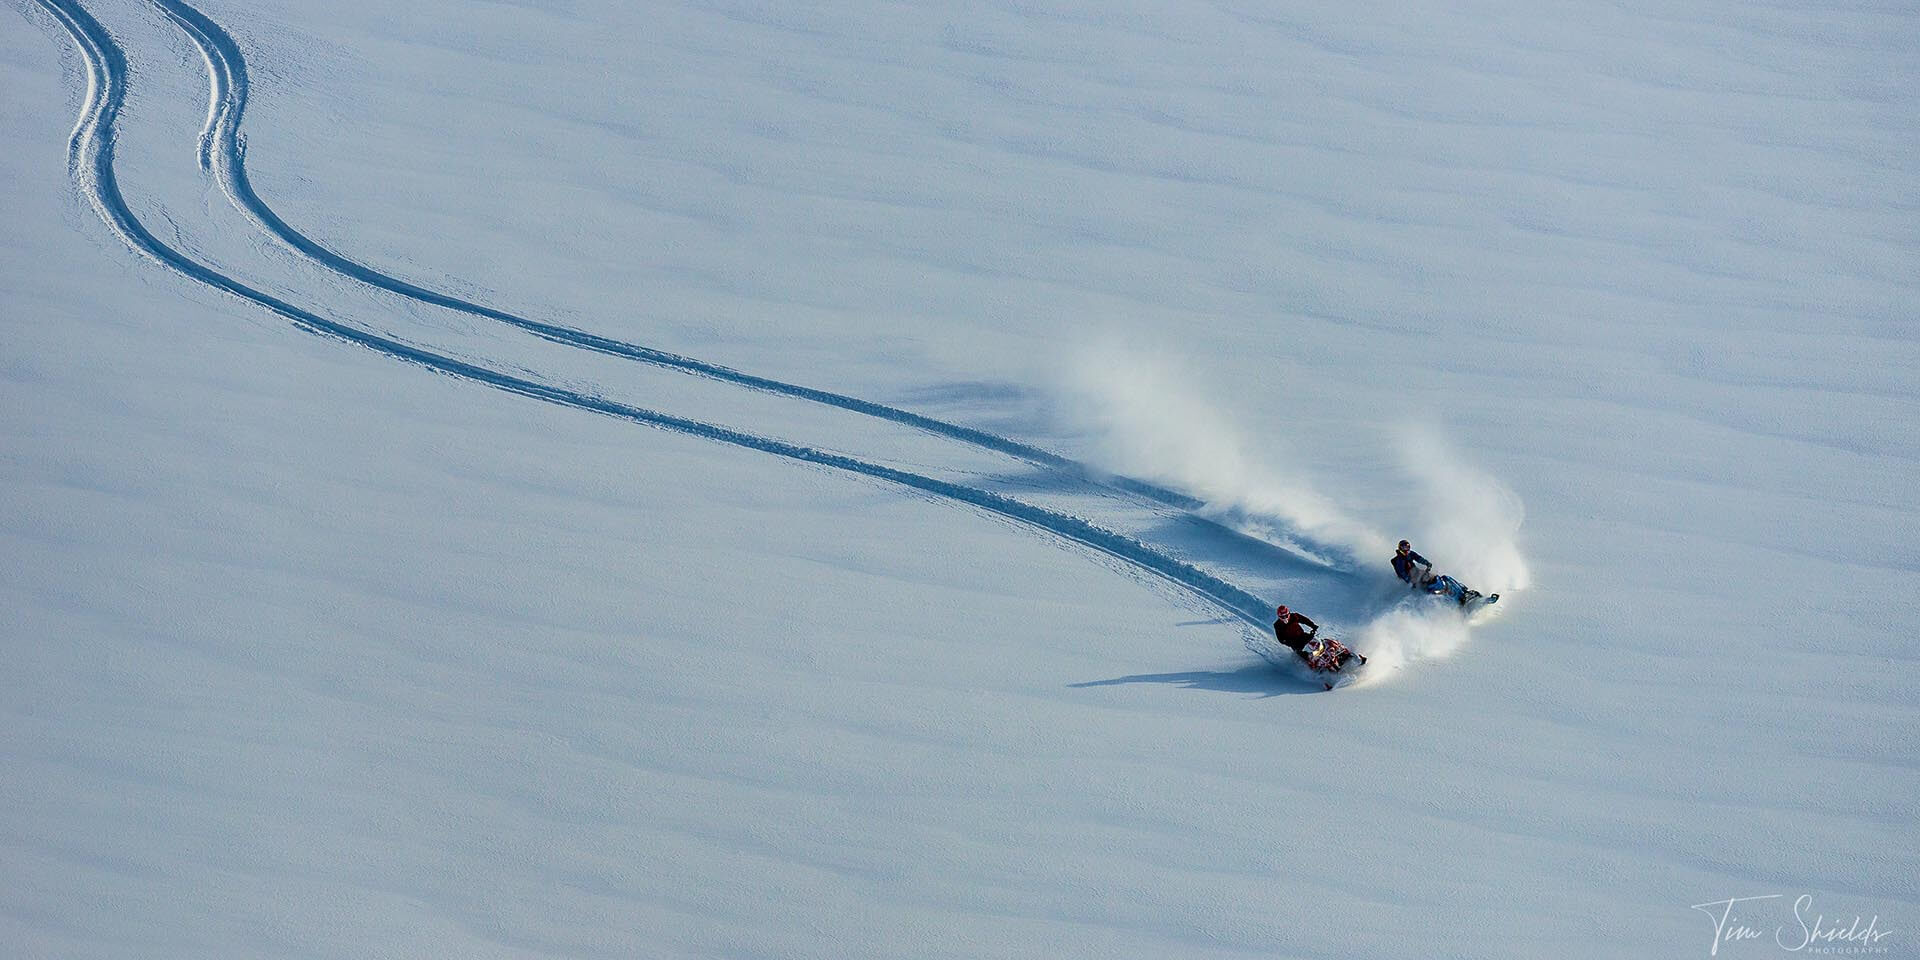
2. Get to the high ground using a snowmobile
Snowmobiles are the best tool in the winter. It’s amazing how with just a little bit of training, you’ll be able to scale a mountain and get to otherwise impossible landscapes. If you’re after photos with fresh powder at high altitudes, a snowmobile will be essential to getting there.
I’ve been using my snowmobile for years now, and it’s been one of my best investments yet. Not only is it ridiculously fun, but it’s also allowed me to get much further up the mountains than I even can in the summertime. It also ensures that I can get to the shoot location before the sun rises, or safely get home when it starts going down. Without the snowmobile, it would be much harder to capture these kinds of scenes.
Of course, if you’re new to the backcountry and snowmobiling, you’ll have to pay attention to local laws. Most national parks don’t allow them within their grounds. I suggest hiring a guide to take you out to find good scenes when you’re starting out. Not only will they have the equipment and knowledge to keep you safe, but they’ll be able to take you to some of the most stunning scenes imaginable.
It’s also a good idea to bring a satellite phone with you, and always go out with one or two other people. If anything happens, it might be impossible to get cell service. So a satellite phone will allow you to have contact with emergency services if you need it.
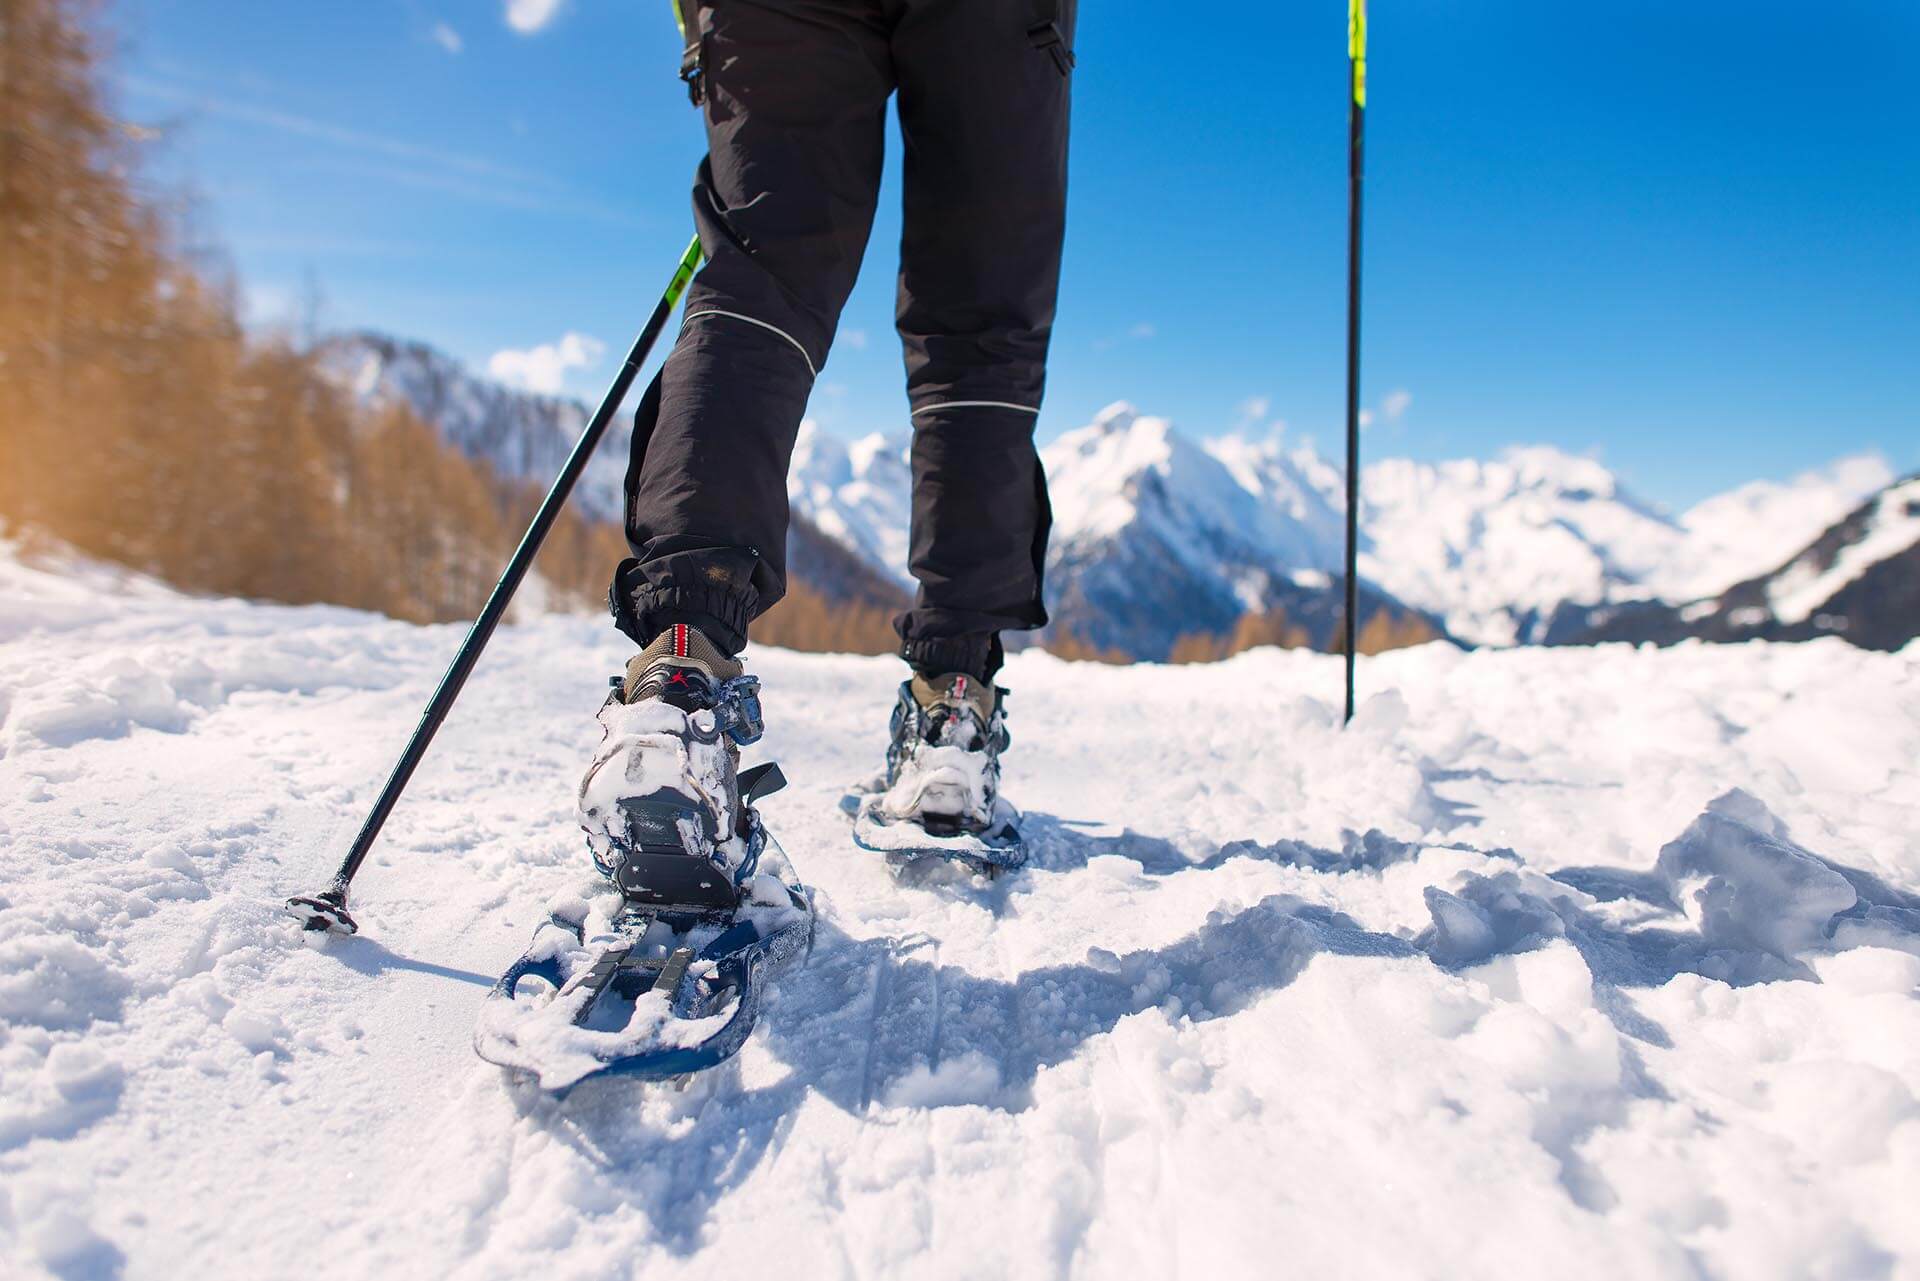
3. Use snowshoes to safely traverse the snow
If you can’t afford a snowmobile, the next best thing is a pair of snowshoes. These are so cheap, and they’re an essential way to get around where no human will ever be able to. In fact, even when I’m snowmobiling, I will always have a pair of snowshoes on my pack.
You won’t be able to climb as far. So if the view you’re looking for requires a four-hour hike, be prepared for it to take longer depending on the conditions. The more snow compresses under your feet, the harder it’ll be. And that changes all the time.
The same precautions that you need to take for snowmobiling also need to be taken with snowshoeing. If you’ve never done it before, practice near your home. And if you’re new to a region, take a guide or a friend along with you. Write down the plan, and send it to a close friend or family member to make sure you make it home safe and sound.
4. Use the histogram and manual settings
Taking photos in the winter is so much different than summer photography. It’s mostly because snow is super reflective! If there’s a bright, harsh sun, those reflections can really mess up your camera metering. Quite often the automatic settings will reduce the exposure and make everything look kind of grey and muddy. If you want an easy photo without editing, bump the exposure compensation up by 1/3rd of a stop so that the snow looks crisp and white. However, the best way to make sure you’re getting the exposure you want is to use manual settings.
Manual exposure is going to be the biggest help in coming home with usable images. Cameras are getting very smart, but they don’t always make the right tradeoffs. But as a photographer, you know that you can bring up the exposure from the shadows, but you can’t recover burnt out highlights.
But you can’t always tell when the image is perfectly exposed. This is where the histogram comes in. You can’t always see how good the exposure is on the tiny screen on the back of the camera. Especially with a bright winter sun, there’s always going to be little patches that you can’t quite tell if they’re overexposed or not. But by looking at the histogram, you’ll know for sure. If it’s showing too much information on the right side, your image will be burnt out and unrecoverable.
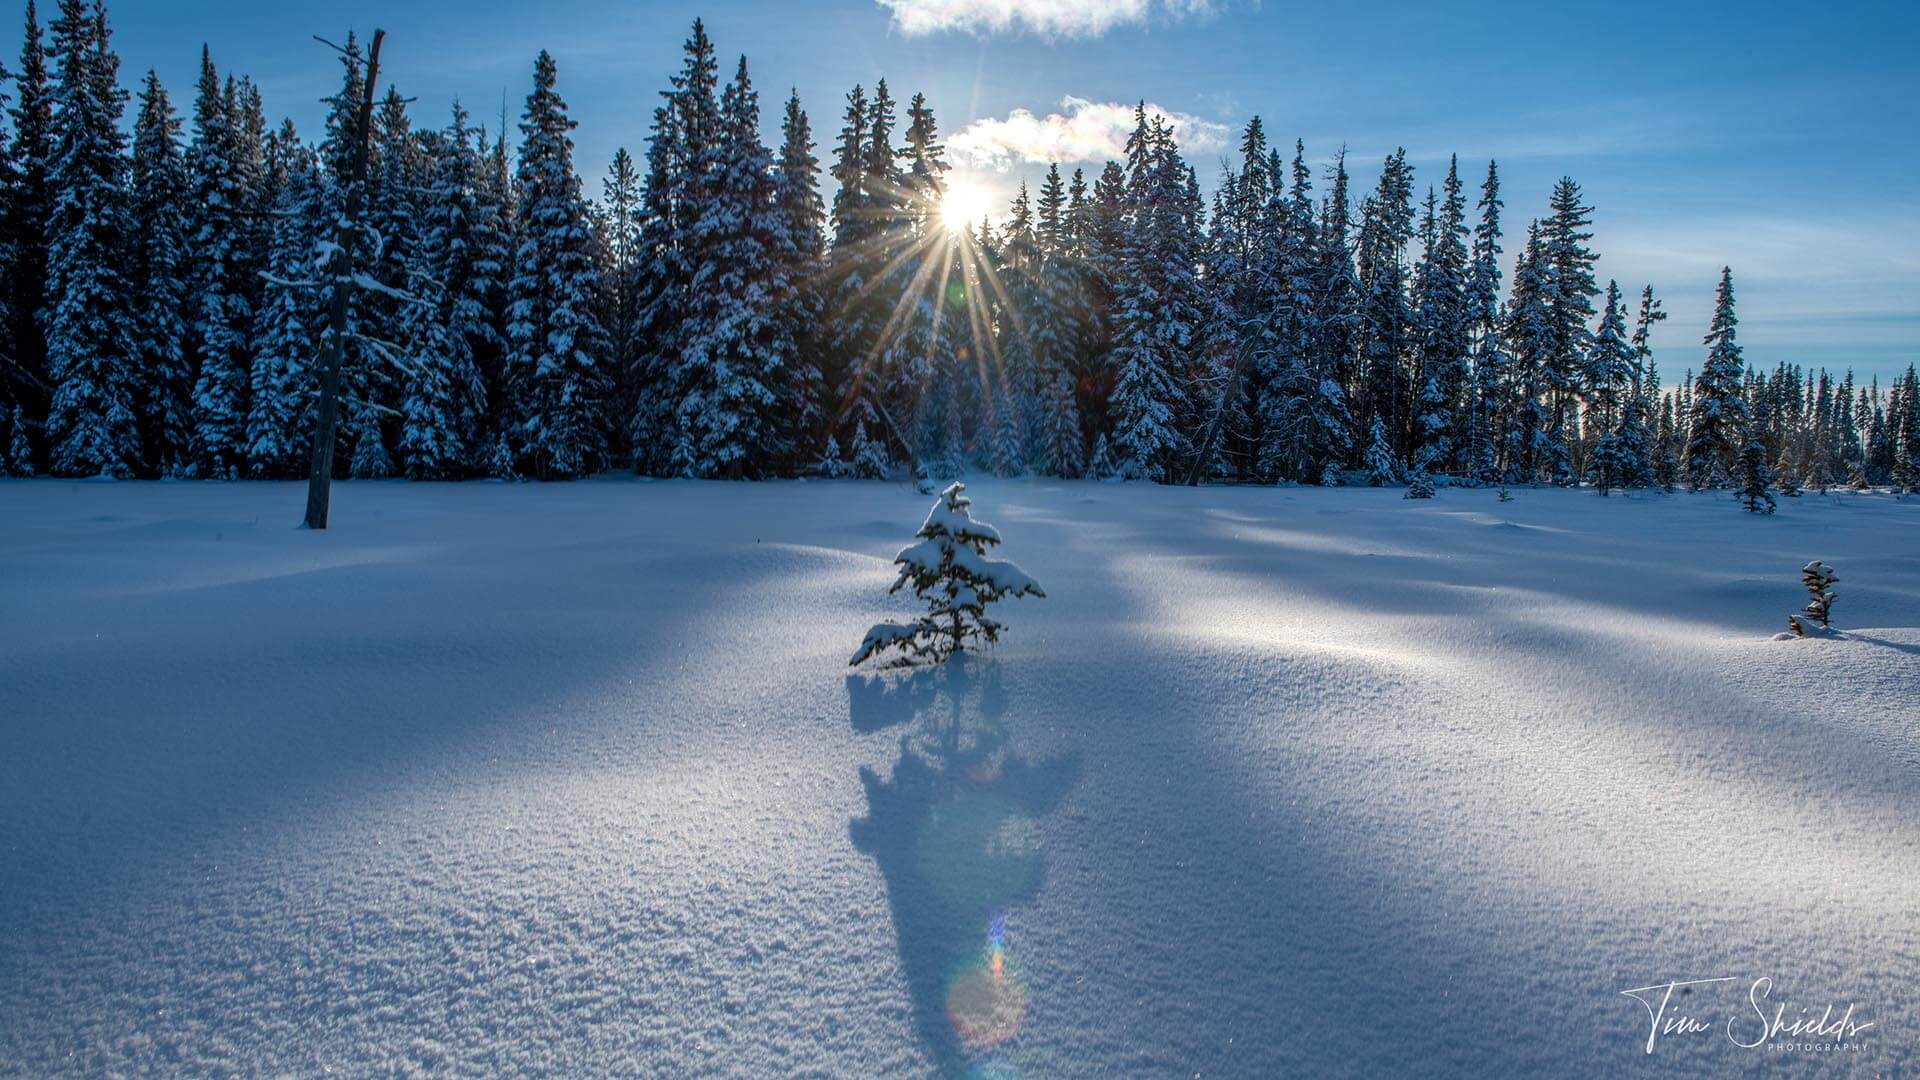
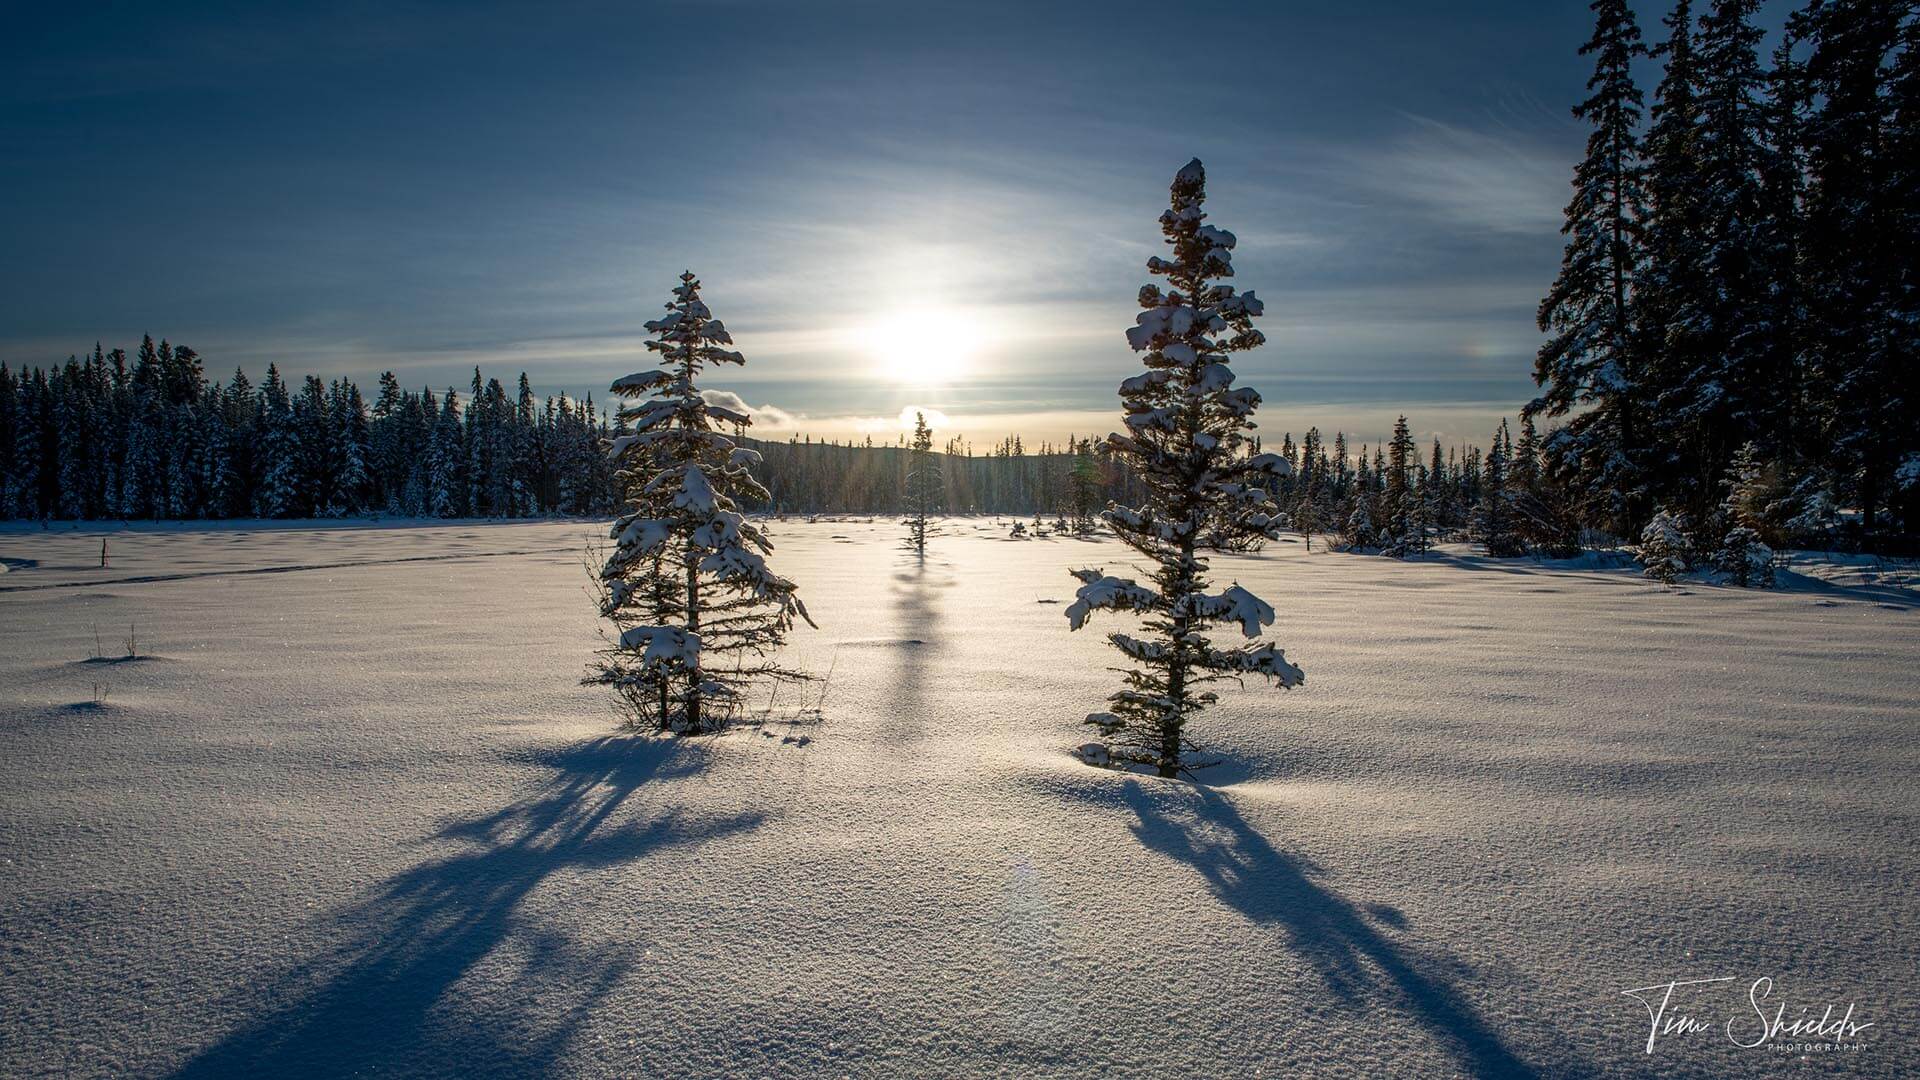
5. Capture Sunstars
If you’re going out for a hike, the last thing you want to see in the winter is a cloudy sky on a cold day. The temperature will drop significantly, and it’s likely that there will be a heavy storm coming through. As well, the shadows cast by the clouds will leave the images looking dull and grey — not the most fun.
Clear sunny days without a cloud in the sky will make your hike and photography much more pleasurable! And it also gives you a chance to capture beautiful sunstars in your image. This is an easy technique where you simply stop your lens down to f/16 and take a photo with the sun low in the sky.
This will create streaks of light coming out around the sun. The number of streaks depends on the number of aperture blades in your lens. A higher number, like a 9-blade aperture, will create a larger number of smaller streaks than a standard 7-blade aperture.
Take a couple of lenses with you and experiment with them all to see which one has the best effect!
6. Look for leading lines and contrast
In the winter it’s easy to find landscapes that are just a blanket of snow. And these are beautiful, but they don’t draw a user’s eye around the frame.
The best way to keep a viewer’s attention is to find some contrast that’ll keep their interest. If there’s a mid-day snowstorm, focus on a distant object like a rural homestead with a large aperture around f2.8 to capture foreground bokeh. If it’s during the evening, you can create the same effect with a diffused flash.
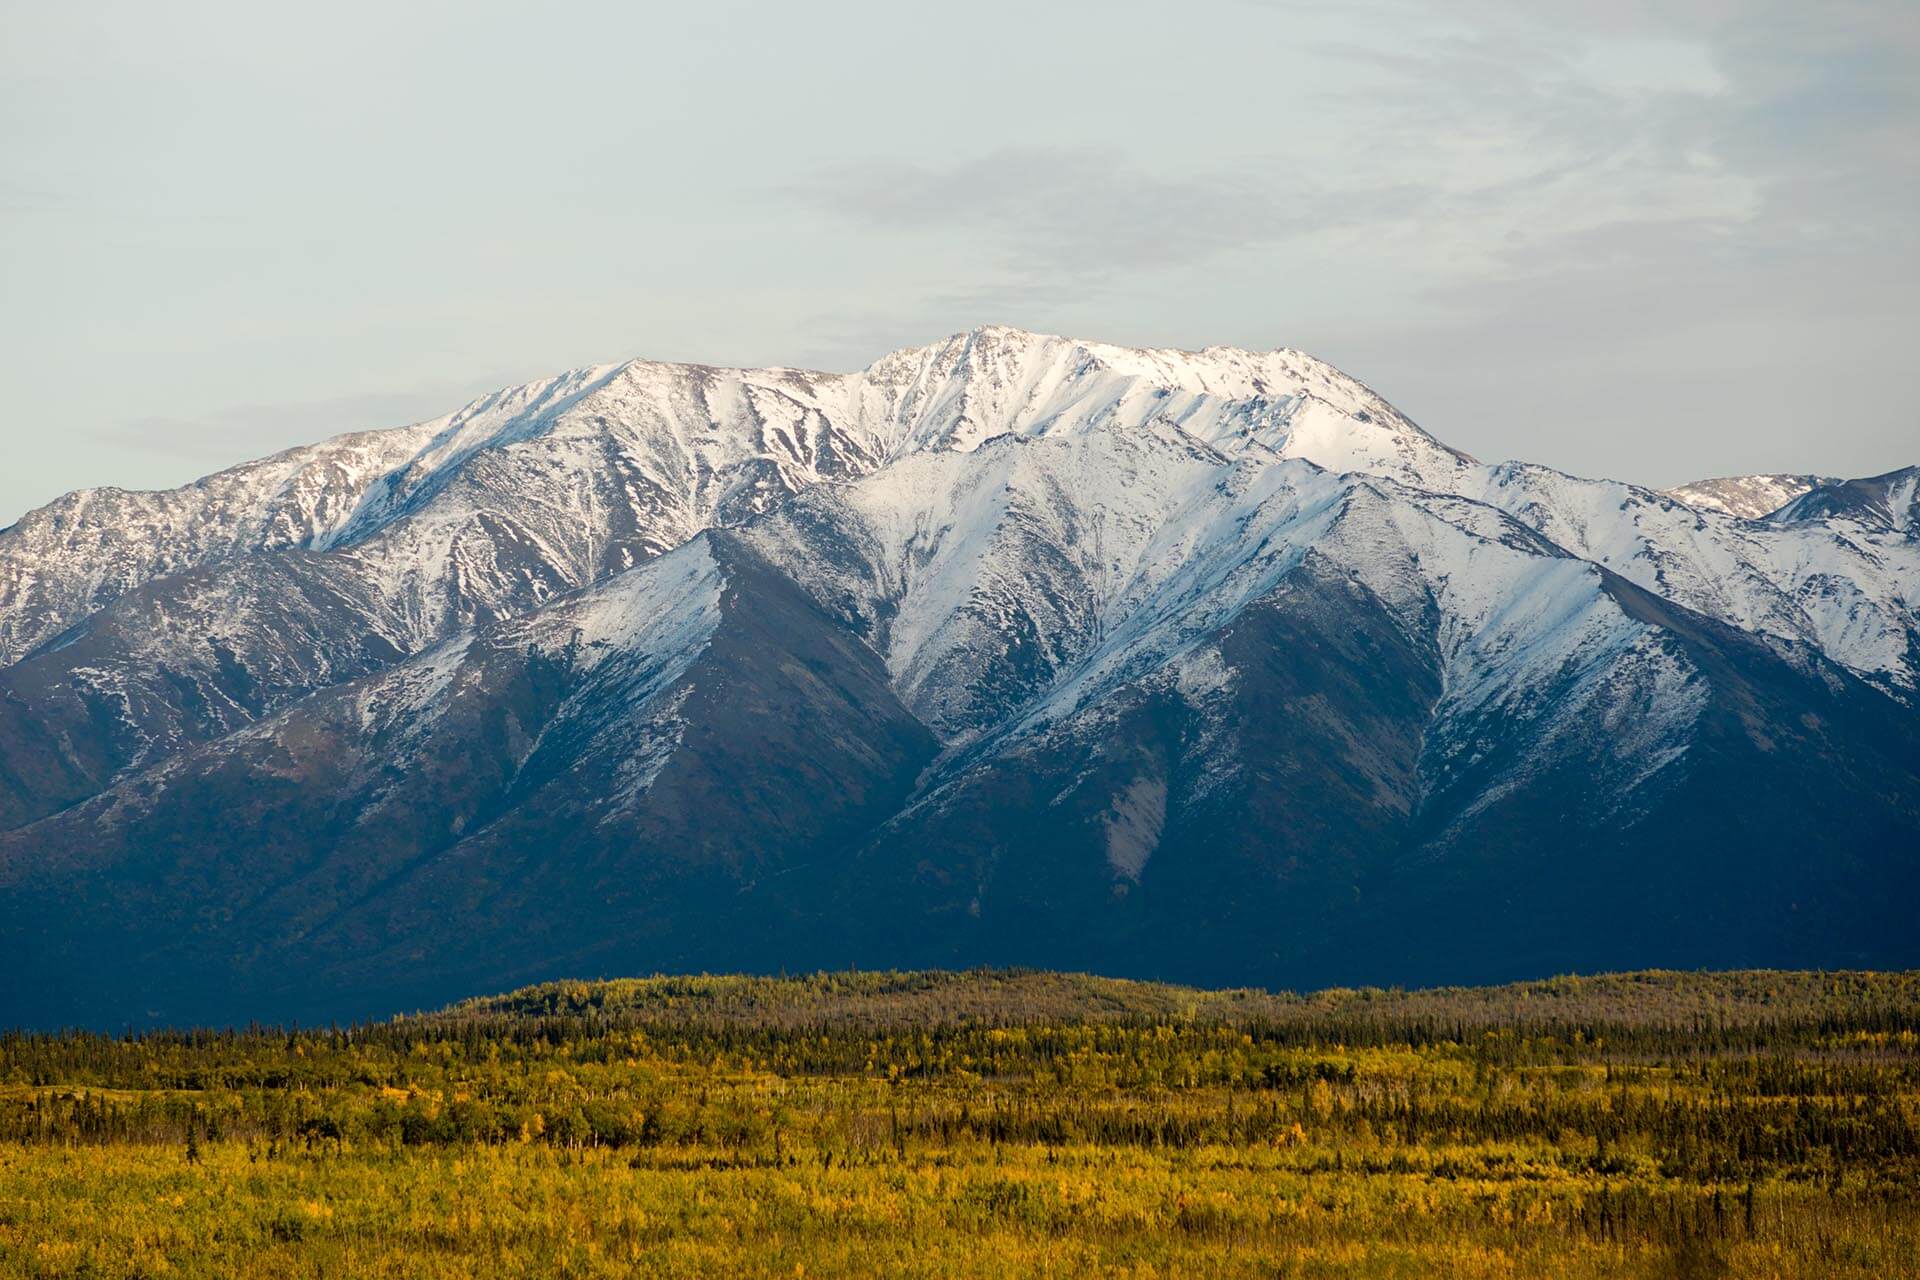
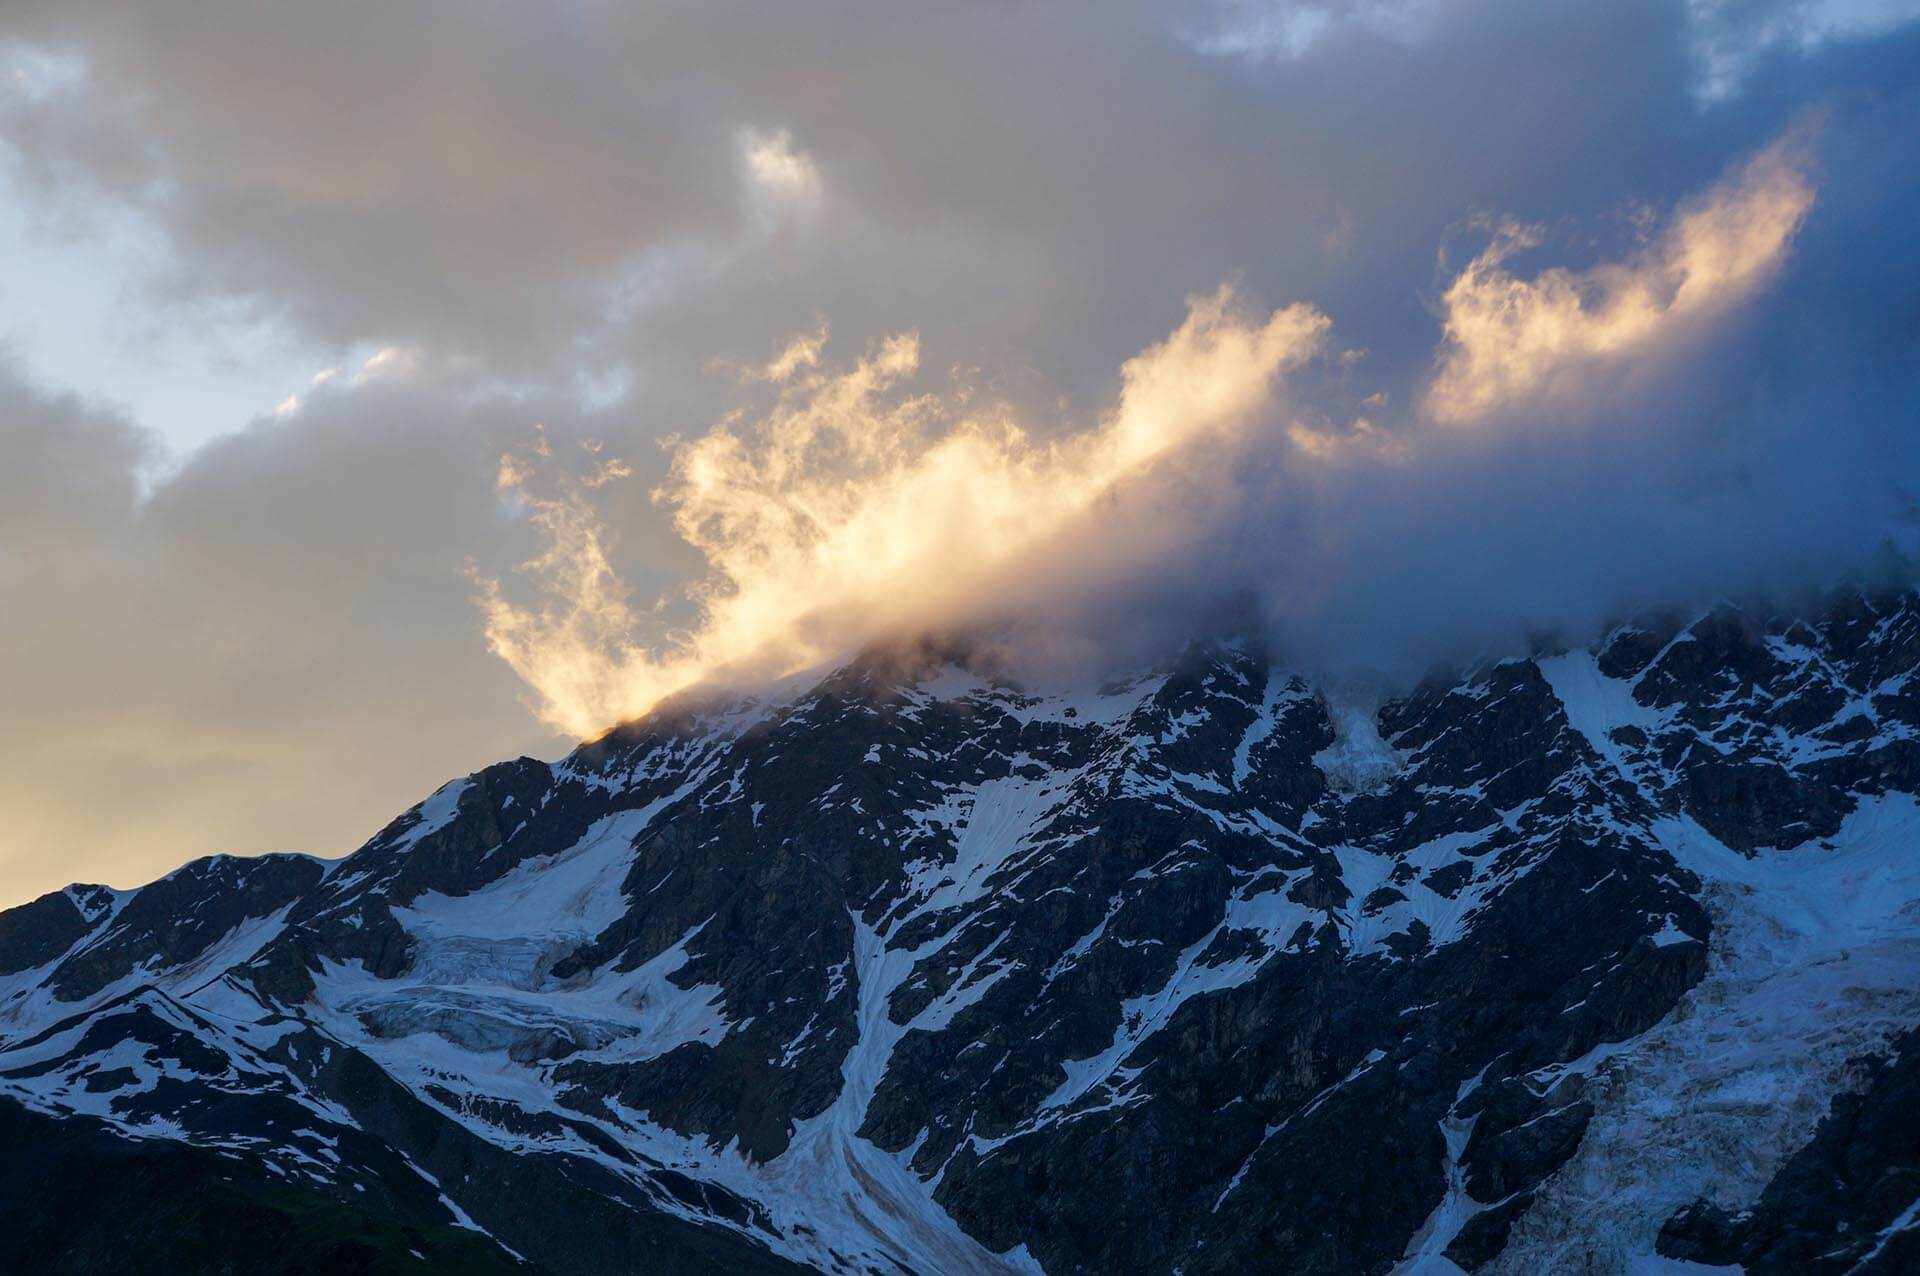
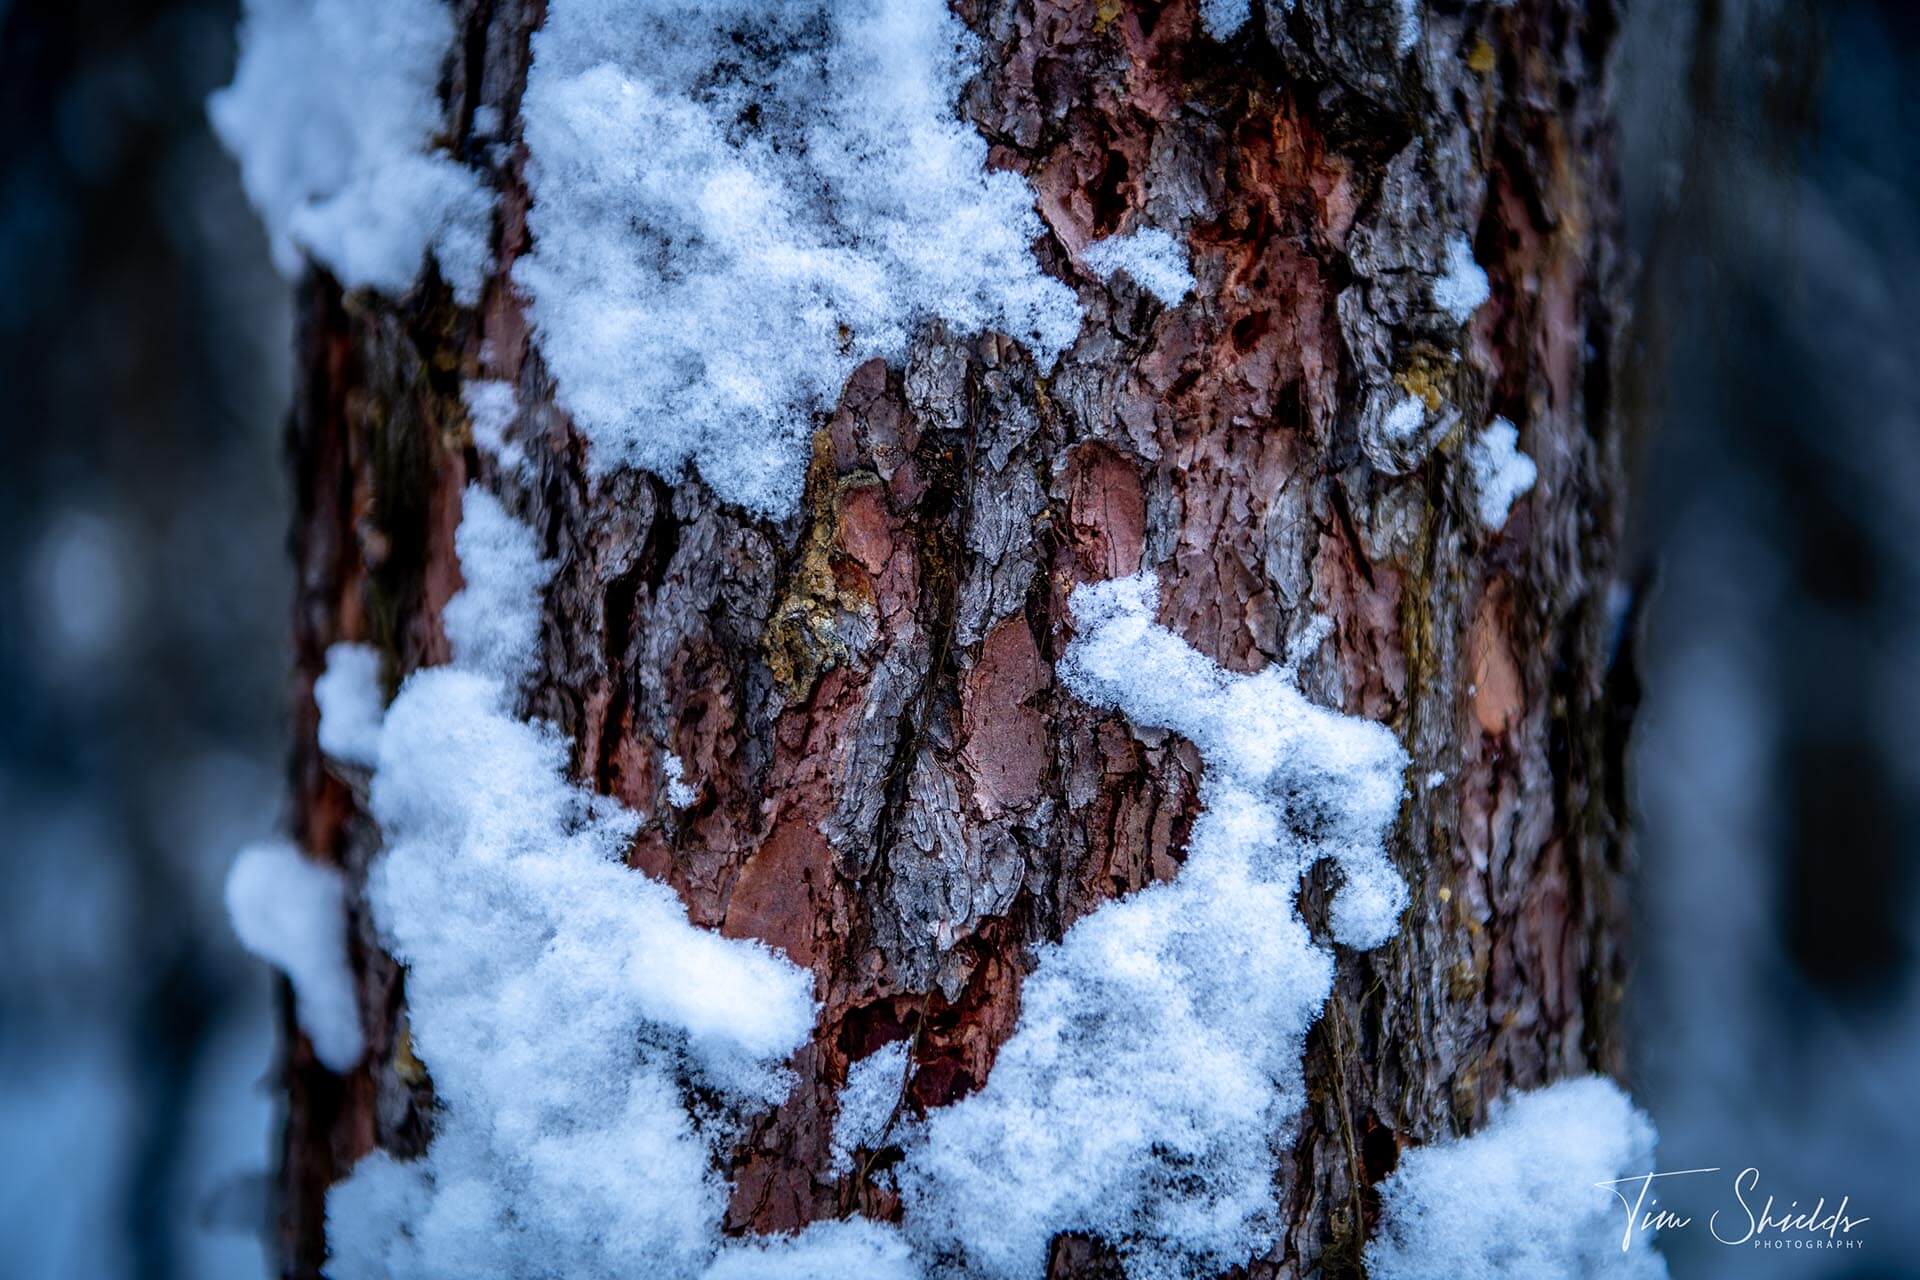
The contrast between the highlights and shadows is another beautiful option in the winter. Light snow on the tops of trees and a bare forest floor looks stunning in regions that don’t get as heavy snow. The fluffy white winter magic also brings out the texture in sharp, vertical mountain ridges. The snow will highlight the tops of small rocks sticking out, and make the images appear strong and sharp in a way that can’t be captured during the summer months.
For color contrast, look for snow along the oceans. Because ocean water never freezes, the snow will give you an excellent opportunity to capture those gorgeous deep water blue hues encapsulated by pure white snow. Blue is opposite orange on the color wheel, so if you can capture some brown sand or trees, you’ll have an excellent contrasting image that’ll keep viewers’ attention for ages.
The other option is to look for leading lines. In the winter, this can come from mounds of snow or ridges in the sides of mountains and rolling hills. If one side is dark and the other is light (usually around sunrise/sunset), it’ll create a fascinating leading line that’ll bring the user’s eye right to your subject.
Learn more about planning and taking fine art landscape photographs
 When you feel like you’ve learned everything you can from the blogs, the next step towards creating fine art landscape photography could come from taking one of my classes. I’ve created hundreds of hours of digestible, and accessible content that has helped thousands of students create wall-worthy, and awe-inspiring photographs. The best place to get started is to take my free online web class! Here I’ll show you my four-step system for creating fine art landscapes. It’s proven, and it’s the process that has helped me win awards, including fine-art landscape photographer of the year and more.